


3
Windo
ws
■
Step 4: Installing the Printer Driver and
Selecting the Printer Port
If the printer driver is already installed, refer to the
“Network” section in the Operating Instructions.
1
Insert the printer CD-ROM into the CD-ROM
drive and click KX-P7110.
2
Click Install Printer driver and Utilities.
3
Follow the instructions until the screen below is
displayed.
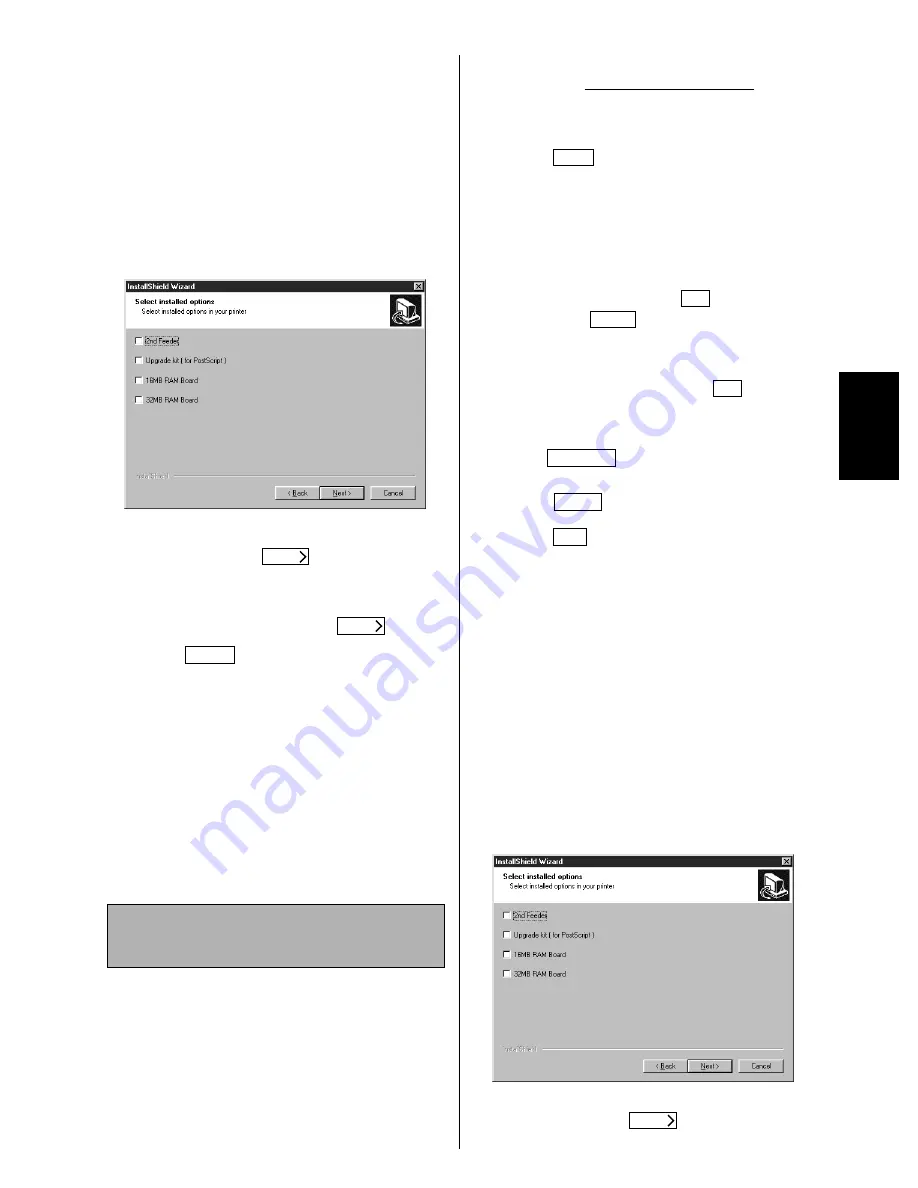
4
Click on the check box of the installed options in
your printer. Click
.
5
Click the LPR port (ex. KX-P7110 No.1) you
created on the previous step from the Select
the current port list, then click
.
6
Click .
Note:
• Change the spool setting to disable bi-directional
support in the printer driver as follows:
(1) Display the printers folder (Start-Settings-
Printers).
(2) Click the printer using the right mouse button and
select Properties.
(3) Click the Details tab and click Spool Settings….
(4) Click on the Disable bi-directional support for
this printer check box.
■
Steps 1 and 2
Perform steps 1 and 2 of “LPR Port Printing in
Windows 95 /Windows 98 / Windows Me” on page 1.
For Windows 2000, skip the next step 3.
*
1
Microsoft® Windows NT® operating system Version 4.0
(hereafter Windows NT 4.0)
*
2
Microsoft® Windows® 2000 operating system (hereafter
Windows 2000)
■
Step 3: Installing the LPR Port on the
Computer (Windows NT 4.0 only)
You must login to the server computer as a supervisor
to perform the following steps.
1
Click ,
select
Settings, then click
Control Panel.
2
Double click the Network icon.
3
Click the Services tab.
4
If there is Microsoft TCP/IP Printing in the
Network Service list, click
.
If not, click
and perform the following
steps.
5
Select Microsoft TCP/IP Printing from
Network Service list, then click
.
6
Insert the Window NT 4.0 CD-ROM into the
CD-ROM drive, type the path name and then
click
. All necessary files are copied
to the hard disk.
7
Click .
8
Click
to restart your computer.
■
Step 4: Setting up the Printer Driver
and the Printer Port on the Computer
If the printer driver is already installed, see the
“Network” section in the Operating Instructions.
You must login to the server computer as a supervisor
to perform the following steps.
1
Insert the printer CD-ROM into the CD-ROM
drive and click KX-P7110.
2
Click Install Printer driver and Utilities.
3
Follow the instructions until the screen below is
displayed.
4
Click on the check box of the installed options in
your printer. Click
.
LPR Port Printing in Windows NT®
4.0*
1
/ Windows 2000*
2
Next
Next
Finish
Start
OK
Add...
OK
Continue
Close
Yes
Next