background image

Installation Guide

Home Network System

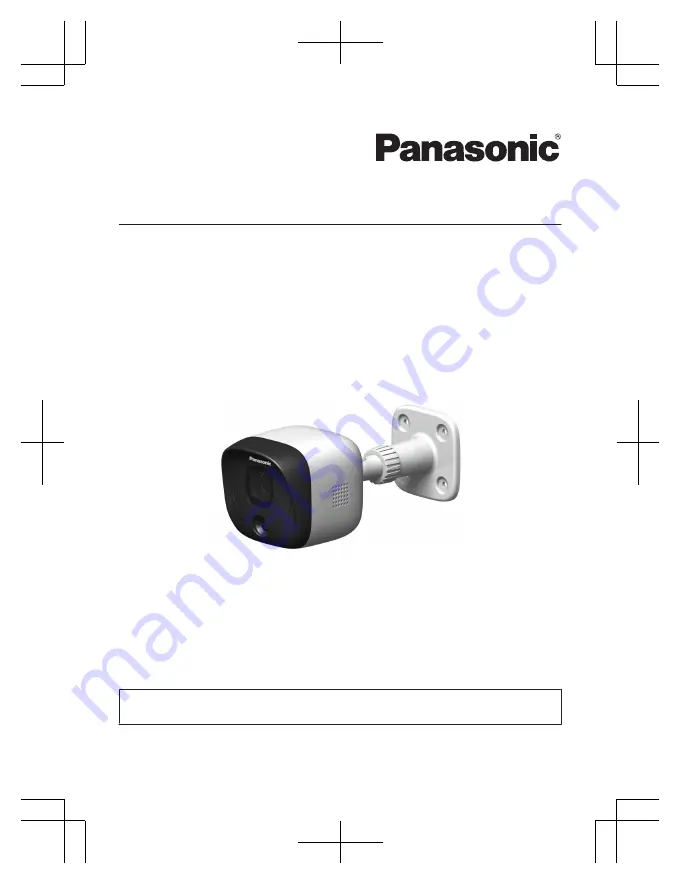
Outdoor Camera

Model No.    

KX-HNC600AZ

Thank you for purchasing a Panasonic product.

This document explains how to install the outdoor camera properly.
For details about how to use the system, refer to the User’s Guide (page 26).

Please read this document before using the unit and save it for future reference.

HNC600AZ_(en_en)_0325_ver.040.pdf   1

2015/03/25   14:34:17

Summary of Contents for KX-HNC600AZ

Page 1: ...ng a Panasonic product This document explains how to install the outdoor camera properly For details about how to use the system refer to the User s Guide page 26 Please read this document before using the unit and save it for future reference HNC600AZ_ en_en _0325_ver 040 pdf 1 2015 03 25 14 34 17 ...

Page 2: ...llation location examples 11 Do not install in these locations 13 Setup Part names and functions 15 LED indicator 15 Setup overview 15 Registration button 16 Confirming the registration area 16 Installation 17 Appendix Testing the motion detection range 22 Adjusting the infrared sensor range 22 Features available when using the Home Network app 26 Accessing the User s Guide 26 Specifications 27 Wa...

Page 3: ...out notice R The illustrations in these instructions may vary slightly from the actual product Trademarks R microSDHC is a trademark of SD 3C LLC R iPhone and iPad are trademarks of Apple Inc registered in the U S and other countries R Android is a trademark of Google Inc R Microsoft Windows and Internet Explorer are either registered trademarks or trademarks of Microsoft Corporation in the United...

Page 4: ...casing has been broken open Danger of electric shock exists R Never touch the plug with wet hands Danger of electric shock exists R Do not connect non specified devices R When opening holes in walls for installation or wiring or when securing the power cord make sure you do not damage existing wiring and ductwork R Do not leave the power cable exposed outdoors R It is advised not to use the equipm...

Page 5: ... accessible R If the wiring is underground do not make any connections underground R If the wiring is underground make sure the power cable and other wiring is properly waterproofed by running the cables through a conduit Preventing accidents and injuries R The safety wire must be used when mounting the product There is a risk of injury if the product falls R Do not put your ear s near the speaker...

Page 6: ... R Operating the product near electrical appliances may cause interference Move away from the electrical appliances Privacy and rights of portrait When installing or using the camera please take into consideration the rights of others with regard to privacy It is generally said that privacy means the ability of an individual or group to stop information about themselves from becoming known to peop...

Page 7: ...n Disposal in other Countries outside the European Union These symbols are only valid in the European Union If you wish to discard these items please contact your local authorities or dealer and ask for the correct method of disposal 7 Important Information HNC600AZ_ en_en _0325_ver 040 pdf 7 2015 03 25 14 34 18 ...

Page 8: ...at are used for motion detection a visual sensor and an infrared sensor i e heat sensor Please read the following information before deciding where to install the camera Note R The camera s sensor features are not designed to be used in situations that require high reliability We do not recommend use of the sensor features in these situations R Panasonic takes no responsibility for any injury or d...

Page 9: ...the daytime or when it is bright R Movement may be incorrectly detected when the moving object and the background have a similar colour R Movement may be incorrectly detected when there are sudden changes to the overall brightness levels such as when external lights are used Easily detects when there is a big difference between the temperatures of objects and the surrounding environment such as in...

Page 10: ...ect objects that move directly toward the front of the camera A B C D A It is difficult to detect movement directly towards the front of the camera B It is easy to detect movement sideways in front of the camera C Detection range D Camera 10 Installation Location HNC600AZ_ en_en _0325_ver 040 pdf 10 2015 03 25 14 34 18 ...

Page 11: ...r gate without detecting cars in the street Ideal example Poor example 1 1 Approx 3 m Visitors pass in front of the camera from side to side cars in the street are less likely to cause false detections Cars in the street are more likely to cause false detections 11 Installation Location HNC600AZ_ en_en _0325_ver 040 pdf 11 2015 03 25 14 34 18 ...

Page 12: ... Visitors pass in front of the camera from side to side cars in the street are less likely to cause false detections R To prevent faces from being obscured by tall vehicles adjust the installation position and angle of the camera Cars in the street are more likely to cause false detections 12 Installation Location HNC600AZ_ en_en _0325_ver 040 pdf 12 2015 03 25 14 34 18 ...

Page 13: ...springs exposure to salt can shorten the life of the product R Near TVs radios automated office equipment such as computers air conditioners water heater panels with intercom or home security equipment these may cause noise R Near satellite broadcasting receivers such as tuners TVs with built in satellite tuners and recorders broadcasted images may be distorted R Areas where hydrogen sulphide ammo...

Page 14: ...ive objects such as glass that can interfere with detection of temperature variation R Areas where brightness changes easily such as areas where shadows form in the afternoon and lights turn on at night R Areas where backlight occurs faces appear dark and are difficult to identify such as the following Areas where most of the background is the sky Areas where direct sunlight reflects off a white w...

Page 15: ...b 1 You can configure the camera so that its LED indicator does not light during normal operation For more information refer to the User s Guide page 26 Setup overview 1 Initial setup Make sure you can access the system using your mobile device For details refer to the System Setup Guide included with your hub 2 Registration Required only if the camera was purchased separately i e not as part of a...

Page 16: ...a Using an object with a thin tip press and hold M N until the LED indicator blinks in green page 15 R When registration is complete the hub sounds one long beep Note R To cancel without registering the camera press M N on the hub and on the camera again R If registration fails the hub sounds several short beeps Using the app When you register the camera by using the Home Network app you can assig...

Page 17: ...o become disconnected R Do not mount the camera on a soft material It may fall down break or cause injury Wall material information Siding R Use the included screws ø4 mm 25 mm Make sure the pull out capacity of each screw is at least 294 N 30 kgf R If the weight of the camera is supported by the siding only the siding could become damaged Make sure you mount the camera in a location where the str...

Page 18: ...pending on the type of ALC panel you may not be able to attach the camera Consult the ALC panel manufacturer R Do not use the included screws After consulting the manufacturer of the ALC panel use only commercially available metal screw anchors screw ø 4 mm designed for ALC panels R Carefully read the instructions supplied with the anchors Follow instructions regarding drill bit diameter hole dept...

Page 19: ...y wire R Tighten the screw C for the safety wire on top of the washer 1 2 3 2 Attach the camera mounting stand to an outdoor wall R Secure the stand to the wall by tightening 4 screws A R 1 37 mm 1 1 1 1 Note R Use the following template below when determining the location of the screw holes 37 mm 37 mm 19 Setup HNC600AZ_ en_en _0325_ver 040 pdf 19 2015 03 25 14 34 18 ...

Page 20: ...tachment hole B on the rear or bottom side R Secure the camera by tightening the screw 2 Attaching to the hole on the rear side 1 1 2 2 Attaching to the hole on the bottom side 1 2 1 2 4 Adjust the camera angle R Loosen the screw 1 and then adjust the camera to the desired angle R Tighten the screw 1 while holding the screw 2 until the camera is secure 1 1 2 20 Setup HNC600AZ_ en_en _0325_ver 040 ...

Page 21: ...A to the AC adaptor plug B R Connect the AC adaptor C to the power outlet 1 Outdoors 2 Indoors 3 2 1 1 2 Note R Use only the supplied Panasonic AC adaptor PNLV236AL R Be sure to connect the DC cable plug and AC adaptor plug indoors Note about power connections AC adaptor connection R The AC adaptor must remain connected at all times It is normal for the adaptor to feel warm during use R The AC ada...

Page 22: ...User s Guide page 26 R You can adjust the area detectable by the infrared sensor See Adjusting the infrared sensor range page 22 Testing the microphone To test the microphone speak loudly and clearly into the microphone while a mobile device user is viewing live images from the camera Adjusting the infrared sensor range If there are objects that you do not want the infrared sensor to detect you ca...

Page 23: ...1 Cap 2 Cap 3 Example Cap 1 1 1 5 m Example Cap 1 2 2 6 m Example Cap 1 3 3 4 m Example Cap 3 1 1 5 m Example Cap 3 2 2 6 m Example Cap 3 3 3 4 m When you want both sides to be undetectable Cap 4 Example Cap 4 1 1 5 m Example Cap 4 2 2 6 m Example Cap 4 3 3 4 m 1 Varies by ambient temperature at the camera installation location Numeric values are approximate Detectable area is indicated by 23 Appe...

Page 24: ...s shown in the example 1 according to the area you do not want to be detected Example 2 When there is an object on the top left of the viewable area that you do not want to be detected cars in a street etc Attach one of caps 1 3 as shown in the example 2 according to the area you do not want to be detected Example 1 1 2 Example 2 24 Appendix HNC600AZ_ en_en _0325_ver 040 pdf 24 2015 03 25 14 34 19...

Page 25: ... the 4 types A and attach it to the sensor B R When attaching rotate the tab 1 on the cap toward the top or at a 45 degree angle according to the type of cap or direction and attach the cap on the camera shown in the following illustration 1 2 1 25 Appendix HNC600AZ_ en_en _0325_ver 040 pdf 25 2015 03 25 14 34 19 ...

Page 26: ...rigger other system events such as camera recording 1 turning on an electric device such as a lamp etc Appropriate device required 1 A commercially available microSD card must be inserted into the hub in order to record images Notification You can configure the camera to send a notification to the Home Network app when the camera detects motion Accessing the User s Guide The User s Guide is a coll...

Page 27: ...0 Vertical approx 50 R Motion detection method Pyroelectric infrared sensor PIR sensor and visual sensor R PIR sensor detection range when the surrounding temperature is approx 25 C Horizontal approx 70 Vertical approx 20 Detection range approx 5 m R Visual sensor detection range Horizontal approx 70 Vertical approx 50 R IP rating IP55 2 R Adjustable mounting angles Horizontal 90 Vertical facing f...

Page 28: ... IS OFFERED AS AN BENEFIT AND DOES NOT AFFECT YOUR LEGAL 1 Pick up and delivery 2 Batteries 3 Repairs when the product has not been used in accordance with the Operating Instructions Manual or has been modified 4 Normal maintenance and cleaning as required in the product s Operating Instructions Manual 5 Service calls to a Correct the set up of the product b Instruct you how to use the product c R...

Page 29: ...29 Notes HNC600AZ_ en_en _0325_ver 040 pdf 29 2015 03 25 14 34 19 ...

Page 30: ...30 Notes HNC600AZ_ en_en _0325_ver 040 pdf 30 2015 03 25 14 34 19 ...

Page 31: ...31 Notes HNC600AZ_ en_en _0325_ver 040 pdf 31 2015 03 25 14 34 19 ...

Page 32: ...bsite www panasonic com au For New Zealand Customer Care Centre Tel No 09 272 0178 or website www panasonic com nz Sales Department 1 Innovation Road Macquarie Park NSW 2113 Australia Sales Department 18 Sir Woolf Fisher Drive Highbrook East Tamaki Auckland New Zealand Phone 09 272 0100 Fax 09 272 0137 1 62 4 chome Minoshima Hakata ku Fukuoka 812 8531 Japan Panasonic System Networks Co Ltd 2015 PN...

Reviews: