

CONTACT US
1.877.201.0035
us.panasonic.com/scanners
©2017 Panasonic Corporation of North America. All rights reserved. KV-SSM100 / KV-SS1100 Quick Setup Guide_11/17
6.
Enter
Subpath
(optional).
Note:
Friendly Name and Subpath will display on screen in list of
shared folders.
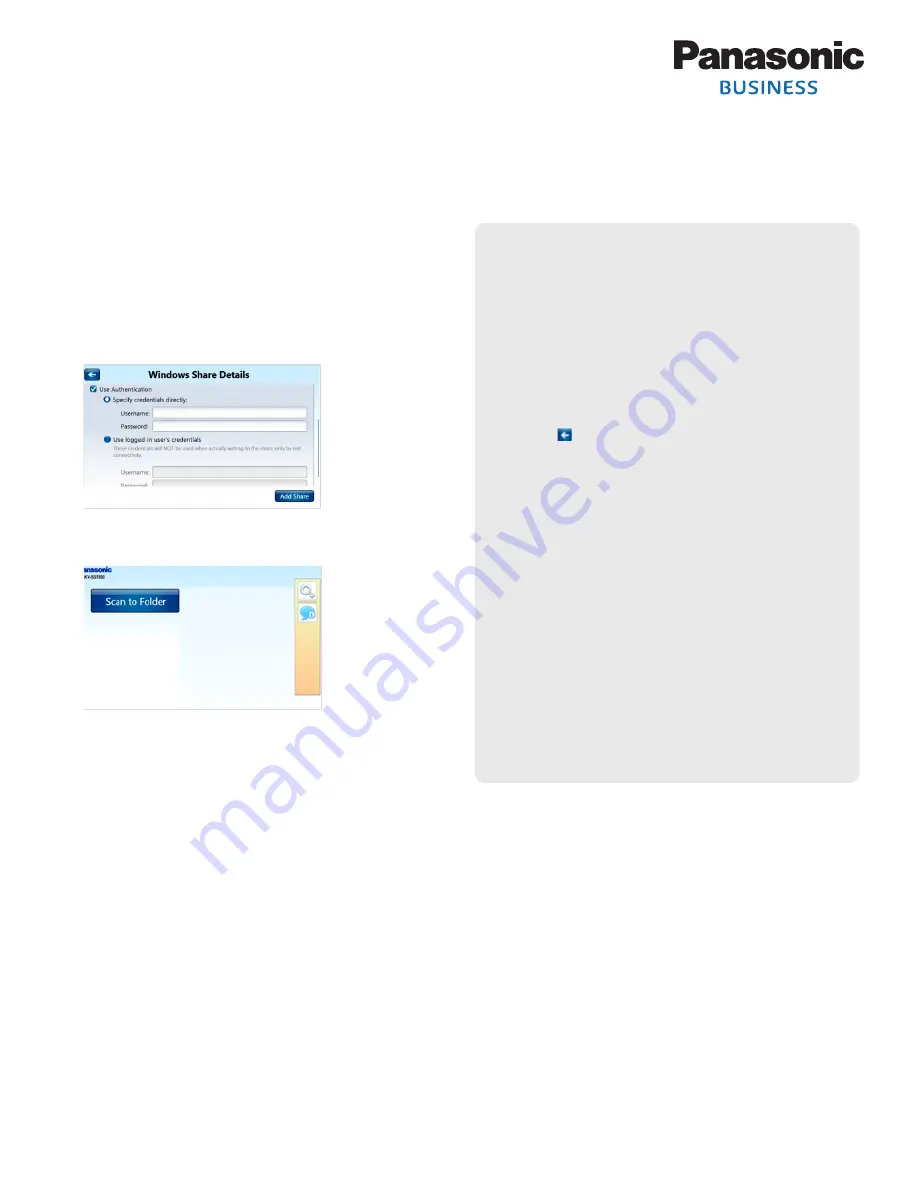
7.
Under
Security
, select
Use Authentication
checkbox and
Specify
credentials directly
.
8.
Enter
Username
and
Password
.
9.
When finished, press [
Add Share
].
10.
Press [
Next
].
11.
Press [
Skip
] until main screen displays [
Scan to Folder
] button.
Note:
Again, for instructions on setting up Scan to Email, Scan to
Fax, Scan to Bluetooth and Scan to Printer, please refer to the
KV-SSM100/KV-SS1100 Network Scanner Adaptor Administrator’s Guide
.
12.
Press [
Yes
] when asked,
Are all settings and configurations
correct?
13.
Continue with
Step 2
….
STEP 2:
PERFORM SCAN
Once Initial Configuration is complete, perform a Scan to Folder
operation, as outlined below:
1.
Place document
on scanner ADF.
2.
Press [
Scan to Folder
] button.
3.
Select desired
shared folder
.
4.
Use default
Document Name
or enter different name.
5.
If desired, create
subfolder
.
6.
Press [
Continue
].
7.
Select desired
Scan Settings
.
8.
Press [
Scan
].
Document is scanned and saved to selected folder.
9.
To scan again, place document on scanner ADF, and press [Scan].
10.
To exit, press [
Cancel
] > [
Cancel
].
KV-SSM100/KV-SS1100 NETWORK SCANNER ADAPTER
QUICK SETUP GUIDE
(CONTINUED)
MANUAL SETUP
Manual Setup of shared folders is required if:
n
You wish to add FTP network shares. FTP does not support
discovery, so you must enter the path for FTP network
shares manually.
n
Access to the computer is password-protected. You will
need to manually specify the username and password.
1.
Press [
Add
] to add a shared folder.
Note:
If
Network Discovery
was unsuccessful,
press [ ] to return to
Add Share
screen.
2.
Enter FTP address or UNC Path.
Note:
Valid path names for network shares are:
n
FTP: ftp://MyServer/MyShare
n
UNC: \\MyServer\MyShare\
3.
Press [
Configure
].
4.
Enter
Friendly Name
(required).
5.
Enter
Subpath
(optional).
Note:
n
Friendly Name and Subpath will display on screen in
list of shares.
n
You cannot add two shares with the same name.
6.
Under
Security
, set
Use Authentication
. (See
7
under
Shared Folder Configuration
[top left column].)
7.
Press [
Add Share
].
Share Management screen displays shared folder path.
8.
Repeat 1-7
to add another shared folder.
9.
When finished, press [
Next
].
10.
Press [
Skip
] until main screen displays [Scan to Folder]
button.
11.
Go to
STEP 2
.
Notes:
_________________________________________________
_________________________________________________
_________________________________________________
_________________________________________________
_________________________________________________
_________________________________________________
_________________________________________________
_________________________________________________