57
VQT1N45
24p digital cinema:
≥
[Digital Cinema Color] is turned [ON] and is not
changeable.
≥
Motion pictures recorded while this setting is
turned to [ON] may not be played back
properly with a player that does not support
24p.
Wind noise reduction:
≥
The sound quality may be changed if this function
is activated in strong winds. However, the sound
quality is automatically restored to the original
quality when then the wind weakens.
Microphone setup:
≥
If [MIC SETUP] is set to [FOCUS MIC] or
[ZOOM MIC] when zooming in (close-up),
sounds from the surrounding area are
suppressed and sound near the front of the
unit is recorded. If you wish to record higher
quality sound and maintain realism even when
zooming in, for instance recording a music
recital, we recommend setting [MIC SETUP] to
[SURROUND].
Microphone level:
≥
When [MIC SETUP] is [ZOOM MIC], the
volume will be different depending on the zoom
rate. Set [MIC SETUP] to [SURROUND] or set
the microphone input level after adjusting the
zoom rate. (
l
53)
≥
The microphone input level meter shows the
largest volume for the microphones.
HD hi-speed burst shooting:
≥
If this is turned to [ON], motion pictures cannot
be recorded. The following functions are also
disabled.
j
Changing the settings in [VIDEO] on the
Menu.
j
PRE-REC
j
Pressing the
button halfway
j
Digital zoom
j
Fade
j
MagicPix
j
Low light
j
Built-in Flash
j
Auto slow shutter
j
Digital cinema color
j
Scene mode
j
Adjusting shutter speed and iris/gain
≥
The maximum number of times you can record
on an SD card is 30.
≥
If a sharper focus cannot be achieved, adjust
the focus manually. (
l
60)
≥
Noise increases in dark locations. Color
balance and brightness on the screen may
change with some light sources such as
fluorescent lamps.
≥
Still picture quality can be changed. (
l
43)
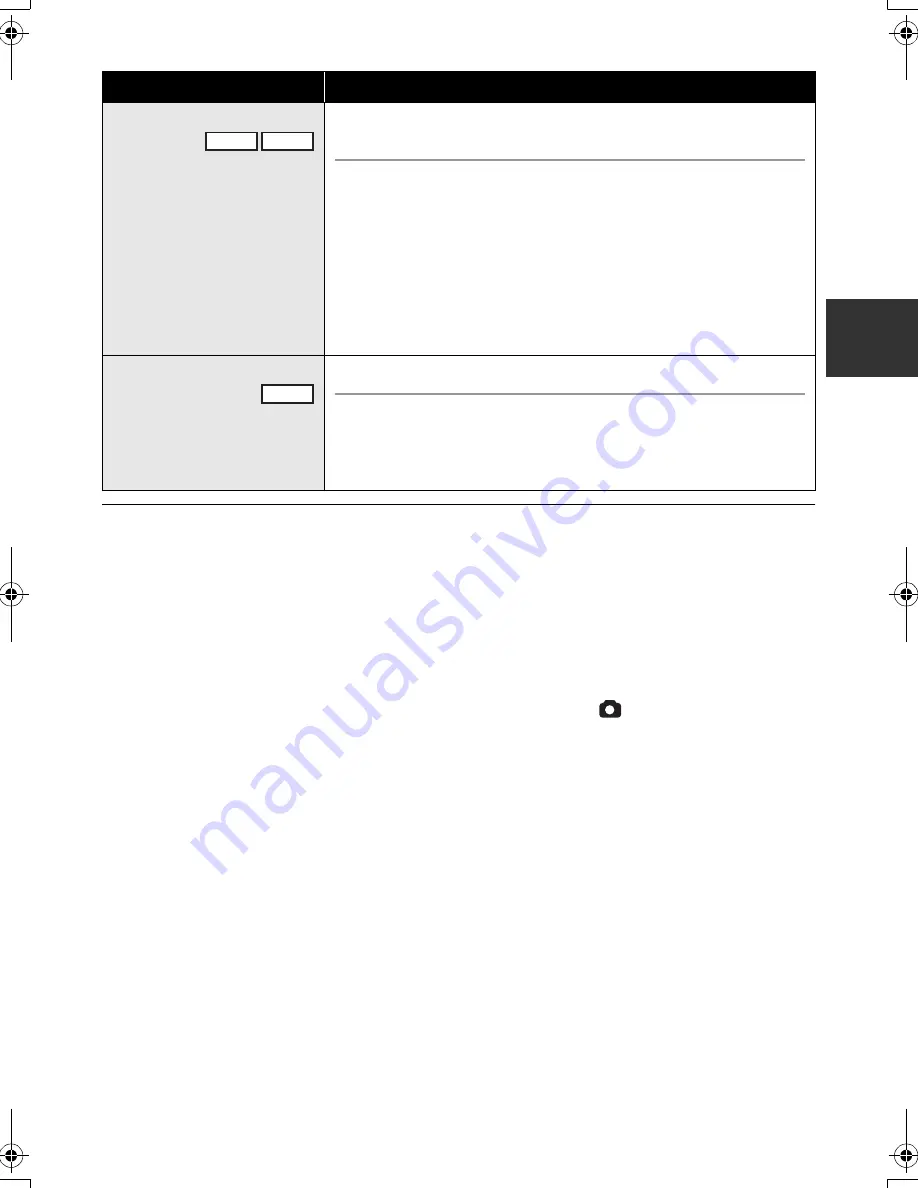
Function
Effect/Setting method
Auto slow shutter
You can record bright pictures even in dark places by slowing
the shutter speed.
Select the menu. (
l
27)
[ADVANCED]
#
[AUTO SLOW SHTR]
#
[ON]
≥
This function’s default setting is [ON].
≥
The shutter speed is adjusted between 1/30 and 1/250 depending
on the surrounding brightness. (When adjusting the shutter speed
manually, it can be adjusted between 1/30 and 1/8000.)
≥
If [AUTO SLOW SHTR] is set to [OFF], then the shutter speed will
be set between 1/60 and 1/250. (When adjusting the shutter
speed manually, it can be adjusted between 1/60 and 1/8000.)
Digital cinema color
Recording motion pictures with more vivid colors.
Select the menu. (
l
27)
[ADVANCED]
#
[Digital Cinema Color]
#
[ON]
≥
For more realistic colors, use an HDMI mini cable with a TV that
supports the x.v.Color
™
.
VIDEO
PHOTO
VIDEO
HDCSD9P-VQT1N45_ENG.book 57 ページ 2007年12月26日 水曜日 午後5時57分