-32-
Menu item setting
❈
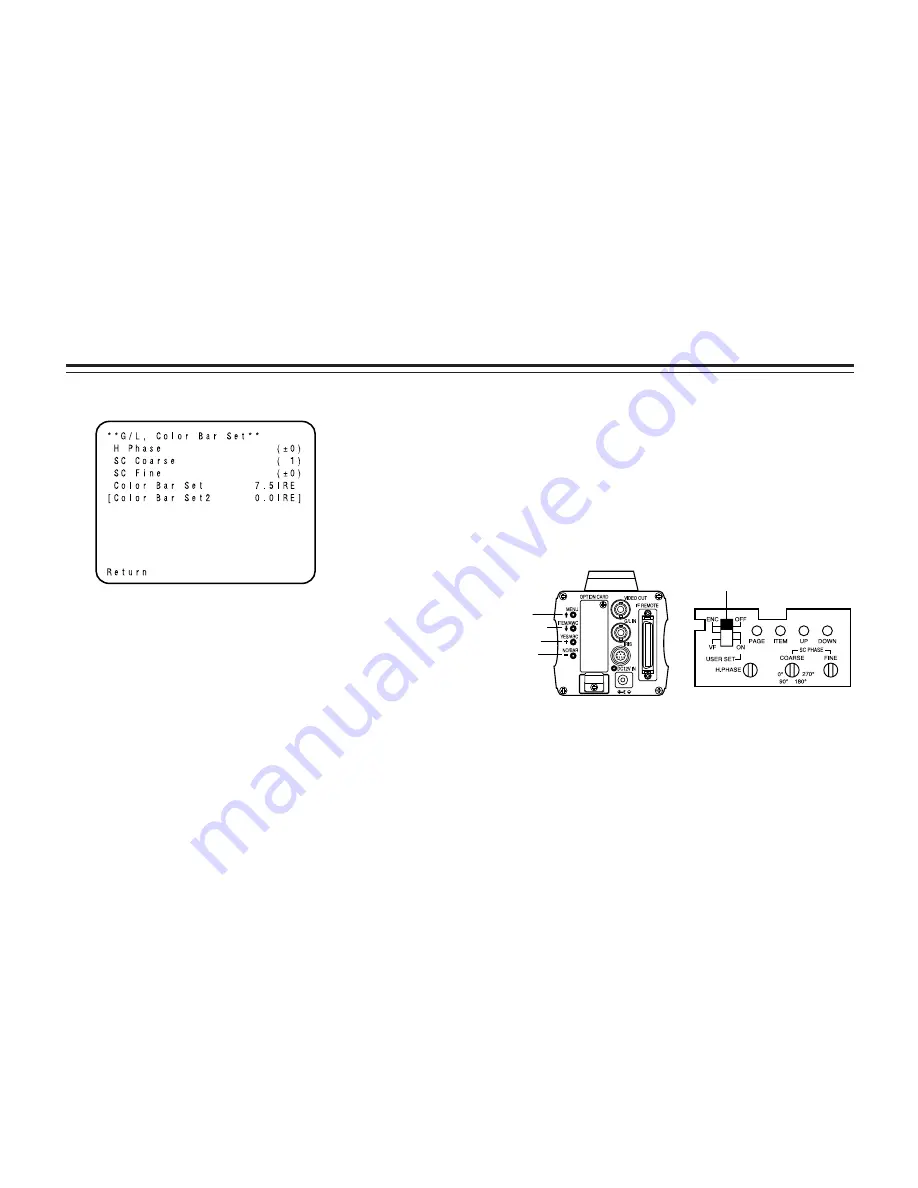
If the output signal from camera is color bar, only “G/L,
Color Bar Set” screen is displayed.
$
Setting
1.
From the camera alone:
Keep the MENU switch depressed for 5 seconds or more.
From RCU (RCB):
Set the user set switch in the pocket to the ON position.
The main menu appears on the monitor screen.
2. Each time the MENU switch (
A
), ITEM/AWC switch (
S
),
or NO/BAR switch (–) is pressed, the blinking item moves
up or down.
3. When the YES/ABC switch is pressed after selecting the
desired item to blink, the submenu for the selected item
appears on the screen.
4. Select the desired item to be changed in its settings using
the MENU switch (
A
) and ITEM/AWC switch (
S
).
5. Press the YES/ABC switch (+) or NO/BAR switch (–) to
change the settings.
6. Select [Return] using the MENU switch and ITEM/AWC
switch, then press the YES/ABC switch to return to the
main menu.
7. After changing the settings, take the following steps.
Camera alone:
Select [End] using the MENU switch and ITEM/AWC
switch and press the YES/ABC switch.
RCU (RCB):
Set the user set switch in the pocket to the OFF position.
The camera will now operate according to the new settings.
$
Changing the Language setting
The language on the menu screen can be changed from
English to Japanese. (Factory setting: English)
• Halogen, Fluorescent, Outdoor Mode
Select “Japanese” in the “Language” setting in Other Set
submenu.
• Use Mode
Select “Japanese” in the “Language” setting in Other Set2
submenu.
RCU (RCB)
CAMERA
MENU
ITEM/AWC
YES/ABC
NO/BAR
USER SET switch
Summary of Contents for F0205Y0
Page 2: ......
Page 10: ... 10 Major operating controls and their functions Front view Top view Side view ...
Page 57: ... 57 Appearance 3 5 16 84 6 11 16 170 15 32 12 25 64 10 3 1 32 77 23 32 18 Unit inch mm ...
Page 60: ... 60 Standard accessories Rubber sheet 1 Mounting adapter 1 Screw 2 Mounting spacer 1 ...


