5 Printing
5.1 Printing from Windows applications
You can print a file created in a Windows application. For example, to print from WordPad, proceed as follows:
1.
Open the document you want to print.
2.
Select [
] from the menu.
3.
Select the unit's name as the active printer.
• When mode restriction (feature #154) is activated, enter the department code in the printer settings using
[
Job Type
] beforehand (page 68). If the department code does not match, or the department code
restricts the print mode, printing will be cancelled.
• To change the printer settings, click [
Preferences
], then click the desired tab. Change the printer settings,
then click [
OK
].
4.
Click [
].
Note
• For details about the paper specifications, see page 187.
Setting the printer properties
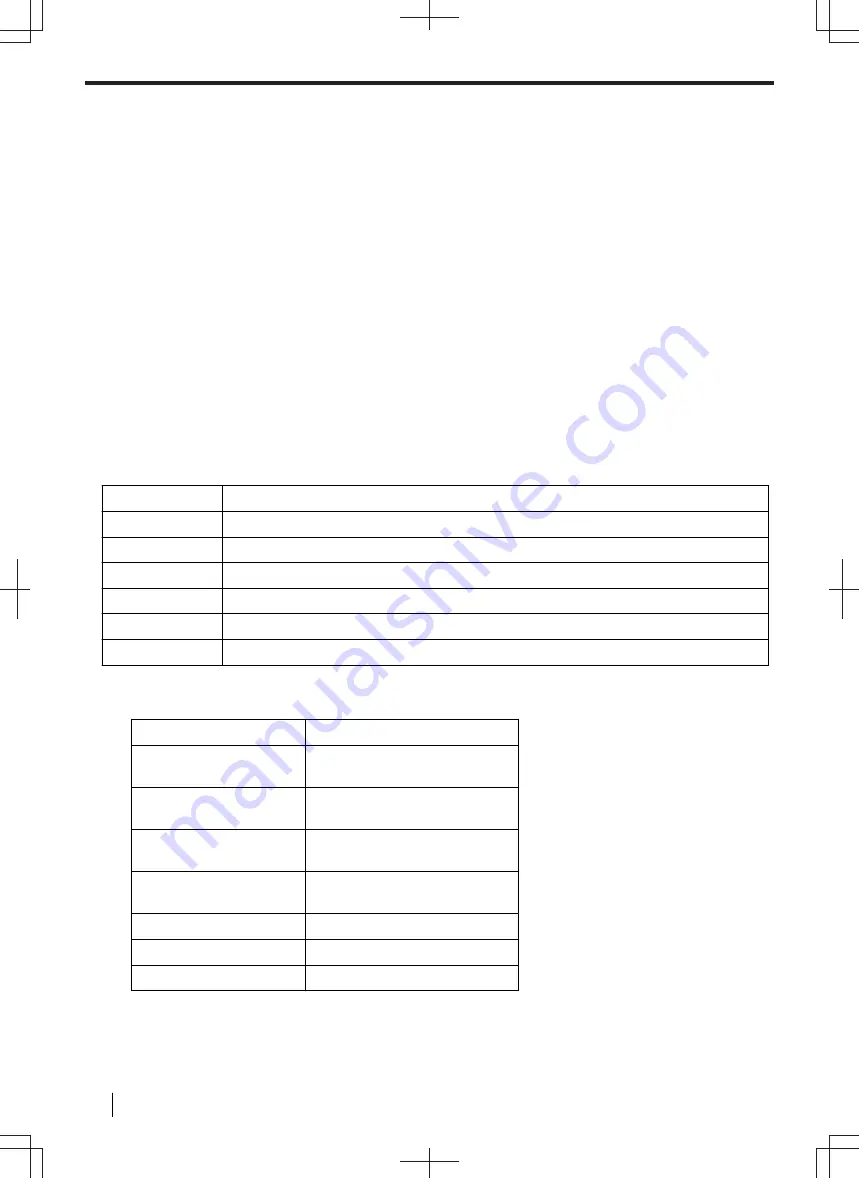
You can change or display the settings on the following tabs.
[
Basic
]
Paper size, media type, pages per sheet, duplex, etc.
[
Output
]
Number of prints, collate, etc.
[
Job Type
]
Mode restriction, Secure Print, Proof Print
[
Quality
]
Quality, contrast, toner save feature, etc.
[
Effects
]
Watermark, overlay.
[
Profile
]
Saving the desired settings, selecting the saved settings, etc.
[
Support
]
Version information.
Note
• Select the desired media type on the [
Basic
] tab according to the recording paper.
Recording paper type
Media type
Plain paper
75 g/m² to 105 g/m²
[
Plain Paper
]
Thin paper
60 g/m² to 75 g/m²
[
Thin Paper
]
Thick paper
105 g/m² to 170 g/m²
[
Thick Paper
]
Thick paper
170 g/m² to 220 g/m²
[
Thick Paper 2
]
Transparency
[
Transparency
]
Label
[
Label
]
Envelope
[
Envelope
]
5 Printing
68
Operating Instructions


