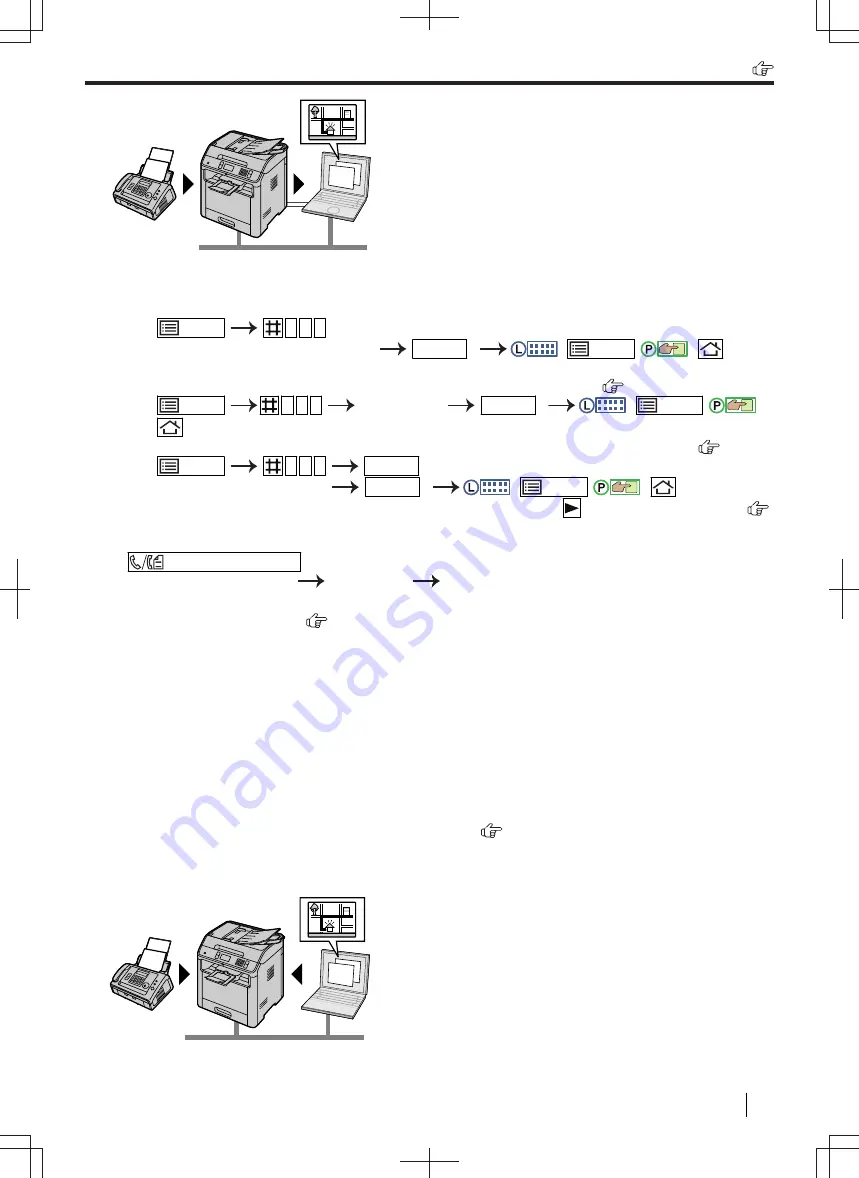
To activate this feature, set the following beforehand:
1.
Activate the PC fax setting (feature #442).
1.
/MENU
4 4 2
2.
Select
"
ALWAYS
"
or
"
CONNECTED
"
.
OK/SET
:
/MENU
/
:
• See the PC fax setting (feature #442) for details about the selections.
2.
Deactivate the fax preview mode (feature #448) (LAN supported models only). (
)
1.
/MENU
4 4 8
Select
"
OFF
"
.
OK/SET
:
/MENU
/
:
3.
Set the computer setting for the PC fax reception (feature #443) (LAN supported models only). (
)
1.
/MENU
4 4 3
OK/SET
2.
Select the desired computer.
OK/SET
:
/MENU
/
:
• You can display IP address of the selected computer by pressing
. (2-line LCD models only) (
)
• If the unit is not connected to the LAN, the computer connected to the unit by USB is assigned as the
default computer for PC fax reception.
4.
/FAX AUTO ANSWER
(repeatedly): Turn the auto answer setting ON.
5.
Start Multi-Function Station.
[
Application
]
[
PC FAX
]
• When a fax call is received, your computer will receive a document through the unit.
*1
For 2-line LCD models only. (
)
Viewing a received document
1.
Select [
Received Log
] in [
Communication Log
].
2.
Click the item you want to view.
3.
Click the [
View
] icon in the toolbar.
• If a received fax document is stored in the unit's memory, click [
Receive a Fax
] beforehand.
Note
• You can view, print or transfer the received document using your computer.
• Messages transferred to your computer will be deleted from the unit.
8.7.3 Web fax preview (LAN supported models only)
You can display a received fax document in your web browser without printing, and print or save the necessary
document after you confirm the image.
8.7.3 Web fax preview (LAN supported models only)
Operating Instructions
117


