background image

2

TQBA2018

IMPORTANT SAFETY 

INSTRUCTIONS

Read these operating instructions carefully before using the unit. 

Follow the safety instructions on the unit and the applicable safety 

instructions listed below. Keep these operating instructions handy for 

future reference.

1 Read these instructions.
2 Keep these instructions.
3 Heed all warnings.
4 Follow all instructions.
5 Do not use this apparatus near water.
6 Clean only with dry cloth.
7 Do not block any ventilation openings. Install in accordance 

with the manufacturer’s instructions.

8 Do not install near any heat sources such as radiators, heat 

registers, stoves, or other apparatus (including amplifiers) that 
produce heat.

9 Do not defeat the safety purpose of the polarized or 

grounding-type plug. A polarized plug has two blades with one 
wider than the other. A grounding-type plug has two blades and 
a third grounding prong. The wide blade or the third prong are 
provided for your safety. If the provided plug does not fit into 
your outlet, consult an electrician for replacement of the 
obsolete outlet.

10 Protect the power cord from being walked on or pinched 

particularly at plugs, convenience receptacles, and the point 
where they exit from the apparatus.

11 Only use attachments/accessories specified by the 

manufacturer.

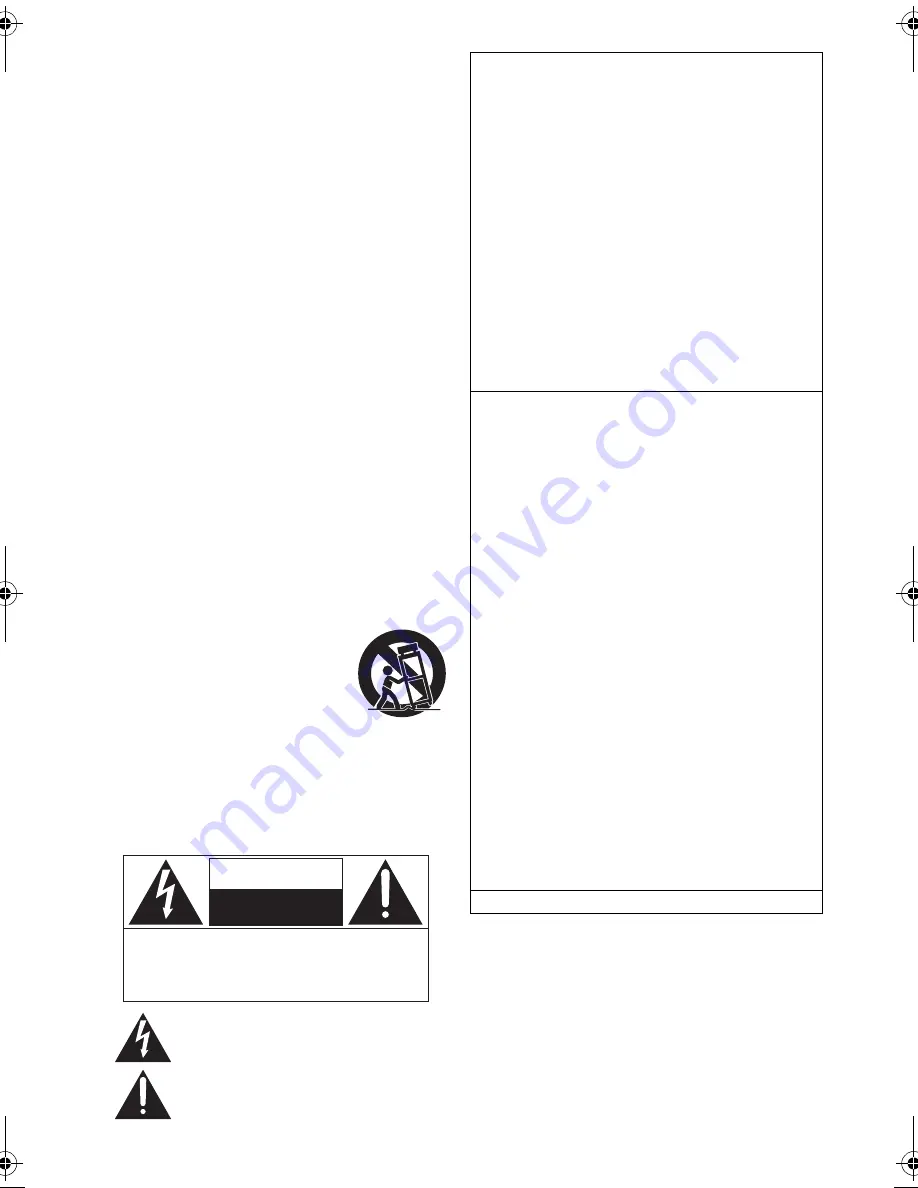
12 Use only with the cart, stand, tripod, 

bracket, or table specified by the 
manufacturer, or sold with the apparatus. 
When a cart is used, use caution when 
moving the cart/apparatus combination to 
avoid injury from tip-over.

13 Unplug this apparatus during lightning 

storms or when unused for long periods of 
time.

14 Refer all servicing to qualified service personnel. Servicing is 

required when the apparatus has been damaged in any way, 
such as power-supply cord or plug is damaged, liquid has been 
spilled or objects have fallen into the apparatus, the apparatus 
has been exposed to rain or moisture, does not operate 
normally, or has been dropped.

The lightning flash with arrowhead symbol, within an 
equilateral triangle, is intended to alert the user to the 
presence of uninsulated “dangerous voltage” within 
the product’s enclosure that may be of sufficient 
magnitude to constitute a risk of electric shock to persons.

CAUTION

CAUTION :

TO REDUCE THE RISK OF ELECTRIC
SHOCK, DO NOT REMOVE SCREWS.
NO USER-SERVICEABLE PARTS
INSIDE.
REFER SERVICING TO QUALIFIED
SERVICE PERSONNEL.

The exclamation point within an equilateral triangle is 
intended to alert the user to the presence of important 
operating and maintenance (servicing) instructions in 
the literature accompanying the appliance.

RISK


OF


ELECTRIC


SHOCK

DO


NOT


OPEN

This device complies with Part 15 of the FCC Rules.

Operation is subject to the following two conditions:

(1) This device may not cause harmful interference, and 

(2) this device must accept any interference received, including 

interference that may cause undesired operation.

Contains FCC ID: H8N-WLU5330
5.47-5.725 GHz band is restricted to indoor operations only.
FCC CAUTION

Any changes or modifications not expressly approved by the party 

responsible for compliance could void the user’s authority to operate 

this equipment.
This transmitter must not be co-located or operated in conjunction 

with any other antenna or transmitter.
This equipment complies with FCC radiation exposure limits set 

forth for an uncontrolled environment and meets the FCC radio 

frequency (RF) Exposure Guidelines in Supplement C to OET65.

This equipment has very low levels of RF energy that are deemed to 

comply without testing of specific absorption ratio (SAR).

But it is desirable that it should be installed and operated keeping 

the radiator at least 20 cm (7 

7

/

8

q

) or more away from person’s body 

(excluding extremities: hands, wrists, feet and ankles).

FCC Note:

This equipment has been tested and found to comply with the limits 

for a Class B digital device, pursuant to Part 15 of the FCC Rules. 

These limits are designed to provide reasonable protection against 

harmful interference in a residential installation. This equipment 

generates, uses, and can radiate radio frequency energy and, if not 

installed and used in accordance with the instructions, may cause 

harmful interference to radio communications. However, there is no 

guarantee that interference will not occur in a particular installation. 

If this equipment does cause harmful interference to radio or 

television reception, which can be determined by turning the 

equipment off and on, the user is encouraged to try to correct the 

interference by one or more of the following measures: 

Reorient or relocate the receiving antenna.

Increase the separation between the equipment and receiver.

Connect the equipment into an outlet on a circuit different from 

that to which the receiver is connected.

Consult the dealer or an experienced radio/TV technician for help.

FCC Caution: To assure continued compliance, follow the attached 

installation instructions and use only shielded interface cables when 

connecting to peripheral devices.

Any changes or modifications not expressly approved by the party 

responsible for compliance could void the user’s authority to operate 

this equipment.
This device complies with Part 15 of the FCC Rules. Operation is 

subject to the following two conditions: 

(1) This device may not cause harmful interference, and 

(2) this device must accept any interference received, including 

interference that may cause undesired operation.
Responsible Party:

Panasonic Corporation of North America

Two Riverfront Plaza, Newark, NJ 07102-5490

Support Contact: http://shop.panasonic.com/support
Conforms to UL STD 60065.

DMP-UB900_P-TQBA2018.book  2 ページ  2016年6月8日 水曜日 午後4時49分

Summary of Contents for DMP-UB900

Page 1: ...http shop panasonic com support Register online at http shop panasonic com support U S customers only Firmware updates Panasonic is constantly improving the unit s firmware to ensure that our customer...

Page 2: ...wing two conditions 1 This device may not cause harmful interference and 2 this device must accept any interference received including interference that may cause undesired operation Contains FCC ID H...

Page 3: ...riod of time with doors and windows closed Do not take apart or short circuit Do not recharge alkaline or manganese batteries Do not use batteries if the covering has been peeled off Remove batteries...

Page 4: ...to an amplifier receiver 11 Connecting to the network 16 Settings 17 Reprogramming the remote control 18 Playback HOME menu 19 Playback 19 Network Service Enjoying Netflix etc 22 Home Network feature...

Page 5: ...clean the unit s lens Clean discs Wipe with a damp cloth and then wipe dry with a dry cloth Disc and card handling precautions Handle discs by the edges to avoid inadvertent scratches or fingerprints...

Page 6: ...O AAC ALAC FLAC MP3 Music CD DA WAV WMA SD Memory Card from 8 MB to 2 GB SDHC Memory Card from 4 GB to 32 GB SDXC Memory Card 48 GB 64 GB Compatible with both mini and micro types AVCHD AVCHD 3D MP4 J...

Page 7: ...an adaptor card To protect the card s contents move the record prevention tab on the SD card to LOCK This unit is compatible with SD Memory Cards that meet SD Card Specifications FAT12 and FAT16 forma...

Page 8: ...on the screen 9 Basic playback control buttons 19 10 Show Closed Caption setup screen 27 11 Show Playback Information Window 20 12 Show the status messages 20 13 Show Video Settings 27 14 Switch the S...

Page 9: ...HDMI AUDIO OUT terminal 11 4 HDMI VIDEO OUT terminal 10 5 2ch AUDIO OUT terminals 12 6 7 1ch AUDIO OUT terminals 12 7 OPTICAL COAXIAL terminal DIGITAL AUDIO OUT terminals 12 8 Cooling fan 9 HDMI OUT t...

Page 10: ...t supports 18 Gbps When outputting 1080p or 24p 4K signal please use HDMI cables 5 0 meters 16 4 ft or less It is recommended that you use Panasonic s HDMI cable If you connect this unit to a 4K compa...

Page 11: ...MI cable that supports 18 Gbps Enjoying video with a 4K compatible TV and audio with a 4K compatible amplifier HDMI IN HDMI IN HDMI cable HDMI cable Amplifier receiver Setting Set the following items...

Page 12: ...e OPTICAL COAXIAL terminal or 2ch AUDIO OUT terminals Set Audio Output to Off in Advanced Settings 30 To enjoy audio with an amplifier connected to the 7 1ch AUDIO OUT terminals Set Analog Multi Chann...

Page 13: ...erminal and another amplifier connected to the OPTICAL COAXIAL 2ch AUDIO OUT 7 1ch AUDIO OUT terminals Setting Set the following items in the setup menu 29 Set HDMI VIDEO Output Mode to Auto Video Onl...

Page 14: ...9 To enjoy audio with an amplifier connected to the OPTICAL COAXIAL terminal or 2ch AUDIO OUT terminals Set Audio Output to Off in Advanced Settings 30 To enjoy audio with an amplifier connected to th...

Page 15: ...ings 30 To enjoy audio with an amplifier connected to the 7 1ch AUDIO OUT terminals Set Analog Multi Channel to On 31 To enjoy audio with a TV Set HDMI VIDEO Output Mode to Video Audio 29 To enjoy vid...

Page 16: ...en connecting to peripheral devices Inserting any cable other than a LAN cable in the LAN port can damage the unit Firmware can be updated 18 You can enjoy Ultra HD Blu ray BD Live Network Service 21...

Page 17: ...be displayed in this case enter manually in the following order 1 To display the SSID input screen Press HOME select OK to select Setup select Player Settings and press OK select Network and press OK...

Page 18: ...power supply cord while the update is in progress may damage the unit After the firmware is installed FINISH will be displayed on the unit s display Unit will restart and the following screen will be...

Page 19: ...TV Resolution is set to Auto or 4K 29 This unit can not output 4K images when playing back in 3D It is not possible to play back AVCHD and MPEG2 videos which have been dragged and dropped or copied a...

Page 20: ...m and press OK While playing press PLAYBACK INFO You can check the detailed disc playback status Press RETURN to exit While playing press STATUS The status messages give you information about what is...

Page 21: ...esigned to prevent illegal copying 2 2 represents a version 2 Dynamic Range Conversion is a function that converts HDR video signals into video signals suited to TVs that do not support HDR input Prep...

Page 22: ...lustration purposes contents may change without notice Preparation Network connection 16 Network setting 17 You must agree to the terms of use for the Internet function and the privacy policy 33 Notic...

Page 23: ...ut notice Therefore Panasonic will make no warranty for the content or the continuity of the services Some features of websites or content of the service may not be available Some content may be inapp...

Page 24: ...ompatible software should be installed Preparation Perform the Remote Device Settings 33 You can register up to 16 devices 1 Press HOME 2 Select Home Network and press OK 3 Select Media Renderer and p...

Page 25: ...ting is On The buttons and functions that you can use for this unit vary depending on the TV For details refer to the owner s manuals of the TV The operation of this unit may be interrupted when you p...

Page 26: ...e disc etc but the items displayed will differ depending on the type of the media Select Off to cancel Shuffle Select whether or not to play random Start Slideshow Start the slideshow Status Show the...

Page 27: ...ge Conversion Adjustment When this unit is connected to a TV that does not support HDR High Dynamic Range input HDR video is output converting to a SDR Standard Dynamic Range video signal If you set a...

Page 28: ...ction can be set individually 2 This function is effective for audio from HDMI OUT or DIGITAL AUDIO OUT only when Digital Audio Output is set to PCM 30 Dialog Enhancer The volume of the center channel...

Page 29: ...HDMI cable that does not support 18 Gbps To connect to a TV that supports 4K 60p 4 2 0 8 bit select 4K 60p 4 2 0 24p Output Movies and other material recorded at 24p 2 are output at 24p When this unit...

Page 30: ...s When you have selected PCM in Digital Audio Output When the audio is Dolby Digital Dolby Digital Plus Dolby TrueHD or LPCM BD Video playback 1 A high resolution image display technology of approxima...

Page 31: ...d encoded when the connected equipment supports the virtual surround function The downmix effect is not available when Digital Audio Output is set to Bitstream The audio will be output in Stereo in th...

Page 32: ...screen Language Choose the language for menus and on screen messages Closed Caption Closed captioning services are dependent on contents and the unit can display closed captions of both digital and an...

Page 33: ...ng Daylight Saving time Notice Displays the terms of service for the cloud services Network Drive Connection This unit can access a hard disk shared folder on a network and play back videos still pict...

Page 34: ...ound is set to Off 31 Except for when High Clarity Sound is set to Off Quick Start Speed of start up from standby mode is increased When set to On the internal control unit will be powered The idle po...

Page 35: ...the blue button on the remote control at the same time for more than 5 seconds 00 RET is displayed on the unit s display 2 Press 1 right repeatedly on the remote control until 08 FIN is displayed on...

Page 36: ...ource Images from this unit do not appear on the TV screen or they are distorted An incorrect resolution is selected in Resolution Reset the setting as follows 1 While the unit is on Press and hold OK...

Page 37: ...tly as 2D Select Set before play in the Setup menu and select 2D Playback in the setup screen displayed when playing 3D discs 31 3D BD Video Playback Discs that have recorded titles with Side by side...

Page 38: ...MI Only or Analog Only 31 2ch AUDIO OUT terminals When a device is connected to the HDMI AUDIO OUT terminal and Audio Output in Advanced Settings is set to On 30 While playback is being performed with...

Page 39: ...motion etc IP address is not set The IP Address in IP Address DNS Settings is Set the IP Address Subnet Mask and Default Gateway Select the automatic address acquisition if necessary The current wirel...

Page 40: ...Dimensions WkHkD Including the projecting parts 435 mmk68 mmk207 mm Approx 17 3 16zk2 11 16zk8 3 16z Mass Weight Approx 2 4 kg 5 3 lbs File format File format Extension Reference MKV MKV mkv The video...

Page 41: ...t following contents are playable File formats that are not supported by your DLNA server cannot be played Video Photo Audio Depending on the server the contents other than stated above can be played...

Page 42: ...epali 7869 Norwegian 7879 Oriya 7982 Pashto Pushto 8083 Persian 7065 Polish 8076 Portuguese 8084 Punjabi 8065 Quechua 8185 Rhaeto Romance 8277 Romanian 8279 Russian 8285 Samoan 8377 Sanskrit 8365 Scot...

Page 43: ...a trademark of DVD Format Logo Licensing Corporation The Wi Fi CERTIFIEDTM Logo is a certification mark of Wi Fi Alliance The Wi Fi Protected SetupTM Identifier mark is a certification mark of Wi Fi...

Page 44: ...owners use Microsoft PlayReady content access technology to protect their intellectual property including copyrighted content This device uses PlayReady technology to access PlayReady protected conten...

Page 45: ...y installation set up adjustments misadjustment of consumer controls improper maintenance power line surge lightning damage modification introduction of sand humidity or liquids commercial use such as...

Page 46: ...pera Accionamiento r pido Desactivado aprox 0 2 W Para ahorrar energ a cuando no vaya a utilizar la unidad durante mucho tiempo desench fela de la toma de corriente Conexiones b sicas Conexi n a un te...

Page 47: ...s discos BD Video incluidos los BD J la funci n de reanudaci n de la reproducci n no funciona Pulse Pulse otra vez o 1 para reiniciar la reproducci n B squeda Durante la reproducci n pulse 6 o 5 Ultra...

Page 48: ...sume play function 19 S Subtitle 26 32 U Ultra HD Blu ray 21 USB device 7 V VIERA Link 25 W Wireless LAN 16 24p 27 29 4K 17 27 29 USA Only Disposal may be regulated in your community due to environmen...

Reviews: