15
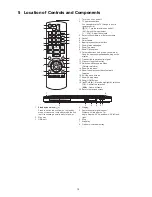
5 Location of Controls and Components
1
Standby/on switch (
/I
)
Press to switch the unit from on to standby
mode or vice versa. In standby mode, the unit
is still consuming a small amount of power.
4
Display
5
Remote control signal sensor
Distance: Within approx. 7 m
Angle: Approx. 20
G
up and down, 30
G
left and
right
1
Turn the unit on and off
2
TV operation buttons
You can operate the TV through the unit’s
remote control.
[
TV] : Turn the television on and off
[AV] : Switch the input select
[
K L
VOL] : Adjust the volume
3
Select title numbers, etc./Enter numbers
4
Cancel
5
Select audio
6
Basic playback control buttons
7
Show status messages
8
Show Top menu
9
Show Option menu
10 Coloured buttons (red, green, yellow, blue)
Used for various purposes depending on the
display
11 Transmit the remote control signal
12 Open or close the disc tray
13 Switch on/off Secondary Video
(Picture-in-picture)
14 Show Setup menu
15 Show the selection screen of network
features
16 Exit the menu screen
17 Show Pop-up menu
18 Show HOME menu
19 [
,
,
,
] : Move the highlight for selection
[OK] : Confirm the selection
(
) : Frame-by-frame
20 Return to previous screen
1
8
2
3
4
6 7
5
2
Disc tray
3
USB port
6
Stop
7
Start play
8
Open or close the disc tray
1
2
3
6
4
5
7
8
19
10
9
20
18
16
15
17
14
13
12
11
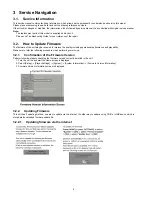
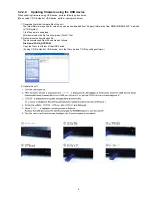
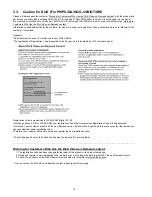
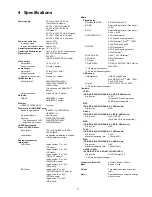
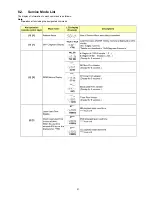
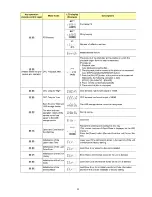
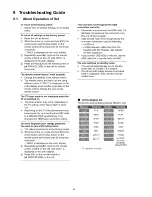
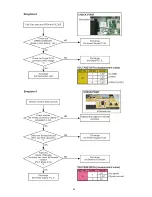
Summary of Contents for DMP-BD87PX
Page 6: ...6 2 3 Precaution of Laser Diode ...
Page 12: ...12 4 1 Others Licenses ...
Page 13: ...13 ...
Page 14: ...14 ...
Page 18: ...18 7 2 1 Open Mode Remote Cont Buttons OK Yellow Blue ...
Page 22: ...22 ...
Page 23: ...23 ...
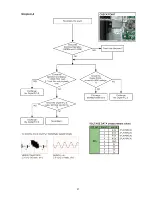
Page 24: ...24 9 Troubleshooting Guide 9 1 About Operation of Set ...
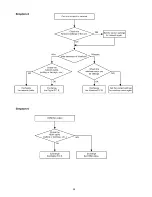
Page 25: ...25 9 2 About Circuit ...
Page 26: ...26 ...
Page 27: ...27 ...
Page 28: ...28 ...
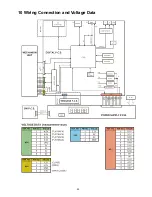
Page 29: ...29 10 Wiring Connection and Voltage Data ...
Page 35: ...35 12 Exploded View and Replacement Parts List 12 1 Casing Parts Mechanism Section ...


