background image

Basic

Operating Instructions

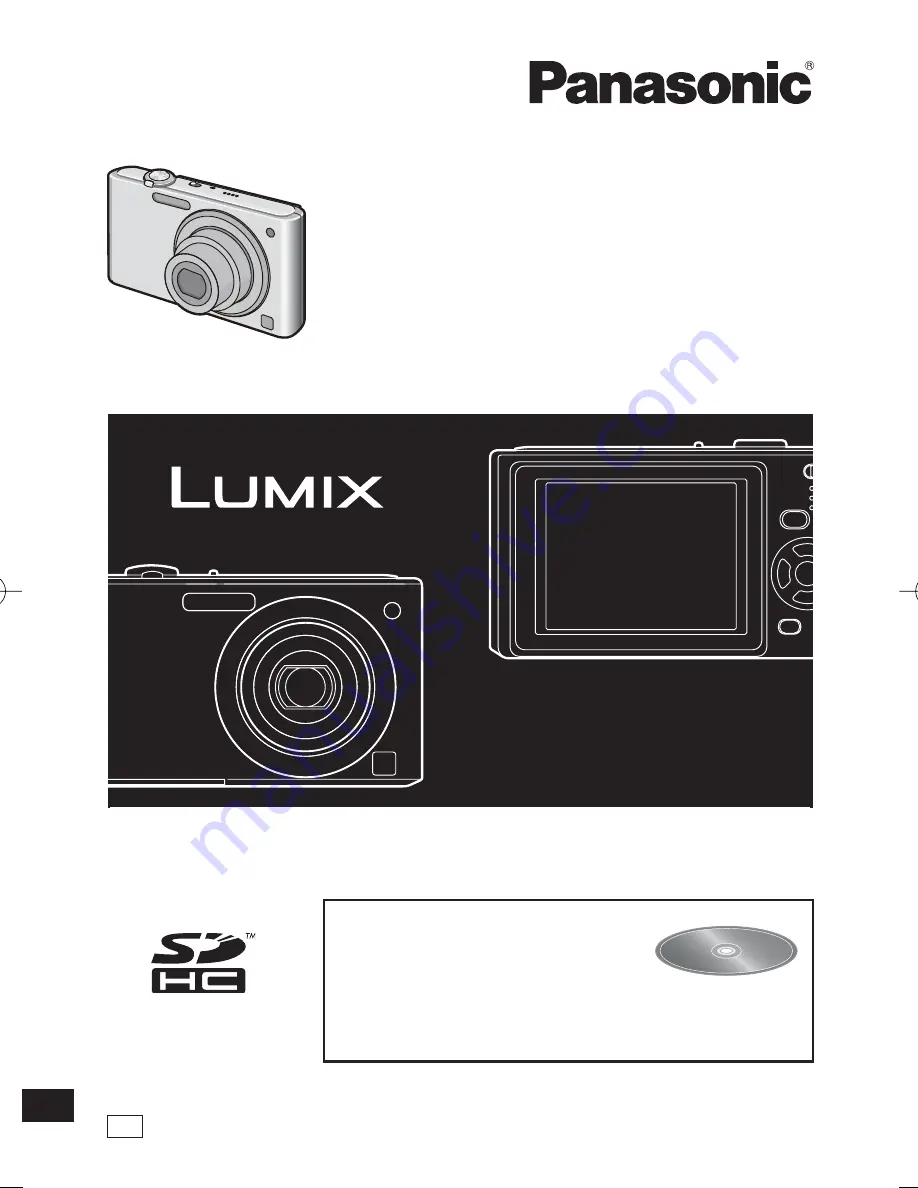
Digital Camera

GN

VQT2T58

H0210HM0

Before use, please read these instructions completely.

Please also refer to Operating 

Instructions (PDF format) recorded 

on the CD-ROM containing the 

Operating Instructions (supplied).

You can learn about advanced operation methods and 

check the Troubleshooting.

Model No.

 DMC-F2

VQT2T58_DMC-F2_GN_EN.indd   1

VQT2T58_DMC-F2_GN_EN.indd   1

2010/02/03   15:26:27

2010/02/03   15:26:27

Summary of Contents for DMC-F2K

Page 1: ...fore use please read these instructions completely Please also refer to Operating Instructions PDF format recorded on the CD ROM containing the Operating Instructions supplied You can learn about advanced operation methods and check the Troubleshooting Model No DMC F2 ...

Page 2: ...cording of certain material may be restricted Please note that the actual controls and components menu items etc of your Digital Camera may look somewhat different from those shown in the illustrations in these Operating Instructions SDHC Logo is a trademark of SD 3C LLC Microsoft product screen shot s reprinted with permission from Microsoft Corporation Other names company names and product names...

Page 3: ...VENTILATED TO PREVENT RISK OF ELECTRIC SHOCK OR FIRE HAZARD DUE TO OVERHEATING ENSURE THAT CURTAINS AND ANY OTHER MATERIALS DO NOT OBSTRUCT THE VENTILATION VENTS DO NOT OBSTRUCT THE UNIT S VENTILATION OPENINGS WITH NEWSPAPERS TABLECLOTHS CURTAINS AND SIMILAR ITEMS DO NOT PLACE SOURCES OF NAKED FLAMES SUCH AS LIGHTED CANDLES ON THE UNIT DISPOSE OF BATTERIES IN AN ENVIRONMENTALLY FRIENDLY MANNER The...

Page 4: ...ters or high voltage lines If you record near radio transmitters or high voltage lines the recorded pictures and sound may be adversely affected Care of the camera Do not strongly shake or bump the camera by dropping it etc This unit may malfunction recording pictures may no longer be possible or the lens or the LCD monitor may be damaged We strongly recommend you do not leave the camera in your t...

Page 5: ...n to prevent swallowing About illustrations in these operating instructions Please note that the appearance of the product the illustration or the menu screen are a little different from those in actual use Contents Information for Your Safety 2 Standard Accessories 6 Names of the Components 7 Charging the Battery 8 Inserting Removing the Battery Card Optional 10 Setting Date Time Clock Set 11 Abo...

Page 6: ... Battery Charger Indicated as charger in the text 3 AC Cable 4 USB Connection Cable 5 CD ROM Software Use it to install the software to your PC Operating Instructions 6 Hand Strap 7 Battery Case SD Memory Card and SDHC Memory Card are indicated as card in the text Card is optional You can record or play back pictures on the built in memory when you are not using a card Consult the dealer or your n...

Page 7: ...tions using the cursor buttons are described as follows e g When you press the r p button or Press r 19 20 21 22 13 MODE button 14 MENU SET button 15 DISPLAY button 16 Q MENU Delete button 17 Hand strap eyelet Attach the strap when using the camera to prevent it from dropping 18 AV OUT DIGITAL socket 19 Tripod receptacle When you use a tripod make sure the tripod is stable with the camera attached...

Page 8: ...battery supports this function The only batteries suitable for use with this unit are genuine Panasonic products and batteries manufactured by other companies and certified by Panasonic Batteries which do not support this function cannot be used Panasonic cannot in any way guarantee the quality performance or safety of batteries which have been manufactured by other companies and are not genuine P...

Page 9: ...ug Otherwise a fire and or electric shocks may be caused by short circuiting or the resulting heat generated Battery life The number of recordable pictures By CIPA standard in Normal Picture Mode 1 Supplied battery Optional battery Number of recordable pictures Approx 300 pictures Approx 390 pictures Recording time Approx 150 min Approx 195 min Recording conditions by CIPA standard Temperature 23 ...

Page 10: ...ay become shorter in low temperature conditions e g skiing snowboarding Inserting Removing the Battery Card Optional Check that the camera is turned off We recommend using a Panasonic card 1 Slide the release lever in the direction of the arrow and open the card battery door Always use genuine Panasonic batteries CGA S 106C supplied or DMW BCF10E optional If you use other batteries we cannot guara...

Page 11: ...3 Press w q to select the items year month day hour minute display sequence or time display format and press e r to set Cq Dw C Time at the home area D Time at the travel destination 4 Cancel without setting the clock Select either 24HRS or AM PM for the time display format AM PM is displayed when AM PM is selected 4 Press MENU SET After completing the clock settings turn the camera off Then turn ...

Page 12: ...s maintained for 3 months using the built in clock battery even without the battery Leave the charged battery in the unit for 24 hours to charge the built in battery About the Mode and Menu Operation Mode switching MODE 1 Slide the recording playback switch A to 1 right or 5 left 1 Recording Mode 5 Playback Mode MODE 2 Press MODE to display the mode selection screen Example Normal Picture Mode 3 P...

Page 13: ...ains some important settings relating to the camera s clock and power Check the settings of this menu before proceeding to use the camera In Recording Mode In Playback Mode 1 REC menu 9 PLAYBACK menu This menu lets you set the coloring sensitivity or number of pixels etc of the pictures you are recording This menu lets you make the protection or print settings etc of recorded pictures e SETUP menu...

Page 14: ...xample Selecting 3 5 Press MENU SET to confirm your setting 6 Press MENU SET to close the menu Switching to the SETUP menu When the camera shows the menu screen after step 1 on How to use the menu 1 Press w to move the menu icon 2 Press r to select the SETUP menu icon e 3 Press q to move to the menu item list Proceed to step 2 on How to use the menu ...

Page 15: ...ld this unit gently with both hands keep your arms still at your side and stand with your feet slightly apart C Flash D AF assist lamp 4 Press the shutter button halfway to focus The focus indication E lights green when the subject is focused F E The AF area F is displayed around the subject s face by the face detection function In other cases it is displayed at the point on the subject which is i...

Page 16: ...o conditions such as the ones below a different scene may be identified for the same subject Subject conditions When the face is bright or dark The size of the subject The distance to the subject The contrast of the subject When the subject is moving When zoom is used Recording conditions Sunset Sunrise Under low brightness conditions When the camera is shaken To take pictures in an intended scene...

Page 17: ...n B halfway to focus The focus indication green lights when the subject is focused The focus range is 50 cm to 7 5 Press the shutter button fully push it in further and take the picture The access indication lights red when a picture is being recorded on the built in memory or the card Focusing Aim the AF area at the subject and then press the shutter button halfway Focus When the subject is focus...

Page 18: ...k switch was at 5 2 Press w q to select the picture B C w Play back the previous picture q Play back the next picture Speed of picture forwarding rewinding changes depending on the playback status Fast forwarding Fast rewinding Press and hold w q during playback The file number B and the picture number C only change one by one Release w q when the number of the desired picture appears to play back...

Page 19: ...ss 4 2 Press w to select YES and then press MENU SET To delete multiple pictures up to 50 or all the pictures 1 Press 4 2 Press e r to select DELETE MULTI or DELETE ALL and then press MENU SET DELETE ALL step 5 DISPLAY 3 Press e r w q to select the picture and then press DISPLAY to set Repeat this step The selected pictures appear with b When DISPLAY is pressed again the setting is canceled 4 Pres...

Page 20: ... Reader 5 0 or later or Adobe Reader 7 0 or later to browse or print the Operating Instructions PDF format Insert the CD ROM containing the Operating Instructions supplied click B and then follow the messages on the screen to install Compatible OS Windows 2000 SP4 Windows XP SP2 or SP3 Windows VISTA SP1 or SP2 Windows 7 You can download and install a version of Adobe Reader that you can use with y...

Page 21: ...area focusing 1 area focusing Focus range Normal 50 cm to 7 Macro Auto scene 5 cm Wide 50 cm Tele to 7 Scene mode settings may be different to those shown above Shutter system Electronic shutter Mechanical shutter Motion picture recording WVGA 848 480 pixels 30 frames second When a card is used VGA 640 480 pixels 30 frames second When a card is used QVGA 320 240 pixels 30 frames second With audio ...

Page 22: ...mode Multiple LCD monitor TFT LCD 2 5 Approx 230 000 dots field of view ratio about 100 Flash Flash range Approx 30 cm to 6 3 m Wide i AUTO AUTO AUTO Red eye reduction Forced ON Forced ON Red eye reduction Slow sync Red eye reduction Forced OFF Microphone Monaural Speaker Monaural Recording media Built in Memory Approx 50 MB SD Memory Card SDHC Memory Card Picture size Still picture 10M 3648 2736 ...

Page 23: ... projection part Mass Approx 112 g excluding Memory Card and battery Approx 134 g with Memory Card and battery Operating Temperature 0 C to 40 C Operating Humidity 10 to 80 Battery Charger Panasonic DE A60A Information for your safety Input 110 V to 240 V 50 60 Hz 0 2 A Output CHARGE 4 2 V 0 65 A Equipment mobility Movable Battery Pack lithium ion Panasonic CGA S 106C Information for your safety V...

Page 24: ...QuickTime and the QuickTime logo are trademarks or registered trademarks of Apple Inc used under license therefrom VQT2T58 H0210HM0 Panasonic Corporation 2010 Web Site http panasonic net ...

Reviews: