


8
VQT4W64
STEP
3
Channel reception settings and TV aspect settings
1
Turn on the television and select the
appropriate AV input to suit the
connections to this unit.
2
Press [
Í
] to turn the unit on.
≥
If the Language setting menu appears on the television,
press [
3
,
4
] to select the language and press [OK].
3
Press [
3
,
4
] to select the
broadcasting systems and press [OK].
1
Digital Cable (DVB-C) & Analogue Channels:
Performs the digital CATV broadcasting and analogue
broadcasting Auto-Setup.
2
Digital Terrestrial (DVB-T) & Analogue Channels:
Performs the digital terrestrial broadcasting and analogue
broadcasting Auto-Setup.
3
Digital Cable (DVB-C) Channels:
Performs the digital CATV broadcasting Auto Setup only.
4
Digital Terrestrial (DVB-T) Channels:
Performs the digital terrestrial broadcasting Auto Setup
only.
4
Scan and set up broadcasting
channels.
Press [
3
,
4
] to select “Quick Scan” or “Full Scan” and
press [OK].
“DVB Auto Setup” starts.
≥
“Quick Scan” searches according to NIT (Network
Information Table) of CATV operators.
This takes about 5 minutes.
If no digital channels are found by “Quick Scan”, “Full Scan”
starts continuously.
≥
“Full Scan” searches all range of the frequency.
This takes about 20 minutes.
When selecting
1
, analogue broadcasting “Auto Setup” is
executed after “DVB Auto Setup” is completed.
Press [
3
,
4
] to select “On” or “Off” and press [OK].
When using indoor antenna that is not equipped with power
supply, select “On”.
“DVB Auto Setup” starts.
The unit will search for the terrestrial digital channels. TV
channels will be located and stored ready for use.
This takes 5-10 minutes.
When selecting
2
, analogue broadcasting “Auto Setup” is
executed after “DVB Auto Setup” is completed.
5
Press [
3
,
4
] to select “On”, “Off” or
“On Timer” and press [OK] when the
“Power Save in Standby” setting
menu appears.
The features of the Power Save in Standby function when
the unit is in standby mode are as below.
§
1
“Unit’s Display” is set to “Automatic” in the Setup menu.
(
>
68)
§
2
It is possible to startup and start recording within several
seconds.
– Depending on the type of TV or the connected terminal, it
may take time to display the screen.
§
3
When “RF OUT ( Aerial Signal )” is set to “Off” in the
Setup menu (
>
71)
If the TV aspect setting screen appears on the
television.
Press [
3
,
4
] to select the TV aspect and press [OK].
≥
16:9:
When connected to a 16:9 widescreen television
≥
Pan & Scan:
When connected to a 4:3 aspect television,
side picture is trimmed for 16:9 picture
(
>
85).
≥
Letterbox:
When connected to a 4:3 aspect television.
16:9 picture is shown in the letterbox style
(
>
85).
When television picture appears, setup is complete.
Digital CATV broadcasting Auto Setup
(Selecting
1
or
3
on step 3)
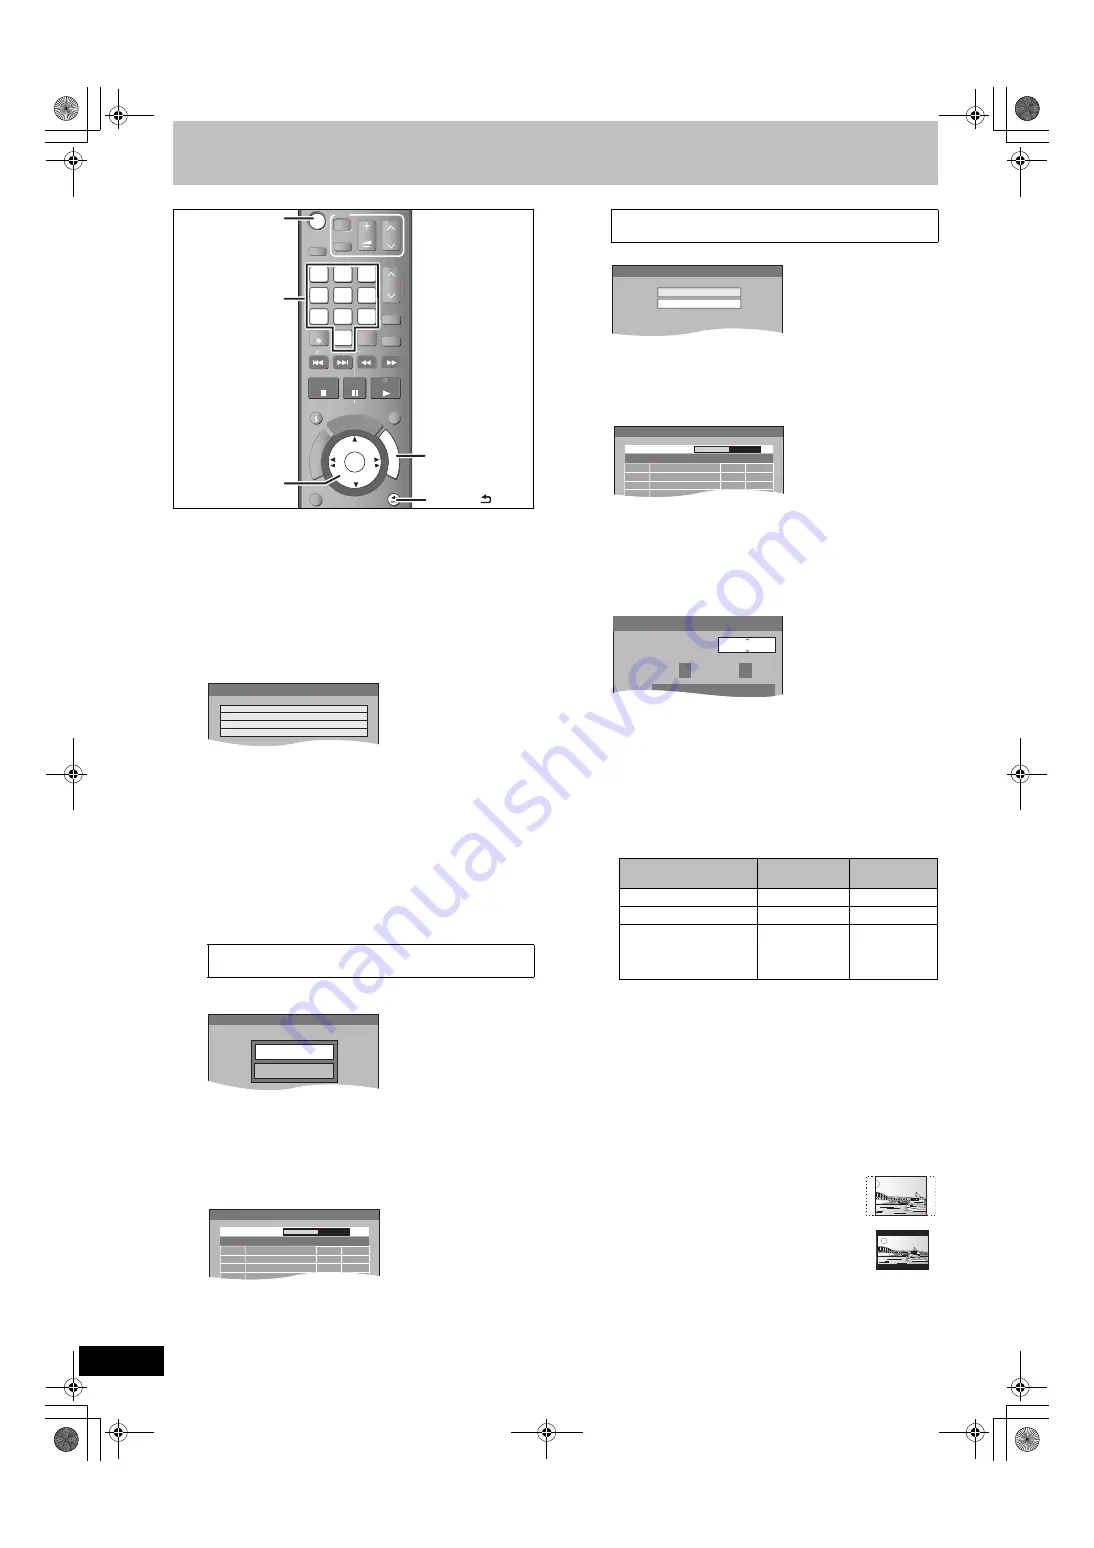
MANUAL SKIP
STOP
PAUSE PLAY/x1.3
INPUT
SELECT
0
9
8
7
6
5
4
3
2
1
CH
CH
PAGE
SLOW/SEARCH
VOL
AV
DRIVE
SELECT
TV
STATUS
EXIT
OPTION
RETURN
DELETE
OK
DIR
ECT
NA
VIG
ATO
R
FUN
CTIO
N M
ENU
GUIDE
ShowView
PROG/CHECK
PAUSE LIVE TV
SKIP
OK
,
,
,
OK
0
9
8
7
6
5
4
3
2
1
RETURN
FUN
CTIO
N M
ENU
FUNCTION
MENU
Numbered
buttons
Auto Setup
Digital Cable (DVB-C) & Analogue Channels
Digital Terrestrial (DVB-T) & Analogue Channels
Digital Cable (DVB-C) Channels
Digital Terrestrial (DVB-T) Channels
DVB Auto Setup
Quick Scan
Full Scan
DVB Auto Setup
Progress
0%
100%
No.
Quality
Channel Name
Type
Das Erste
ZDF
1
2
TV
Data
9
9
Digital terrestrial broadcasting Auto Setup
(Selecting
2
or
4
on step 3)
On:
It will go into the Power Save in Standby mode
when the unit is in standby mode.
Off:
It is possible to start quickly from the standby mode.
(Quick Start mode)
On Timer:
Press [
3
,
4
,
2
,
1
] to set the start and stop time
and then press [OK].
≥
“Power Save in Standby” is set to activate during
the setting time period.
Power Save in Standby Activated (On/
On Timer)
§
1
Deactivated
(Off)
Power consumption
Approx. 0.3 W
§
3
Approx. 13 W
Startup time
Not Quick
Quick
§
2
Watching the picture
(e.g. Digital satellite TV)
from the device
connected to AV2
Cannot do
Can do
Active Antenna
Please check whether your
indoor antenna has its own
power supply or needs
a power supply by the DVD
Off
On
DVB Auto Setup
Scan
CH 5
69
CH
Quality
Channel Name
Type
ABC
ABC 2
1
2
TV
Data
9
9
Power Save in Standby
Power Save
On
To
6
:00
From
0
:00
Saves standby power consumption
b di
bli
Q i k S
f
i
d
DMREX96C-VQTXXXX_eng.book 8 ページ 2013年3月5日 火曜日 午後5時51分


