69
RQT8859
1
While stopped
Press [FUNCTION MENU].
2
Press [
3
,
4
] to select “To Others”
and press [OK].
3
Press [
3
,
4
] to select “Setup” and
press [OK].
4
Press [
3
,
4
] to select “Tuning” and
press [
1
].
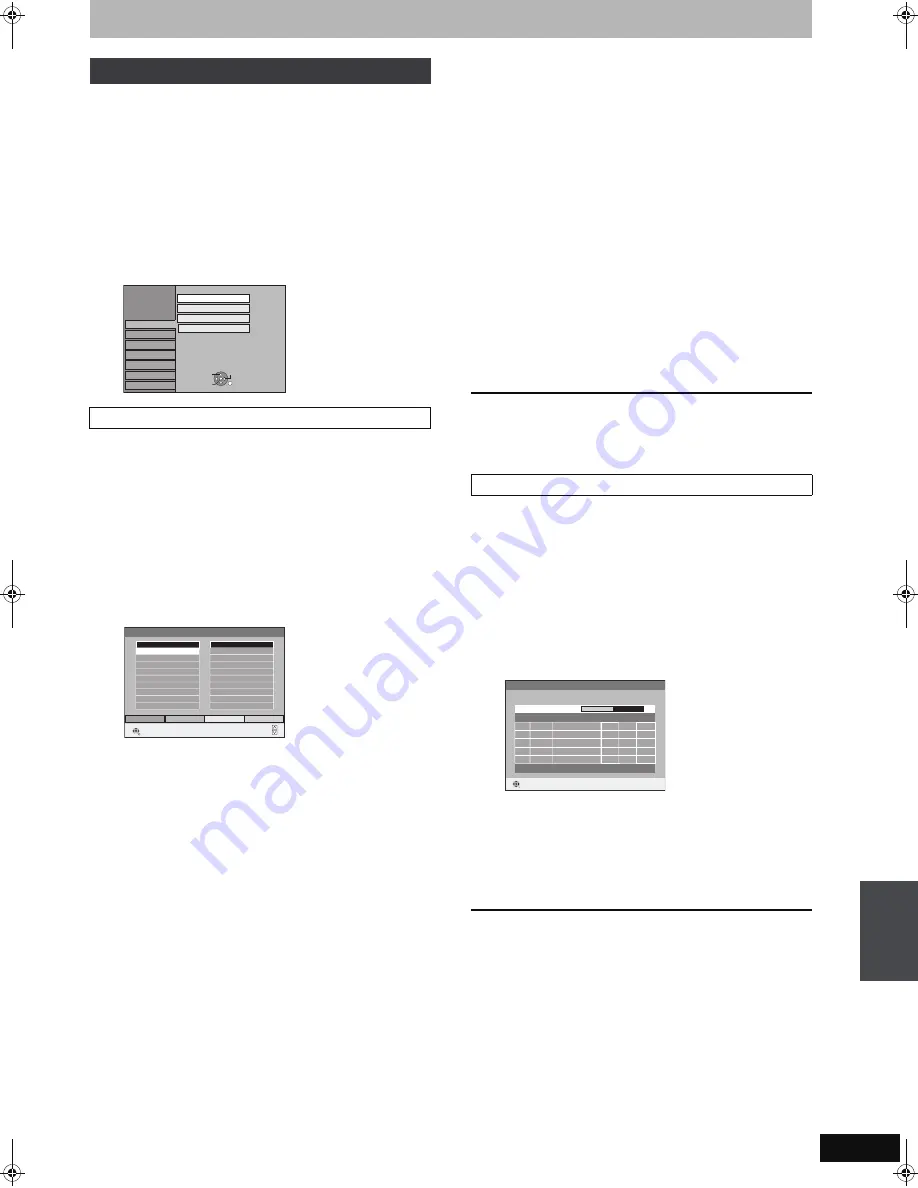
You can create four groups of channels for making viewing and
recording easier. Editing these groups does not affect the channel
setting itself.
≥
Timer recording may not work correctly if you edit the groups
during timer recording standby.
After performing steps 1–4
5
Press [
3
,
4
] to select “Edit
Favourites” and press [OK].
6
Press the “Green” button to select the
group.
∫
To add channels to a group
After performing steps 1–6
1
Press [
3
,
4
] to select the channel in the “All
Services” column and press the “Yellow”
button.
≥
Repeat this step to add other channels.
≥
Press the “Blue” button to add all the available channels to the
group. (Only when no channels have been added to the group.)
2
Press [OK] to save the group.
∫
To change the order of channels of a group
After performing steps 1–6
1
Press [
1
]
§
.
2
Press [
3
,
4
] to select the channel in the
“Favourite” column to move and press the
“Green” button.
3
Press [
3
,
4
] to select the new position of the
channel and press the “Green” button.
≥
Repeat the steps
2
–
3
to move other channels.
4
Press [OK] to save the group.
∫
To delete channels on a group
After performing steps 1–6
1
Press [
1
]
§
.
2
Press [
3
,
4
] to select the channel in the
“Favourite” column and press the “Yellow”
button.
≥
Repeat this step to delete other channels.
≥
Press the “Blue” button to delete all the channels from the
group.
3
Press [OK] to save the group.
Deleting a channel from a group does not affect the channel
itself. You can still select the channel from the “All Services”
group.
∫
To change the name of a group in the
“Favourite” column
After performing steps 1–6
1
Press [
1
]
§
.
2
Press the “Red” button.
(
➡
59, Entering text)
§
When the station name of the “All Services” column is highlighted
To browse through the list
Press [
W X
CH].
To exit the screen
Press [EXIT].
You can search for newly added terrestrial digital channels to
receive.
After performing steps 1–4
5
Press [
3
,
4
] to select “Settings for
Digital Services” and press [OK].
6
Press [
3
,
4
] to select “Add New DVB
Services” and press [OK].
The unit starts searching for newly available terrestrial digital
channels. This takes about 5 minutes.
A message is displayed when the search is finished.
“No new services found.” is displayed when no new services
can be found.
7
Press [OK] to save the newly found
channels.
To stop partway
Press [RETURN].
The channels found before stopping are not saved.
To exit the screen
Press [EXIT].
Tuning
Edit Favourites
Setup
Disc
Picture
Sound
Display
Connection
Tunin
g
Edit Favourites
Auto-Setup Restart
Settin
g
s for Di
g
ital Services
Others
OK
RETURN
TAB
SELECT
Settin
g
s for Analo
g
ue Services
Edit Favourites
RETURN
SELECT
Favourite Select
Add All
Add
All Services
2A ABC
20A ABC HDTV
Favourites 1
Pa
g
e -
Pa
g
e +
Add New DVB Services
Add New DVB Services
Please wait!
Ch 6
69
Pro
g
.
Quality
Channel
Service Name
Net ID TS ID
RETURN
RETURN: to cancel
Cha
n
ging the
unit’
s
s
e
ttings
EX77_87GN.book Page 69 Wednesday, May 30, 2007 1:10 PM


