Recording
51
≥
When connecting a cable TV box or satellite receiver, select the
channel on the cable TV box or satellite receiver before scheduled
recording starts.
[1]
Press [SCHEDULE].
≥
Make sure “New Scheduled Recording” is selected.
[2]
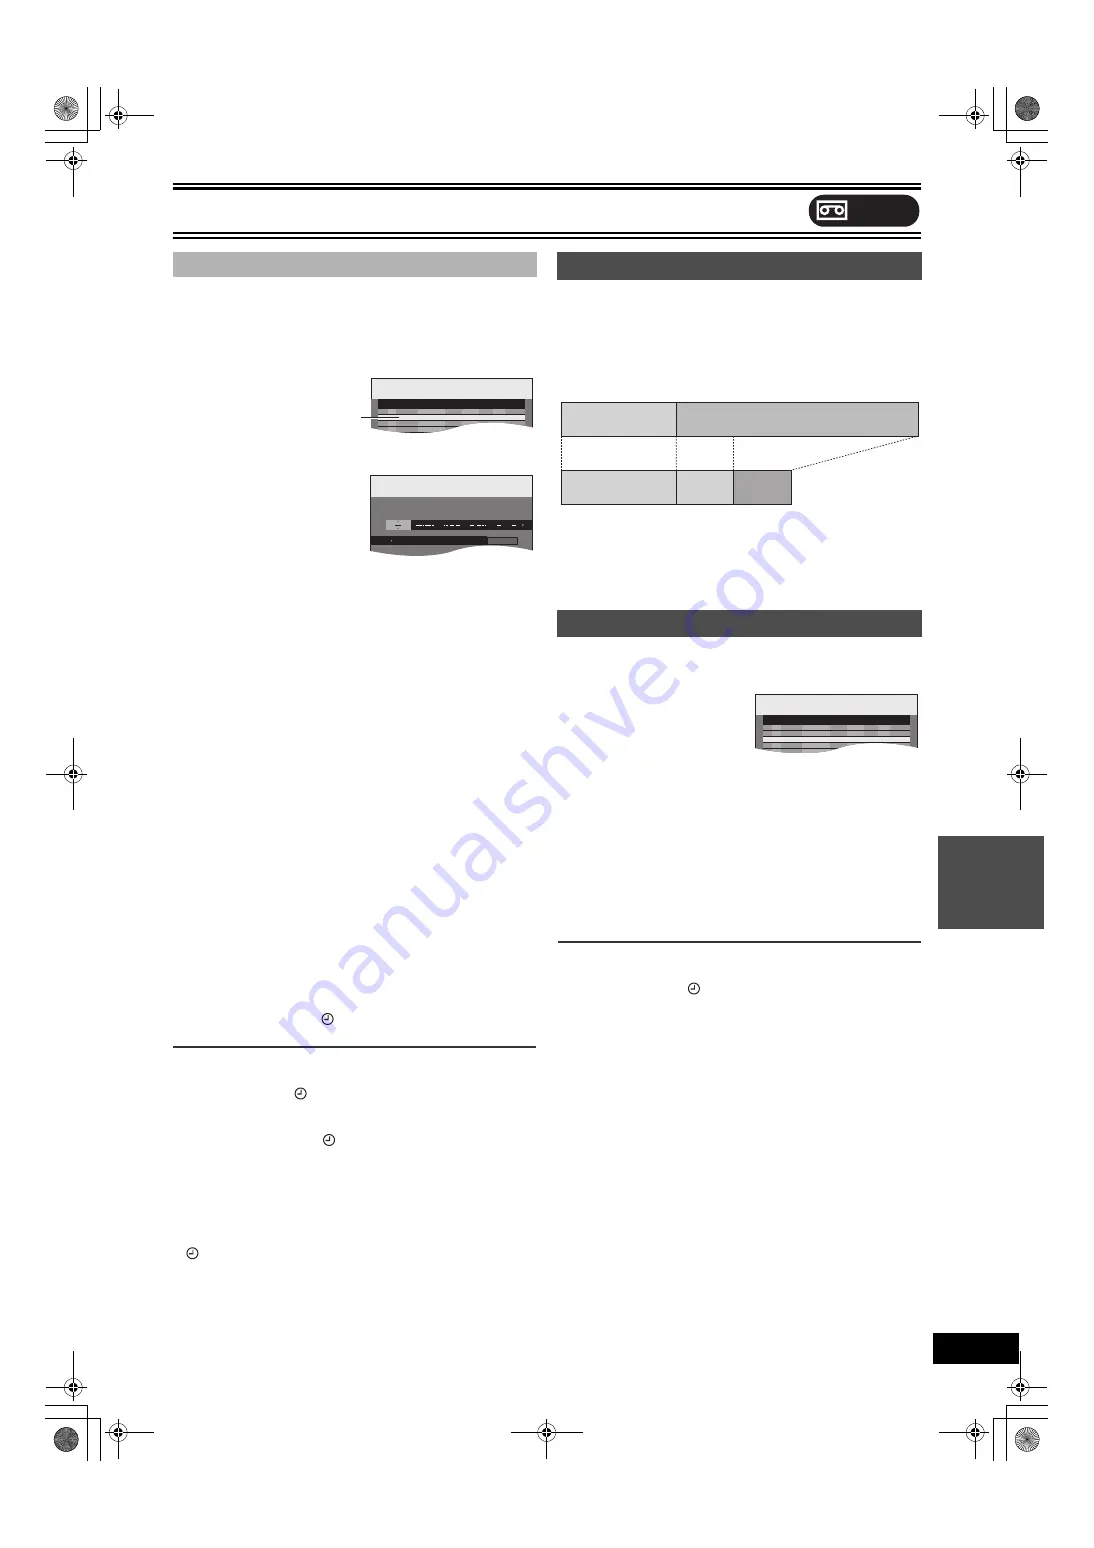
Press [ENTER], then move and change the
items using
[
3
,
4
,
2
,
1
]
.
≥
You may use the numbered buttons to enter “Channel”, “Date”,
“On”, and “Off”.
≥
Channel
(Program Position/TV Station Name)
≥
Date
You can also make a daily or weekly program.
≥
On
(start time)
/Off
(finish time)
The time increases or decreases in 30-minute increments if
you hold down the button.
≥
Drive
(Recording drive)
Select recording drive to “VHS”.
≥
Mode
(Recording mode)
You can also press [REC MODE] to change the recording
mode.
SP
,.
EP
,.
VP
,.
AUTO
°
,.
SP... (
°
Auto SP/EP mode (
≥
Title Name
Cannot be used.
[3]
Press [ENTER]
when you have finished making
changes.
≥
“Invalid Entry” is displayed when you enter the wrong item.
Reenter the item.
≥
Make sure that the scheduled recording has been programmed
correctly on the SCHEDULE LIST screen (
l
right).
≥
To continue programming:
Select “New Scheduled Recording” and repeat steps 2–3.
[4]
Press [SCHEDULE].
≥
The message “Turn recorder off for Scheduled Recording.” is
shown on the TV.
[5]
Press [
Í
, DVD/VHS POWER].
≥
Scheduled recording can be started only when the unit is turned off.
≥
The unit turns off and “
” lights on the unit’s display to indicate
scheduled recording standby has been activated.
∫
To release the unit from scheduled recording standby
Press [
Í
, DVD/VHS POWER].
The unit turns on and “
” goes out.
≥
Be sure to press [
Í
, DVD/VHS POWER] to return the unit to
standby mode before the scheduled recording time. Scheduled
recording will work only if “
” is displayed.
∫
To stop recording while a program is working
[1]
Press [VHS]
[2]
Press [
∫
, STOP], then [ENTER] within 5 seconds.
≥
You can also press and hold [
∫
] on the main unit for 3 or more
seconds to stop recording.
Note
≥
“
” flashes when the unit cannot perform scheduled recording
(e.g., video cassette with no accidental erasure prevention tab or
no video cassette in the cassette compartment).
≥
The actual time recorded may be longer than the program itself
when TV programs are recorded using VCR Plus
_
system.
≥
If you set (
44) “DST” (Daylight Saving Time) to “On” when
manually setting the clock, scheduled recording may not work
when summer switches to winter and vice versa.
If, at the beginning of a scheduled recording, there is not enough
tape remaining to complete the recording, the SP/EP function will
automatically run the tape at EP mode for recording. This ensures
that the entire program will be recorded. If EP mode is not enough to
stretch the remaining tape to fit the whole program you will not be
able to record the whole TV program.
≥
It is not possible to automatically activate VP mode.
≥
The tape length must be set correctly. (
≥
Some tapes may not work correctly.
≥
If the recording mode changes from SP to EP during a scheduled
recording, some picture distortion occurs at that point.
≥
Even when the unit is turned off, you can display the scheduled
recording list by pressing [SCHEDULE].
[1]
Press [SCHEDULE].
[2]
Press [
3
,
4
] to select a program.
[3]
Press [CANCEL/RESET,
¢
] to delete,
You cannot delete programs that are currently recording.
or press [ENTER] to change.
The scheduled recording setting screen appears.
[4]
If you press [ENTER] in step 3
Use [
3
,
4
,
2
,
1
] to change and press [ENTER].
[5]
Press [SCHEDULE].
≥
The message “Turn recorder off for Scheduled Recording.” is
shown on the TV.
∫
To put the unit on scheduled recording standby
Press [
Í
, DVD/VHS POWER].
≥
The unit turns off and “
” lights on the unit’s display to indicate
scheduled recording standby has been activated.
For your reference
≥
Programs that failed to record are not deleted from the list
immediately, but are deleted from the list automatically at 4 a.m.
2 days later.
∫
Manual programming
SCHEDULE
LIST
Remaining Recording Time
VHS 1:43 SP
DVD 1:43 SP
11/15 Tue 8:34 PM
01
39
11/29 Tue
10:00 PM 11:00 PM VHS
SP
OK
No
Channel
Date
On
Off
Drive
Mode
Check
New Scheduled Recording
New Scheduled
Recording is selected.
Press ENTER to store new schedule
SCHEDULED
RECORDING
Remaining Recording Time
VHS 1:43 SP
DVD 1:43 SP
11/15 Tue 8:34 PM
Title Name
Channel
Date
On
Off
Drive
Mode
:
:
Auto SP/EP
mode
Check, change or delete programs
Scheduled recording
Video tape (e.g.: 60-minute cassette)
1st program
(30
min.)
30 min. at SP
2nd program (60 min.)
15
min.
at SP
45
min.
at EP
SCHEDULE
LIST
Remaining Recording Time
VHS 1:43 SP
DVD 1:43 SP
11/15 Tue 8:34 PM
01
39
11/29 Tue
10:00 PM 11:00 PM VHS
SP
OK
02
25
12/13 Tue
10:30 PM 11:00 PM VHS
SP
OK
No
Channel
Date
On
Off
Drive
Mode
Check
New Scheduled Recording
VHS
Re
co
rd
in
g
ES40VP&PC.book 51 ページ 2005年9月6日 火曜日 午前10時23分
Summary of Contents for Diga DMR-ES40V
Page 45: ......


