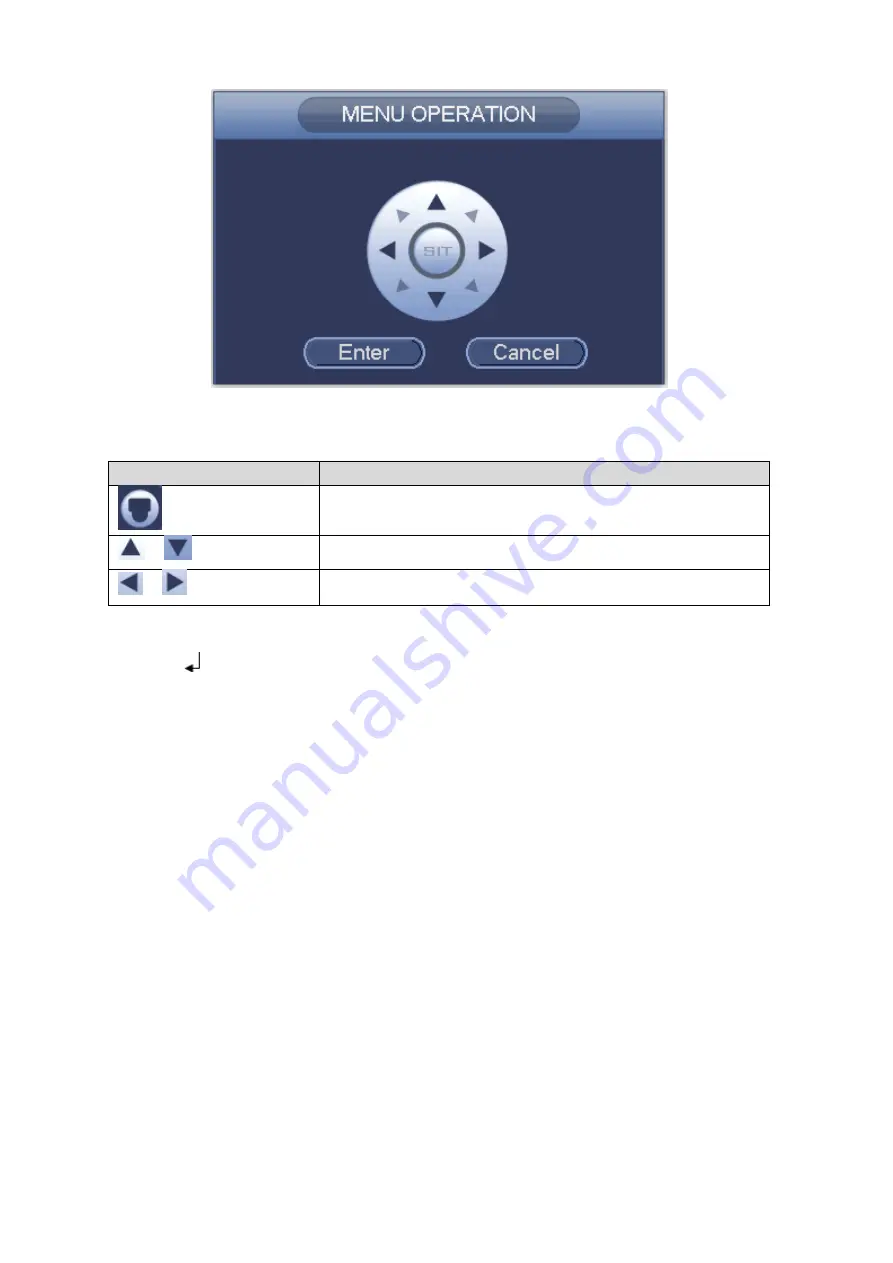
background image


Figure 4-3  


See Sheet 4-1 for the details of button functions.  

Button  

Function  


Open menu  


Select menu item  


Select menu value  

Sheet 4-1 


If there is “

”, click the “Confirm” button in “Menu Operation” interface to go to the 2nd menu. 

Click “Return” button to go back to the previous menu interface.  


Note


This  manual  is  for  reference  only.  Slight  difference  may  be  found  in  the  user 

interface. 


All  the  designs  and  software  here  are  subject  to  change  without  prior  written 

notice.  


All  trademarks  and  registered  trademarks  mentioned  are  the  properties  of  their 

respective owners. 


If there is any uncertainty or controversy, please refer to the final explanation of 

us. 


Please  visit  our  website  or  contact  your  local  service  engineer  for  more 

information. 


Summary of Contents for CV-CFW103AL

Page 1: ...HD Analog Camera User s Manual Model No CV CFW103AL Version 1 0 0 ...

Page 2: ...2 Table of Contents 1 General Introduction 1 1 1 Overview 1 1 2 Features 1 1 3 Specifications 2 2 Device Framework 3 3 Installation 4 4 Menu 5 4 1 Settings 5 4 2 Menu Operation 5 ...

Page 3: ...r HD analog camera This user s manual is designed to be a reference tool for your system Please read the following safeguard and warnings carefully before you use this series product Please keep this user s manual well for future reference ...

Page 4: ...vice malfunction which will affect the longevity of CMOS Please transport use and store the device within the range of allowed humidity and temperature Please don t keep the device in a place which is wet dusty extremely hot and extremely cold and with strong electromagnetic radiation or unstable lighting Please do not allow water and other liquid falling into the camera in case that the internal ...

Page 5: ...ergent to wipe from the lens center to outward It is ok to change the cloth and wipe several times if it is not clean enough Please put the dustproof cap to protect the CMOS component when you do not use the camera Warning Please use the standard accessories provided by manufacturer and make sure the device is installed and fixed by professional engineers Please prevent the device surface from the...

Page 6: ...ed by the DVR conforming to the HDCVI 1 2 Features High performance CMOS image sensor Support 720p 25fps PAL 30fps NTSC Support 75 5 coaxial cable transmission up to 800m High speed long distance real time transmission Support ICR for day time and night time operation Support auto exposure auto white balance auto electronic shutter and auto gain function Support DC12V power supply IP66 compliance ...

Page 7: ...ternal Day Night Auto ICR Color B W Max IR Distance 30m Digital Noise Reduction 2D White Balance Auto AGC Auto BLC Auto Lens Focal Length 3 6 mm Angular Field of View H 78 V 42 Lens Type M12 Input Output Video Output 1CH BNC HD CVI video output General Power DC 12V 25 Power Consumption 2 8W MAX Working Temperature 40 60 Less than 90 RH no condensation Dimensions Φ93 4 mm 79 7 mm Weight approx 280g...

Page 8: ...3 2 Device Framework Please refer to the following figures for dimension information The unit is mm Figure 2 1 Figure 2 2 ...

Page 9: ...cable through the side outlet cable slot Align the bolt fixing holes of the device pedestal with the expansion bolt fixing holes of the installation surface insert the self tapping screws into the expansion bolts and fasten them firmly to fix the pedestal on the installation surface if it is top outlet pull the cable through the outlet hole on the installation surface after the pedestal is fixed f...

Page 10: ... you need to select the channel number for access and set control mode as HDCVI and the protocol as HD CVI Click Save button to save current setup See Figure 4 1 Figure 4 1 4 2 Menu Operation Click the right mouse button and select PAN TILT ZOOM then you will see the PAN TILT ZOOM setup menu which is as shown in Figure 4 2 and Figure 4 3 Figure 4 2 ...

Page 11: ...ious menu interface Note This manual is for reference only Slight difference may be found in the user interface All the designs and software here are subject to change without prior written notice All trademarks and registered trademarks mentioned are the properties of their respective owners If there is any uncertainty or controversy please refer to the final explanation of us Please visit our we...

Reviews: