•
Depending on the network environment and the wireless devices used (2.4 GHz cordless
telephones/faxes or other wireless LAN devices), transmission speeds may become slower.
16.2 Connecting the camera to a wireless LAN with
WPS (automatic settings) [Basic]
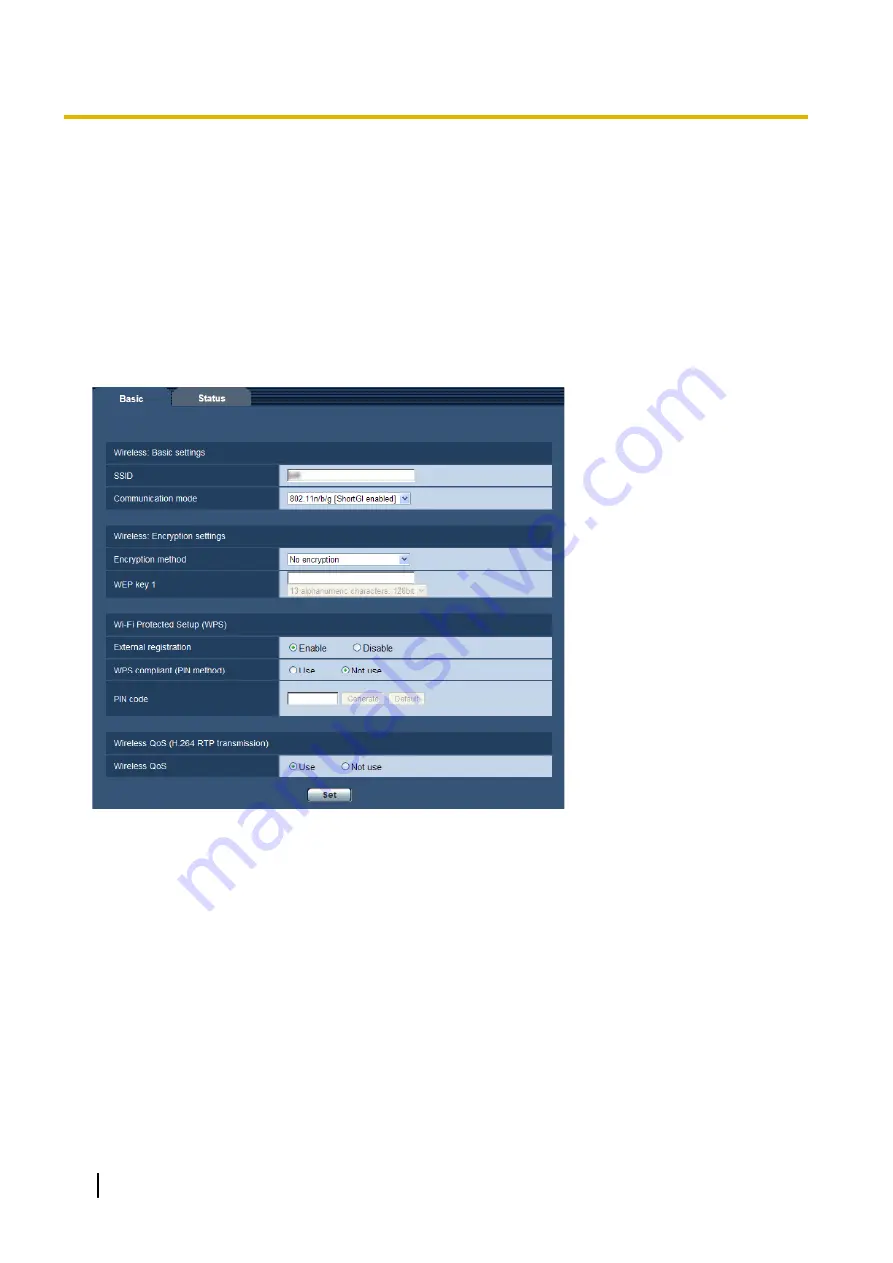
First, confirm that “Enable” (default setting) is set for “External registration” in “Wi-Fi Protected Setup (WPS)”.
Click the [Basic] tab on the “Wireless” page. (
The wireless settings can be easily configured on the camera using Wi-Fi Protected Setup (WPS) in this
section, and the camera can connect to the wireless router.
When using the camera on a wireless LAN, refer to the following procedures in accordance with your wireless
LAN environment and configure the settings.
About Wi-Fi Protected Setup (WPS)
Wi-Fi Protected Setup (WPS) is a function that allows settings for connecting wireless devices and settings
related to security to be easily configured.
In WPS, wireless LAN access points or wireless routers become the registrar (main device) and the wireless
camera seeking to join the wireless network becomes the enrollee (periphery device). SSID or WEP/WPA/
WPA2 encryption settings and other information can be sent.
There are several specific setting methods for WPS. The Push-button method (PBC) is used by pressing the
wireless connection button on each device. The PIN code method is used by entering the same 8 digit PIN
code into both the registrar (wireless router) and enrollee (wireless camera).
Performing settings automatically with the WIRELESS button (WPS button)
Use the camera's WIRELESS button to automatically perform wireless settings.
144
Operating Instructions
16 Use the camera on a wireless LAN [Wireless] (BL-VT164W/BL-VP104W)


