background image

4

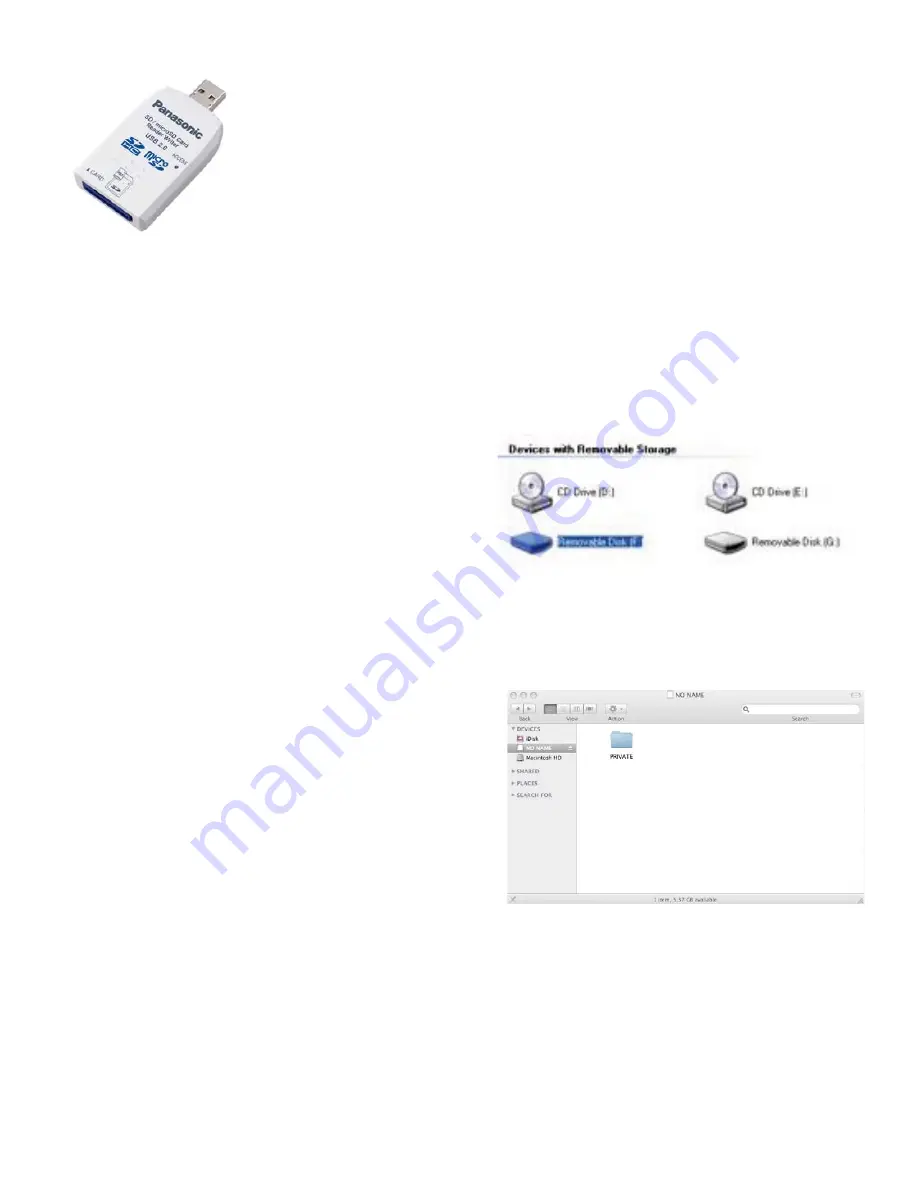
Many PCs have an SD card slot, and if your PC SD card slot supports SDHC cards, 
you can insert the SDHC card directly into your computer.  If your PC does not support 
SDHC or if it does not have a SD card slot, use a SDHC-to-USB reader/writer like this 
one.  

Just insert your SD card into the reader and connect it to a USB port on your computer.  
It will appear as a removable storage device on your computer.  You will now be ready to 
open Sony Vegas Pro 9 and begin editing AVCHD right from the SDHC card!  

COPYING AVCHD FOOTAGE TO A HARD DRIVE

Alternatively, you can copy the footage from you SDHC card to your computer, thus freeing up the SDHC card for 

additional shooting.  I prefer this approach.

STEP #1 – MOUNT THE SD CARD ON YOUR COMPUTER.

Even though you can edit directly from the SDHC card, 
many people prefer to copy their footage to a hard drive 
before editing.  This frees up the SDHC card so that you can 
immediately use it again. Many PC’s have SD Card slots that 
support SDHC.  If so, just insert your SD card.  If your PC does 
not have a SD card slot, or does not support SDHC cards, use 
the SDHC-to-USB reader.  Once your SDHC card is mounted 
on your computer, it will appear as a removable hard drive 

under my computer (on a PC).

STEP #2 – OPEN THE SDHC CARD FILES.

When you open No Name you will see a folder named Private.  
You will want to copy this folder to your hard drive.   Do not try 
to copy from any other folder within the “private” folder, as the 
structure of folders inside is important.  Create a destination 
folder that you have named with an easily recognizable identifier, 
such as the project and the date.  It is highly recommended to 
verify the integrity of the copy before re-formatting your SDHC 
cards. Also, consider your backup strategy as you begin to 
accumulate larger numbers of folders and projects. The more 
planning up front, the easier your life will be when you decide to 

re-visit material for different sessions (re-purposing content).  

NOTE: Panasonic recommends 3

rd

 party applications such as Shot Put Pro from Imagine Products for copy and 

verification. Shot Put Pro provides a safe backup to multiple simultaneous target locations (such as hard drives and/or 

Blu-ray burners) with validation of the copy.  Please see www.imagineproducts.com for more information.

QuickTime™ and a

 decompressor

are needed to see this picture.

Summary of Contents for Avccam AG-AF100A Series

Page 1: ...1 Editing AVCHD with sony vegas pro9 1 1 U n d e r s t a n d i n g A V C C A M W o r k f l o w...

Page 2: ...3 Copying AVCHD Footage to a Hard Drive 4 EDITING WITH SONY VEGAS PRO 9 5 Transferring AVCHD Footage Directly From The Panasonic AVCCAM Cameras to Your Computer 8 OUTPUT OPTIONS Output to A Blu ray Di...

Page 3: ...GHz processor multicore or multiprocessor CPU recommended for HD 200 MB hard disk space for program installation 1 GB RAM GB recommended OHCI compatible iLINK connecotr IEEE 1394DV card for DV and HDV...

Page 4: ...support SDHC cards use the SDHC to USB reader Once your SDHC card is mounted on your computer it will appear as a removable hard drive under my computer on a PC STEP 2 OPEN THE SDHC CARD FILES When yo...

Page 5: ...across the top STEP 3 SET YOUR VIDEO TEMPLATE First we must set the template we want to use to set the frame rate and resolution of the project Click on the drop down menu Here you can pick your sett...

Page 6: ...re you can select a clip of your footage and match the settings to your footage When you nd the Private folder click on AVCHD then BDMV and nally on Stream Here you will see your individual AVCHD les...

Page 7: ...is a good idea to open the Summary Tab Here you can give your project a name and add any comments you like STEP 6 SAVE YOUR NEW PROJECT Go to File Save and save your project and give it a name if you...

Page 8: ...TER Note It is recommended to connect your camera to an AC power supply as a low battery could damage your transferring footage Also write protect the card as instructed before STEP 2 TURN THE CAMERA...

Page 9: ...older as described earlier AND make sure you verify the copy TRANSFER USING DEVICE EXPLORER Alternatively you can use Device Explorer to transfer your les from your camera STEP 1 CLICK ON VIEW DEVICE...

Page 10: ...S From here you can select the clips your wish to import Click on the import Selected Clips icon and the clips will be placed in the Project Media Window Once your clips are in the Project Media Windo...

Page 11: ...you have inserted your SDHC card into a card reader and attached it to your computer via USB there are a couple of different methods for getting the AVCHD footage into Sony Vegas Pro 9 STEP 1 CLICK ON...

Page 12: ...Click Open They will then be placed in your Project Media window TRANSFER USING DEVICE EXPLORER Another method for importing is to use the Device Explorer I actually prefer this approach as it allows...

Page 13: ...croll to the clip you wish to import STEP 2 SELECT AND IMPORT YOUR CLIPS Click on that clip then click on the Import Selected Clips to import Shift click to select multiple clips Then click on Import...

Page 14: ...ony Vegas Pro 9 please visit the Sony website for detailed tutorials at http www sonycreativesoftware com support trainingvids stroud asp OUTPUT OPTIONS When your editing is nished Sony Vegas Pro 9 gi...

Page 15: ...ill need select the operation of Render Image and Burn Next check your selected Video and Audio formats Choose the location of your Blu ray drive then pick the Burn speed and click on Eject when done...

Page 16: ...AVCHD footage will make dazzling standard de nition DVDs Sony Vegas Pro 9 can easily make a Standard De nition DVD from your AVCHD footage STEP 1 CLICK ON TOOLS BURN DISC DVD This will open the Burn D...

Page 17: ...ch the size and aspect ratio of the iPOD display as best that you can In landscape mode the iPOD touch and iPHONE display is 480 x 320 pixels so to preseve your movie in a 4 3 aspect ratio 480 x 360 p...

Page 18: ...detailed information on YouTube speci cations and instructions on uploading your video please visit www youtube com and click on Help STEP 1 RENDER CLICK ON FILE RENDER AS The Render As window opens Y...

Page 19: ...ng software such as Roxio Toast 10 or Adobe Encore part of CS4 CS5 suite Remember in order to retrieve your data from this archive in the future you will need a Blu ray drive Keep your eye on how tech...

Reviews: