– 63 –
Chapter 5 Basic Operations — KEY
f
The image for the chroma key preview becomes a matte image.
3
Select [Clean BG] in the [Sampling Mode] column.
f
Remove the noise in the background image.
4
Select [Sample Area] in the R menu, and set [X-Pos], [Y-Pos], and [Size] in the encoder menu.
f
Set the position and size of the sample marker at the position of noise (white dots) in the background image.
5
After setting the sample area, select [Sampling].
f
The noise in the area that has been set is now removed.
f
If you select [Undo] after sampling is executed, the status returns to the pre-sampling status.
Removing noise in the foreground image
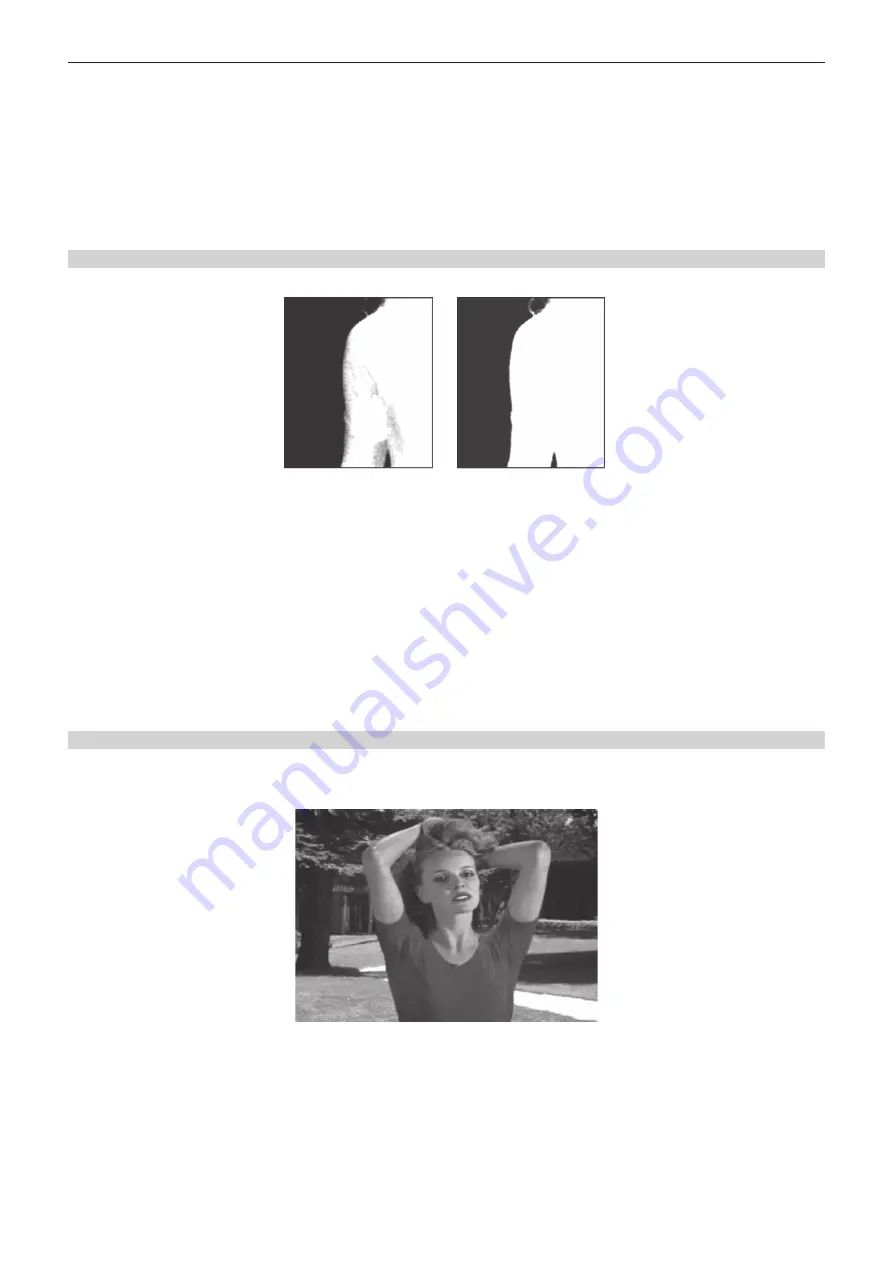
Remove the noise in the foreground image. Perform this operation several times to remove noise.
Before the noise is removed
After the noise is removed
1
Select the <ME1>/<ME2> button
→
[KEY1], [KEY2]
→
[Chroma] tab.
2
Select [Matte] in the [Chroma PVW View] column.
f
The image for the chroma key preview becomes a matte image.
3
Select [Clean FG] in the [Sampling Mode] column.
f
Remove the noise in the foreground image.
4
Select [Sample Area] in the R menu, and set [X-Pos], [Y-Pos], and [Size] in the encoder menu.
f
Set the position and size of the sample marker at the position of noise (black dots) in the foreground image.
5
After setting the sample area, select [Sampling].
f
The noise in the area that has been set is now removed, and the foreground image is restored.
f
If you select [Undo] after sampling is executed, the status returns to the pre-sampling status.
Removing color irregularity in the detail areas
in the foreground image”, there will still be some color irregularity in detail areas such as around hair in the following image. This step removes the color
irregularity remaining in the detail areas.
1
Select the <ME1>/<ME2> button
→
[KEY1], [KEY2]
→
[Chroma] tab.
2
Select [Composite] in the [Chroma PVW View] column.
f
The image for the chroma key preview becomes a composite image of the background and foreground images.
3
Select [Sponge] in the [Sampling Mode] column, then select [Spill
−
] in [Mode] in the [Sponge] column.
f
The noise remaining in the detail areas of the image is removed.
4
Select [Sample Area] in the R menu, and set [X-Pos], [Y-Pos], and [Size] in the encoder menu.
f
Set the position and size of the sample marker at the position of the remaining noise in the image.
Summary of Contents for AV-HS60C3G
Page 5: ...Please read this chapter and check the accessories before use Chapter 1 Overview ...
Page 11: ...This chapter describes installation and connection Chapter 2 Installation and Connection ...
Page 50: ...This chapter describes menu operations Chapter 5 Basic Operations ...
Page 113: ...This chapter describes the configuration of operations Chapter 7 Configuring Operations ...
Page 122: ...This chapter describes how to operate system menus Chapter 8 System Menu ...
Page 136: ...This chapter describes plug in functions Chapter 9 External Interfaces ...
Page 140: ... 140 Chapter 10 Specifications Dimensions Dimensions of the XPT Unit AV LSX10 Unit mm inch ...
Page 141: ... 141 Chapter 10 Specifications Dimensions Dimensions of the ME Unit AV LSM10 Unit mm inch ...
Page 153: ...This chapter describes the setting menu table and terms Chapter 11 Appendix ...
Page 176: ...Web Site https www panasonic com Panasonic Corporation 2020 ...


