E-5
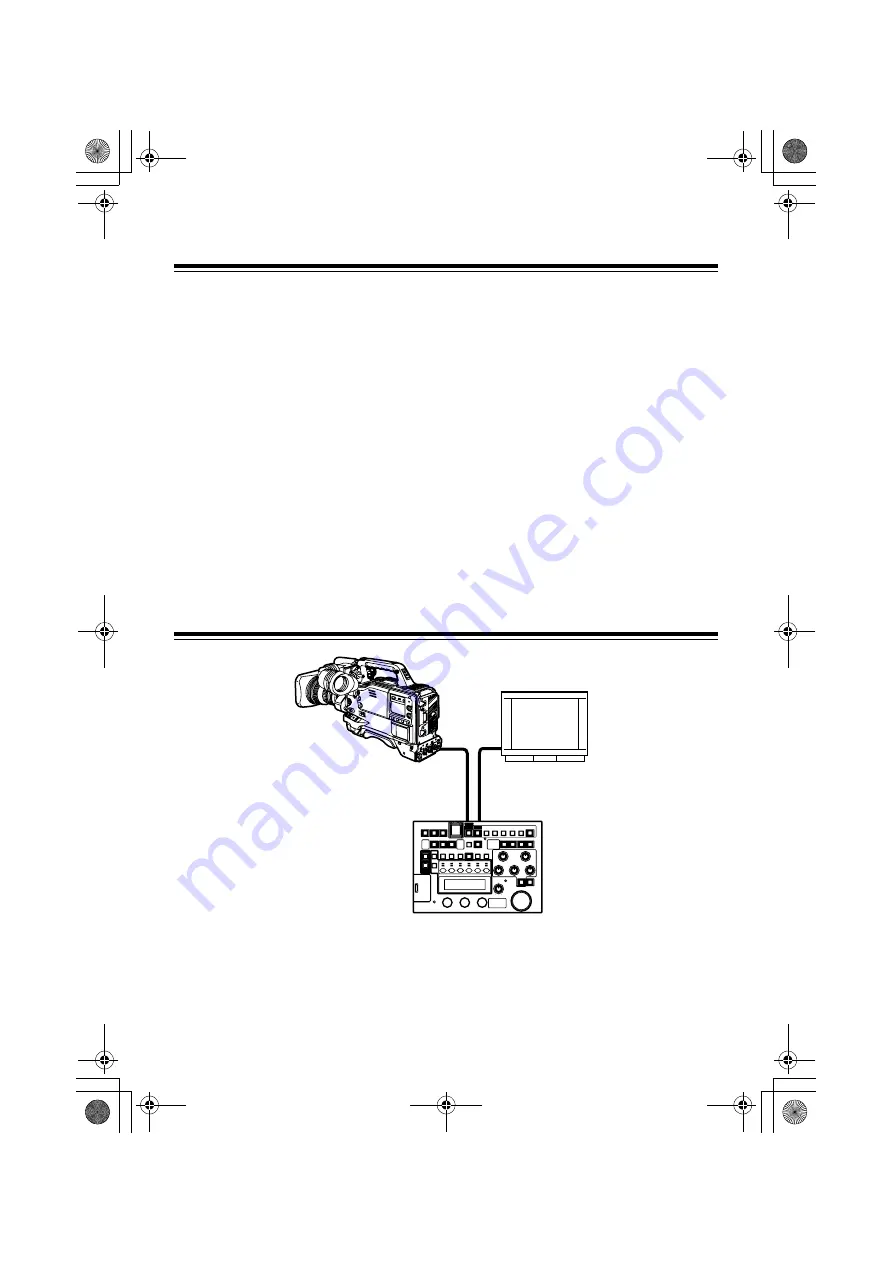
Connection
1
While the power supply of the camera
recorder is turned off, connect the RCU 10-
pin connector of the camera recorder to the
unit with the connection cable.
If settings are made from the camera menu,
set the frequency to the frame frequency of
the camera recorder and connect an NTSC
or PAL monitor.
2
After turning on the camera recorder power,
turn the unit power on.
<Notes>
z
The frame frequency of the camera recorder
must be switched before connecting the unit to
the camera recorder.
At VIDEO output, NTSC signals are output for
60 Hz operation, while PAL signals are output
for 50 Hz operation.
z
The settings for FUNC on the menu determine
whether the camera recorder’s settings, which
are adjusted when the unit is connected, are
returned to the settings before connecting the
unit or to the state after adjustment, when the
unit is disconnected from the camera recorder.
z
Do not forcefully pull the connected cable.
When the camera recorder is used while it is
being moved, the cable must be fixed to the
tripod or the handle of the camera recorder so
that no force is applied directly to the
connector.
System configuration
<Note>
To determine whether the camera recorder supports the use of the unit, consult our sales dealers or the
operation manual of the camera recorder.
Camera recorder
Monitor
AJ-RC10G
Dedicated 10-pin cable
Video cable
Camera connection connector
VIDEO OUT connector
AJ-RC10G.book 5 ページ 2006年7月26日 水曜日 午前9時25分


