Palsonic TFTV930 Owner'S Manual Download Page 18

Basic Operations

16

Turning On

Insert the power cord into the wall outlet.
Press the Power Switch on the TV set, the set is in standby mode.
Press the 

Power

     button on the remote control.

The unit will be turned on and you will be ready to use it's features.

Turning Off

With the power on, press the 

Power

     button on the remote control to turn off the TV set temporarily.

If you want to cut off the power completely, press the Power Switch on the TV set.

Note:

You can also use the 

Power

     button on the control panel on the main unit.

Press the 

Source

 button to access 

Source Select

 menu.

Press 

CH+

 or 

CH-

 to select a desired input source.

Press 

Enter

 to confirm and the unit displays signal from the selected input source.

Your LCD TV has a simple, easy-to-use menu system that appears on the screen. This system makes it convenient
and fast to use features on the unit. The unit also lets you display the status of many of your LCD TV features.
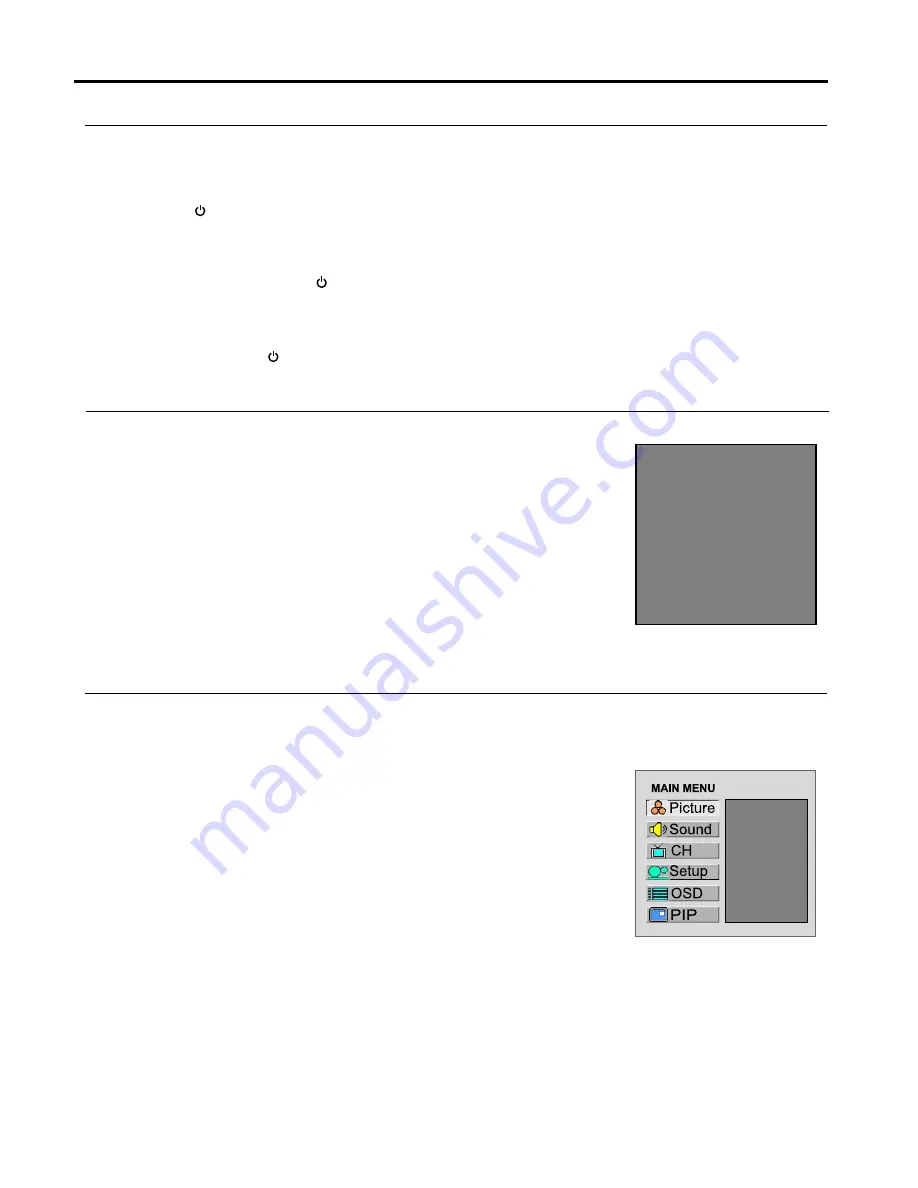
Viewing the Menus

With the power on, press the 

Menu

 button on the remote control. The main

menu appears on the screen. The picture menu is selected.

Use the 

CH+

 or 

CH-

 to select menu item. Use 

VOL+

 or 

VOL-

 to adjust value of item.

Use 

Enter

 to confirm ,enter submenu or toggle the settings of the selected menu item.

You can press the 

Menu

 button repeatedly to exit the menu operations. 

Note:

To clearly introduce the menu operations, this operation manual provides a description based on operation with
the remote control.

Displaying Status Information

Press the 

DSP

 button on the remote control, the unit will display current status information such as channel number

or signal source, etc.

Turning the Unit On and Off

Selecting Input Source Signal

Viewing the Menus and Displays

1

2

3

1

2

Brightness

Contrast

Sharpness

Tint

Source Select

VGA

DVI

RF

Video1
Video2

YPbPr1

YPbPr2

Summary of Contents for TFTV930

Page 1: ...1 JOYNTON AVENUE WATERLOO NSW 2017 AUSTRALIA TEL 02 9313 7111 FAX 02 9313 7555 www palsonic com au PALSONIC CUSTOMER SERVICE TELEPHONE AUSTRALIA 1300 657 888 93CM CORDLESS REMOTE LCD TV MONITOR MODEL...

Page 2: ...ration Tuning In Select the Channels Setting Picture Setting Sound Setting Sleep Timer Adjusting the OSD Setting System In TV Mode Setting System In YPbPr Mode Setting System In DVI Mode Setting Syste...

Page 3: ...leaners or aerosol cleaners Use a damp cloth for cleaning 7 Ventilation Do not block any ventilation openings Install in accordance with the manufacturer instructions The vents and other openings in t...

Page 4: ...cs and performance as the original parts Use of unauthorised parts can result in fire electric shock and or other danger 17 Overloading Do not overload wall outlets extension cords or convenience rece...

Page 5: ...d EMC When connecting other products such as VCRs and personal computers you should turn off the power of the unit for protection against electric shock 23 Panel protection The LCD panel used in this...

Page 6: ...e Menu main page or exit menu operation CH Used to switch channels in menu operation use CH to select menu item VOL Used to adjust volume in menu operation use VOL to adjust selected item Enter To con...

Page 7: ...und mute NICAM To select sound multiplex mode SRS To turn on or off the SRS sound effect Headphone To output sound from headphone Speaker To output sound from speaker To quickly jump between current c...

Page 8: ...chemical leakage is found wipe with a cloth The batteries supplied with the product may have a shorter life expectancy due to storage conditions If the remote control is not used for an extended perio...

Page 9: ...l In OSD Menu press these buttons to adjust the value or setting of each item 5 POWER Press this button to turn the unit ON from STANDBY mode Press it again to turn the set back to STANDBY Note Functi...

Page 10: ...a click Side view 1 AV outputs Video Audio L mono R Connect to the VCR input jacks to record programs 2 S Video input AV1 inputs AV2 inputs Video Audio L mono R Receive a S Video signal from external...

Page 11: ...door aerial must be used The exact type and position of the aerial will depend upon your particular area Note It is recommended that the 75 ohm coaxial cable be used to eliminate interference and nois...

Page 12: ...VIDEO IN AV1 INPUT AV2 INPUT VCR DVD player etc Connect the Audio Video cables between the Audio L R Video jacks on the unit and VCR How to connect Note For better video you can use the S video termin...

Page 13: ...n your camcorder and set it to output mode For details refer to your camcorder owner s manual 4 Insert the tape into the camcorder and press Play button Note The operations of the camcorder may be dif...

Page 14: ...player or Set Top Box To play DVD or Set Top Box 1 Turn on your LCD TV press Source button on the remote control 2 Press CH or CH to select YPbPr1 or YPbPr2 3 Press Enter to confirm 4 Turn on your DV...

Page 15: ...face on the unit and DVI output interface on the DTV receiver 3 Connect the Audio cable between the AUDIO input jack on the unit and AUDIO output jacks on the DTV receiver To Watch DTV 1 Turn on your...

Page 16: ...t on the PC and AUDIO input jack on the unit To Watch the PC screen 1 Turn on your LCD TV press Source button on the remote control 2 Press CH or CH to select VGA 3 Press Enter to confirm 4 Turn on yo...

Page 17: ...select a program you wish to record 2 Turn on your VCR insert a videotape for recording 3 Press the Record button to begin recording How to enjoy high quality sound by Audio amplifier 1 Connect cable...

Page 18: ...makes it convenient and fast to use features on the unit The unit also lets you display the status of many of your LCD TV features Viewing the Menus With the power on press the Menu button on the rem...

Page 19: ...y the menu main page Press CH or CH repeatedly to select CH item Press Enter to access the submenu Press VOL or VOL to select a channel number Press CH repeatedly to select Manual Search item Press VO...

Page 20: ...o provide the best picture and sound Press Menu to display the menu main page Press CH or CH repeatedly to select CH item Press Enter to access the submenu Press CH repeatedly to highlight Fine Tune i...

Page 21: ...Channel Swap Add Erase 1 2 3 4 Press VOL or VOL to select the program number you want to add or erase Press CH to highlight Add Erase item Press Enter to toggle Add or Erase 6 7 5 Press CH to select...

Page 22: ...page Press CH or CH repeatedly to select CH item Press Enter to access the submenu Press CH or CH repeatedly to select Colour System item Press Enter to select a proper colour system Normally please...

Page 23: ...3 seconds When you use the number buttons you can directly select channels that were erased Press the CH or CH to change channels When you press the CH or CH the unit changes channels in sequence You...

Page 24: ...re Adjusted settings are stored in User mode Use the Still button to freeze current picture quickly Only works in TV AV mode For the sake of protecting the screen please do not freeze a picture for a...

Page 25: ...ngs Bass and Treble Movie Select for a movie program Music Select for a music program News Select for a speech or conversation program Adjusted settings are stored in User mode Press the VOL or VOL to...

Page 26: ...eceiving a NICAM signal To let you enjoy NICAM broadcasting this TV set receives NICAM system stereo bilingual and monaural broadcasts Stereo When the TV set is receiving a stereo broadcast please sel...

Page 27: ...or CH repeatedly to select Zoom item Press Enter repeatedly to select Normal or Zoom Note When you zoom in the OSD menu the V position item is unadjustable Press Menu to display the menu main page Pr...

Page 28: ...Press Menu to display the menu main page Press CH or CH repeatedly to select Setup item Press Enter to access the submenu Press CH or CH repeatedly to select N R item Press Enter to select Off Auto St...

Page 29: ...mage aspect ratio between 4 3 16 9 Panorama and Zoom For 720P or 1080i signal format you can select the image aspect ratio between 4 3 and 16 9 Note You may quickly select the screen aspect by using t...

Page 30: ...or CH repeatedly to select Setup item Press Enter to access the submenu The Screen item will be highlighted automatically Press Enter repeatedly to select a desired aspect ratio 2 3 4 5 Selecting Aspe...

Page 31: ...lock frequency setting Adjusting the phase setting Press VOL the screen rightward Press VOL the screen leftward Press VOL the screen downward Press VOL the screen upward Press VOL or VOL adjust the va...

Page 32: ...ghlighted automatically Press Enter to select On or Off Note You may quickly open or close PIP frame by using the PIP button directly Audio is from the main picture only Press Menu to display the menu...

Page 33: ...size by using the Size button Youmay view double windows by using PBP function Without PIP function working press Menu to display the menu main page Press CH or CH repeatedly to select PBP item Press...

Page 34: ...ether the room is too bright This may be caused by electrical interference e g hair dryer nearby neon lights etc Turn off the equipment Television not responding to remote control Check whether the ba...

Page 35: ...5ohms composite video x 2 S Video 4 pin DIN x 1 D Sub 15 x 1 DVI D x 1 YPbPr YCbCr Support HDTV RCA 75ohms x 2 RCA 75 ohms x 1 L R RCA for AV x 2 Stereo mini phone Jack for PC x 1 Stereo mini phone Ja...

Page 36: ...ONIC CORPORATION PTY LTD 1 JOYNTON AVENUE WATERLOO NSW 2017 AUSTRALIA TEL 02 9313 7111 FAX 02 9313 7555 www palsonic com au PALSONIC CUSTOMER SERVICE TELEPHONE AUSTRALIA 1300 657 888 604 L37K73 02 Ver...

Reviews: