


button to select the function item, press button to adjust/setup,
Basic Operation
10
Basic Operation
Power on/off
1. Connect to the power.
2. -To turn on the TV
Press
POWER
button on the TV or remote control.
-To turn off the TV
Press
POWER
button on the TV or remote control.
Input Source select
Press
TV/AV
button on the TV set or remote control to display input
source menu, and use
CH+/-
button on the TV set or
ġĢ
button
on remote control to select the input source, press
OK
button on the
remote control to enter.
Note: Before you select the input source, make sure the
connections are prepared.
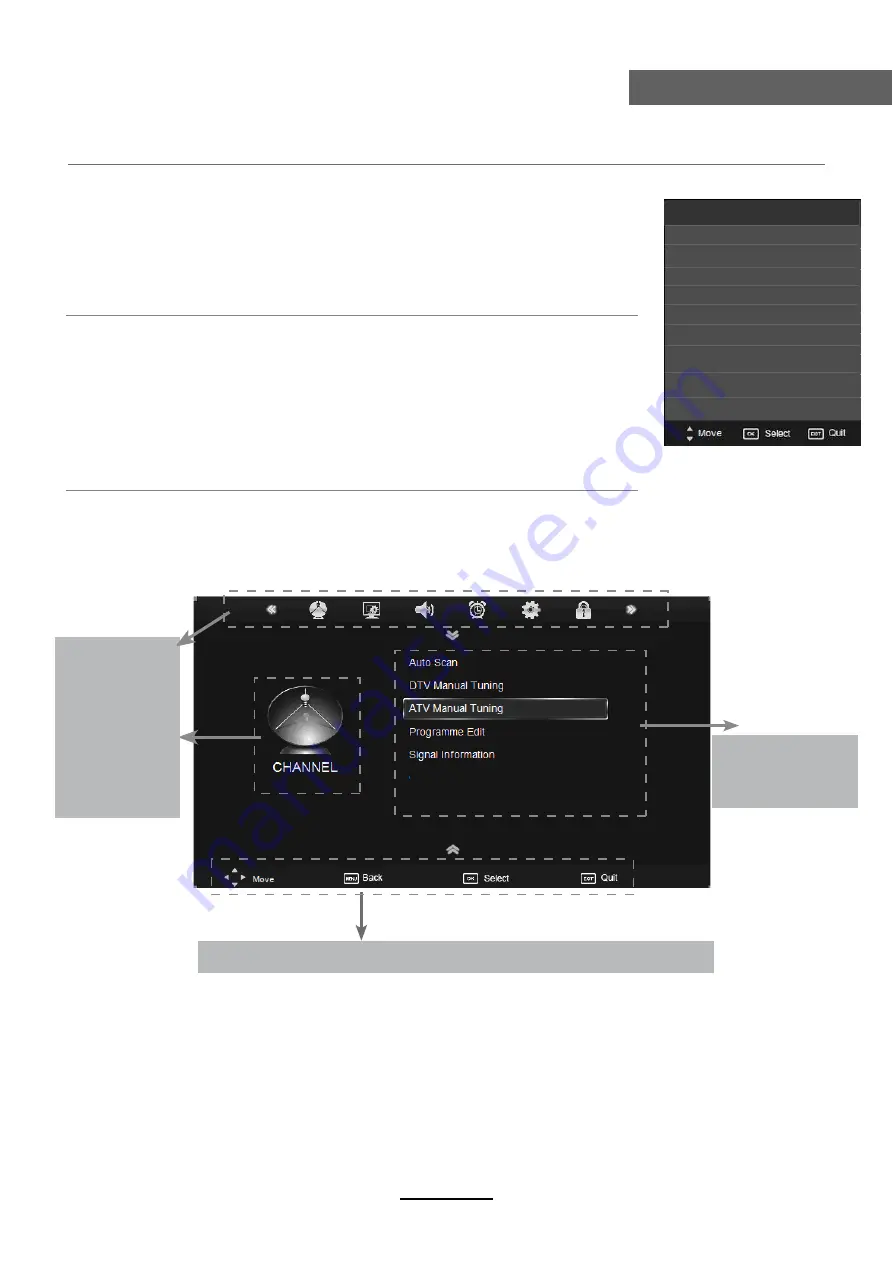
Basic OSD Menu operation
Press
MENU
button to display the OSD menu as below:
Use
/
ġ
/
Ģ
ġ
Ģ
button to select the main menu, and press
button to enter the submenu.
In the submenu, use
/
ġ Ģ
Ģ
or press
OK
button to enter the submenu.
* (Press
MENU
button to return to the upper menu.)
* (Press
EXIT
button to exit the menu display.)
Note1: Only when you input the suitable signal, the relevant items can be activated
Note2: Please operating the OSD menu according to hint on the bottom of the banner.
Main menu
CHANNEL
PICTURE
SOUND
TIME
OPTION
LOCK
Submenu
(Channel menu
for example)
Hint---
you should operate the OSD menu according to the hint.
Software Update(USB)
Basic Operation
Input Source
DTV
ATV
YPBPR
HDMI1
PC
HDMI2
HDMI3
AV
USB
Summary of Contents for TFTV835HD
Page 1: ...TFTV835HD INSTRUCTION MANUAL 80cm 31 5 LCD TV WITH DVB T...
Page 2: ......
Page 4: ...1 Safety Precautions Power Supply...
Page 5: ...2 Safety Precautions Installation...
Page 6: ...3 Safety Precautions Use and Maintenance...
Page 7: ...4 Safety Precautions Important Safety Instructions...
Page 8: ...5 Safety Precautions Important Safety Instructions...