background image

23

PVR Function

In DTV Mode Only

PVR function allows the unit to record live DTV program and make it available for reviewing at
any time.

NOTES:

When PVR function is in progress, please don’t unplug the power and the external USB
device at will.

When PVR function is active, the power indicator will blink with red and blue
consecutively.

Before start recording a program, make sure the external USB device is connected.

While recording, if the available storage space becomes low, the recording will be
automatically stopped.

Time Shift Function

This function allows you to pause and fast forward/rewind normal Live DTV viewing at any time
without missing any of the live broadcast, provide that a USB storage device is connected.

1.

While viewing a DTV program, press the

button on the remote, the playback stops

and an icon

appears at the bottom left corner of the screen. Press the

button

again to start the time shift.

You can press the

Display

button on the remote to open the progress bar, as shown

below:

In the progress bar, the current time behind live
program and the free USB storage are
displayed.

2.

During the progress of the time shift, press the

button to continue playing the program

from the point where it was paused.

3.

Press the

Stop button to stop the time shift.

Recording program

After you setup the

Feature-PVR/Time shift

, you can record a DTV program on the external

USB device.

1.

Select the desired program then press the

REC.

button on the remote control and an icon

appears at the bottom left corner of the screen. Then press the

button to start

the record.

2.

In the progress of the record, press the

button to pause the recording.

3.

Press the

Stop button to stop the recording. The recorded file will be stored in the

external USB device automatically.

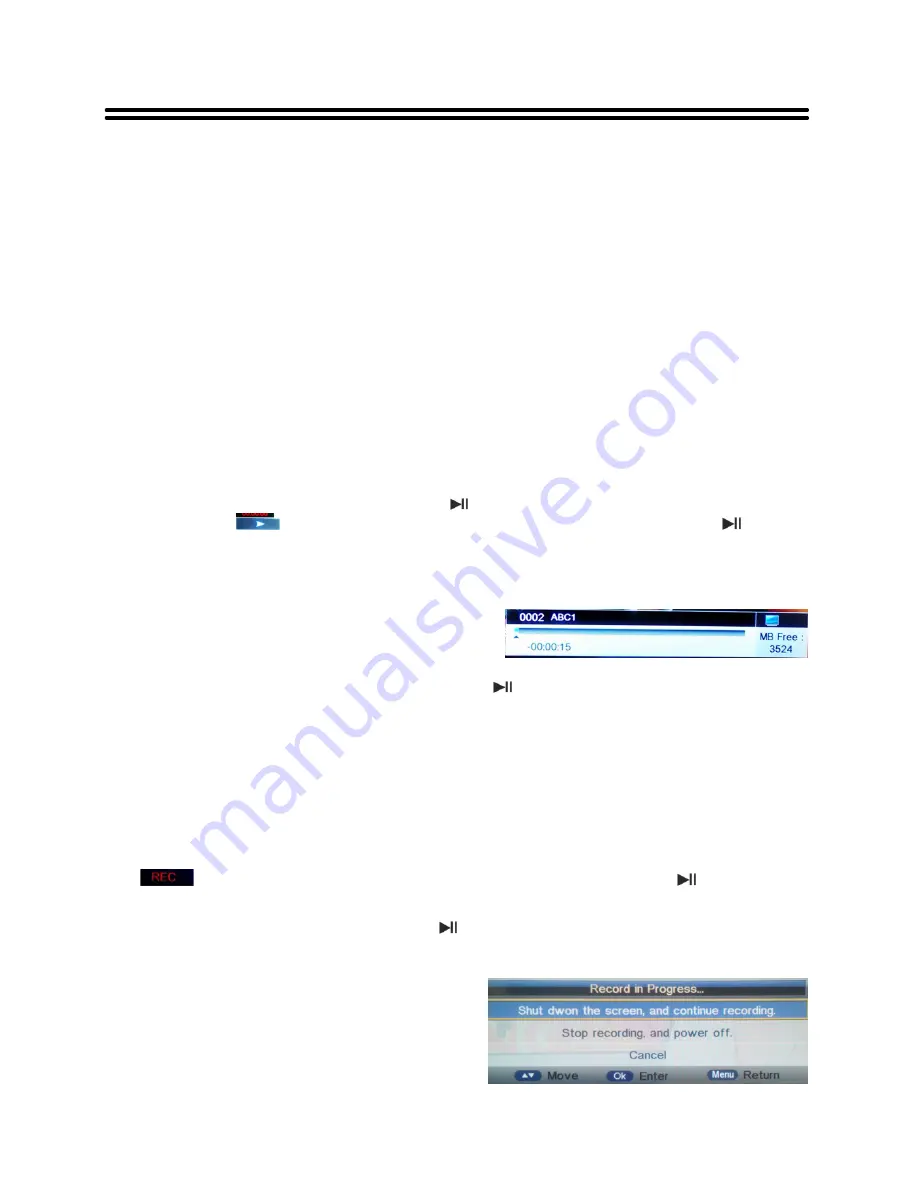
During recoding, press POWER button, a dialog
box appears:

With it you can define how the TV set behaves in
the progress of the record.

Summary of Contents for TFTV700HL

Page 1: ......

Page 2: ...Digital Output 11 Connecting to a PC 12 Connecting to Earphones 12 Connecting to TV Signal Input 13 Basic Operation 14 Turning the TV On and Off 14 Source selecting 14 Channel Selection 14 The First...

Page 3: ...ocumentation indicates useful information and tips for using and maintaining the device The information symbol in the documentation indicates cautions for operators to avoid potential damages Please n...

Page 4: ...atus 11 The mains socket outlet shall be installed near the apparatus and the mains plug shall remain readily operable 12 Protect the power cord from being walked on or pinched particularly at plugs p...

Page 5: ...or exit the standby mode 5 VOL buttons Press to decrease or increase the volume When in setup menu this button also serves the direction button 6 CH buttons Press to page up or down through programs i...

Page 6: ...Jack Connected to external antenna to receive the ATV DTV program in ATV DTV mode 5 Headphone Jack When headphone is inserted the loudspeaker is switched off 6 MINI AV Jack Connecting for AV signal in...

Page 7: ...red item and press the button to adjust or set 8 OK button Press to confirm selection in the setup menu 9 MENU button Press to enter setup menu or return to the previous menu 10 0 9 Number buttons Pre...

Page 8: ...ewed 27 DISPLAY button Press to display the reference information of the current mode 28 REC LIST button Press to display the Record List 29 CH button In ATV or DTV mode press to select analog program...

Page 9: ...mote is not in use for a long time Using of Remote control Point the remote control unit from no more than about 7 meters from the remote control sensor and within about 60 degrees of the front of the...

Page 10: ...end is connected to the POWER jack on the rear panel of the unit the other end to the AC 100 240V wall outlet NOTES Please use the power adapter specified by the manufacture Connecting a USB Device T...

Page 11: ...ly provides superior image quality to AV and YPBPR Connecting External Equipment to COMPONENT IN jacks 1 Use the AV cables to connect the external AV signal source to the MINI AV input jacks on the re...

Page 12: ...the power of the unit and the external AV signal source Press INPUT then direction buttons to select AV mode and then press the OK button to confirm Connecting to Coaxial Digital Output This unit is d...

Page 13: ...that of the television Native 1366 x 768 60Hz 4 After connection turn on the power of the unit and the PC 5 Press INPUT then direction buttons to select PC mode and then press the OK button to confir...

Page 14: ...the unit so that you can receive television programs 1 Connect TV signal input source from the aerial to the RF jack on the rear panel of the unit 2 After connection turn on the power of the unit 3 T...

Page 15: ...K button to enter the selected source immediately Use the INPUT button and the OK button On the input menu press the INPUT button repeatedly to select the desired input source After several seconds th...

Page 16: ...K or button the available picture modes will be listed on the screen With the buttons you can select Dynamic Standard Mild or User Brightness Contrast Sharpness Colour Tint Press the button to select...

Page 17: ...eble and then press OK or to enter the adjusting bar With the buttons you can adjust the level of it Balance Press the buttons to select Balance and then press OK or to enter the adjusting bar With th...

Page 18: ...ured button to delete it Lock a program 1 With the buttons you can choose a channel which shall be locked 2 Press the green coloured button to lock it Swap programs only for ATV programs 1 With the bu...

Page 19: ...arch type All DTV or ATV Press OK to start the auto search A new window appears on the screen where the status of the searching is documented The values of the found TV broadcast programs of ATV DTV a...

Page 20: ...r Off Hearing Impaired and PVR Timeshift Lock Before you can change the settings you have to insert the preset password to enter the menu The default is 0000 The lock settings include the options for...

Page 21: ...an change the presets minutes Press the buttons to select Sleep Timer and press the OK or button to enter the sleep timer list Press the buttons to select the desired option Auto Power Off Program the...

Page 22: ...require longer time to format depending on the volume of the USB device Some USB devices may not be properly recognized Even when they are in a supported format some files may not play or display depe...

Page 23: ...ton to enter the submenu for selecting the desired option H Position V Position Phase Clock Press the button to select H POSITION V Position Phase Clock and press the OK or button to enter the adjusti...

Page 24: ...rner of the screen Press the button again to start the time shift You can press the Display button on the remote to open the progress bar as shown below In the progress bar the current time behind liv...

Page 25: ...play it A progress bar of the playback appears on the screen In the record list you can press the red coloured button to delete the selected file Schedule Recording Schedule record is a function which...

Page 26: ...ogram To display the information of a program In the EPG window press the direction buttons to select a program then press the Display button to show the detailed information the availability and amou...

Page 27: ...EX button Press this button to select the index page 4 REVEAL button Press this button once to display the concealed information such as solution of riddles or puzzles press again to remove the riddle...

Page 28: ...TV broadcast 1 When receiving stereo audio signals press the NICAM A2 button on the remote control repeatedly to shift the sound tracks between Stereo and Mono and the screen will show the correspond...

Page 29: ...nt utility program which is not supported by Windows it may not be recognized Some USB storage devices may not be supported or operated smoothly If the name of a folder or file is too long it will not...

Page 30: ...ss OK button to enter your selected items Press Exit button to exit the Music player Press buttons to select a song and after several seconds the playback will start automatically Also you can press O...

Page 31: ...k if the video type input signal is not corresponding to the unit Make sure the unit is turned on and in the correct video type The remote control does not work Make sure there are no obstructions bet...

Page 32: ...D Dimension without stand 643 mm 398mm 82 mm W H D Net Weight About 4 8 kg Ambient Temperature 10 45 Specifications subject to change without pre notice Weight and dimensions are approximate If at an...

Page 33: ...Palsonic Customer Service Telephone Australia 1300 657 888 Palsonic C ABN 34 000 474 108 1 Joynton Avenue Waterloo NSW 2017 Australia Telephone 02 9313 7111 Facsimile 02 9697 0655 www palsonic com au...

Reviews: