9
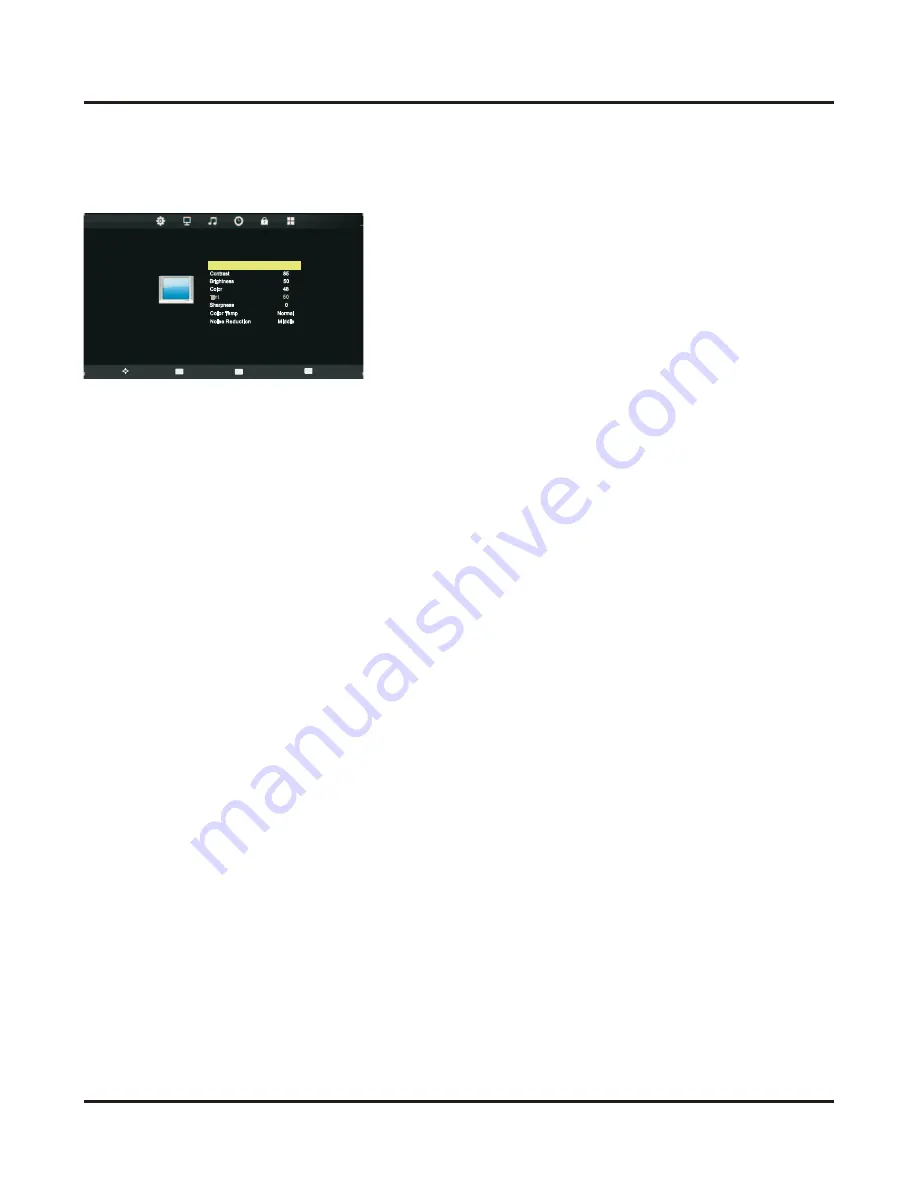
Picture Adjustment
Press
MENU
button to display the main menu.
Press ◄/► button to select
PICTURE
in the main menu.
1. Press ▲/▼ button to select the option that you want to adjust in the
PICTURE
menu.
2. Press
OK
button to enter.
3. After finishing your adjustment, press
MENU
button to save and return back to the previous
menu.
Picture Mode
Press ▲/▼ button to select
Picture Mode
, then press OK button to enter submenu.
Press ▲/▼ button to select between Dynamic, Standard,Mild and Personal. You can change
the value of contrast, brightness, colour and sharpness when personal mode is selected.
TIP: You can press P.MODE button on the remote control to change the Picture Mode
directly.
Contrast/Brightness/Color/Tint/Sharpness
Press ▲/▼ button to select option, then press OK button to enter submenu.Press ◄/►
button to adjust.
NOTE:
Contrast:
This item can adjust the highlight intensity of the picture, but the shadow of the
picture is invariable.
Brightness:
This item can adjust the optical fiber output of the entire picture, it will effect the
dark region of the picture.
Colour:
This item can adjust the saturation of the colour based on your preference.
Tint:
This item may use in compensating color changed with the transmission in the NTSC
code.
Sharpness:
This item can adjust the peaking in the detail of the picture.
Colour Temp:
This item can adjust the white balance of the image according to your
preference.
COOL increase the blue tone in white.
NORMAL stay at average.
WARM increase the red tone in white.
Noise Reduction:
This item can reduce the image signal noise.
ON
e Personal
Sharpness 0
Color 48
Brightness 50
Contrast 85
mp Normal
e User
PICTUR E
Exit
EXIT
Picture Mod
Color Te
Noise Reduction Middle
Tint 50
Move
MENU
OK
Return
Select
mp Normal
Contrast 85
Brightness 50
Color 48
Sharpness 0
e Personal


