Palsonic TFTV476LED User Manual Download Page 22

17

Note: Before operating Media menu, Plug in USB device, then press INPUT button to set the 

Input Source to Media.

Press ▲/▼ button to select Media in the Source menu, then press OK button to enter.

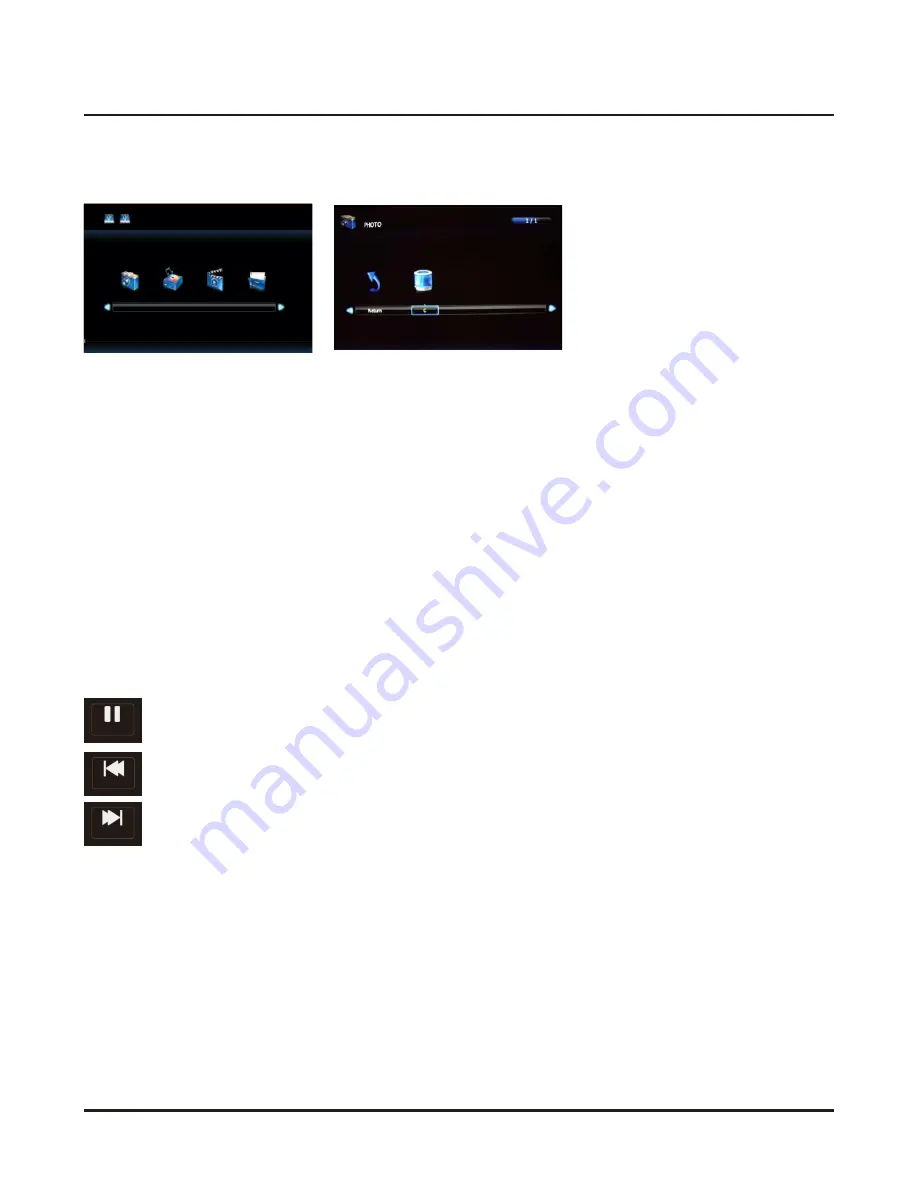
Press ◄/► button to select betweeen Photo, Music, Movie and Text in the Media menu, then 

press OK button to enter.

Photo

Press ◄/► button to select PHOTO in the main menu, then press OK button to enter.

Press ◄/► button to select Return then press OK or press EXIT button to go back to the 

previous menu.

Press ◄/► button to select drive disk you want to watch, then press OK button to enter.

Press ◄/►▲/▼ button to select the file you want to watch in the file selecting menu, then 

press OK button to display picture.

When highlighting the option you select, the file information will appear on the right and 

picture will be previewed in the center.

Basic Function (Photo)

Press DISPLAY button to display function menu.

USB2.0

PHOTO

MUSI C

MOVIE

TEX

T

Pause

Prev.

Next

Pause

Press ◄/► button to select Pause option, press OK to interrupt the picture briefly. 

Prev.

Press ◄/► button to select Prev., press OK to display the previous picture.
Next

Press ◄/► button to select Next, press OK to display the next picture.

Media Operation

Summary of Contents for TFTV476LED

Page 1: ...Offering Australians quality since 1958 www palsonic com au User s Manual TFTV476LED 47cm 18 5 HD LED TV...

Page 2: ...pment may fall causing serious injury to a child or an adult and seriously damage the equipment When carrying the TV hold it under the main unit Do not carry the TV by its spesakers Both the base and...

Page 3: ...levision comes about a distinct change in performance this indicates sa need for service Up on completion of any service or repairs to this television equipment ask the service technician to perform r...

Page 4: ...by the industry standards In line with manufacturers and would not mean that the panel is faulty Dead pixels panels with 6 pixels or more within 12 month period Palsonic Corporation Pty Ltd complies w...

Page 5: ...available in DTV mode 5 Using the OSD Menu 6 Channel Adjustment 6 Picture Adjustment 8 Sound Adjustment 9 Time Adjustment 10 Lock Adjustment 11 Hotel Adjustment 12 Setup Adjustment 13 PC Mode 14 Recor...

Page 6: ...tch your favorite movies or connect a computer to use the display as a monitor The television is equipped with convenient control buttons and a handy remote control to let you adjust the television se...

Page 7: ...e etc HDMI IN 1 2 Connect to the HDMI enabled devices PC IN Connect to the VGA output of your device PC AUDIO IN Connect to the audio output from your PC or portable computer CVBS Connect to video rec...

Page 8: ...tive range will be reduced 2 Do not hit or violently shake the remote control 3 Never expose the remote control to high temperature or humidity 4 If the remote is not used for an extended period of ti...

Page 9: ...TV 19 FAV Press the button to display favorite programme list 20 FAV Switch to lower channel number programme in the favorite list 21 FAV Switch to higher channel number programme in the favorite lis...

Page 10: ...display the detail information about the program Yellow button To display the schedule list that you can see the settings you have done before Blue button To set the time you want to remind the grogra...

Page 11: ...ns To select CHANNEL in the main menu Buttons To select the option that you want to adjust in the CHANNEL menu OK button To enter LED Menu button After finishing your adjustment to save and return bac...

Page 12: ...onS Buttons To select DTV Manual Tuning then press OK button to enter sub menu Buttons To select channel then press OK button to search program DTV Manual Tuning Program Edit Press FunctionS Buttons T...

Page 13: ...l mode is selected TIP You can press P MODE button on the remote control to change the Picture Mode directly Contrast Brightness Color Tint Sharpness Press FunctionS Buttons To select option then pres...

Page 14: ...e SOUND menu OK button To enter or adjust LED Menu button After finishing your adjustment to save and return back to the previous menu Picture Mode Press FunctionS Buttons To select Sound Mode then pr...

Page 15: ...us menu Sleep Timer Press FunctionS Buttons To select Sleep Timer then press OK button to enter submenu Buttons To select channel number you want to store Buttons To select Available options are Off 1...

Page 16: ...k System Default password is 0000 Set Password Press FunctionS Buttons To select Set Password then press OK button to enter submenu to set new password Block Program Press FunctionS Buttons To select...

Page 17: ...e default source will be the last source you watch before you turn off the TV Default Prog Press FunctionS Buttons To select Default Prog Buttons To select program you want when TV turns on Only when...

Page 18: ...nglish TT Language Press FunctionS Buttons To select TTLanguage then press OK button to enter Press button to select West East Russian Arabic Farsi Hearing Impaired Press FunctionS Buttons To select H...

Page 19: ...uding OSD language country and tuning Reset Press FunctionS Buttons To select Reset then press OK button to enter a dialogue button To select Yes to reset to default settings Software Update USB Press...

Page 20: ...the USB storage device connected is compatible and has created file system for recording If not the system will creat the file system automatically USB Disk A Pass will be displayed if formatting is s...

Page 21: ...the remote control or select STOP on the on screen menu then press Yes to stop recording It will return to normal broadcast Schedule Recording Press EPG button on the remote control and press the Red...

Page 22: ...button to select drive disk you want to watch then press OK button to enter Press button to select the file you want to watch in the file selecting menu then press OK button to display picture When h...

Page 23: ...ss OK to play background music Play list Press button to select Play list press OK to enter Info Press button to select Info press OK to enter You can see the detailed information of the picture Zoom...

Page 24: ...tion in the botton you want to run then press OK button to operate When highlighting the option you select the file information will appear on the right and music will be previewed in the center Basic...

Page 25: ...play the selected movie Press DISPLAY button and select function in the botton you want to run then press OK button to operate Repe at Al l Stop MUTE Info Pl ay list Goto Time Stop Press button to se...

Page 26: ...isplay the next movie Stop Press button to select Stop press OK to stop Info Press button to select Info press OK to enter You can see the detailed information of the movie Slow Forward Press button t...

Page 27: ...e is big enough to surpass the screen you may use this function to move the picture Aspect Ratio Aspect Ratio Press button to select Arpect Ratio press OK to enter Switch display modes Auto 4 3 16 9 z...

Page 28: ...ss OK to display the previous text Next Press button to select Next press OK to display the next text Stop Press button to select Stop press OK to stop Music Press button to select Music press OK to p...

Page 29: ...io power 2 5w 2 5w Audio mode Standard Music Movie Sports Personal Audio adjustment Function Zoom mode 16 9 4 3 zoom1 zoom2 Auto Video mode Dynamic Standard Mild Presonal OSD languages English Espanol...

Page 30: ...ean them to remove dust Remote control unit does not operate Check if the batteries are inserted with the polarity correctly aligned Check if the batteries are discharged Please replace with new batte...

Page 31: ...Palsonic Customer Service Telephone Australia 1300 657 888 Palsonic C ABN 34 000 474 108 1 Joynton Avenue Waterloo NSW 2017 Australia Telephone 02 9313 7111 Facsimile 02 9697 0655 www palsonic com au...

Reviews: