background image

Important Safety Instructions

1

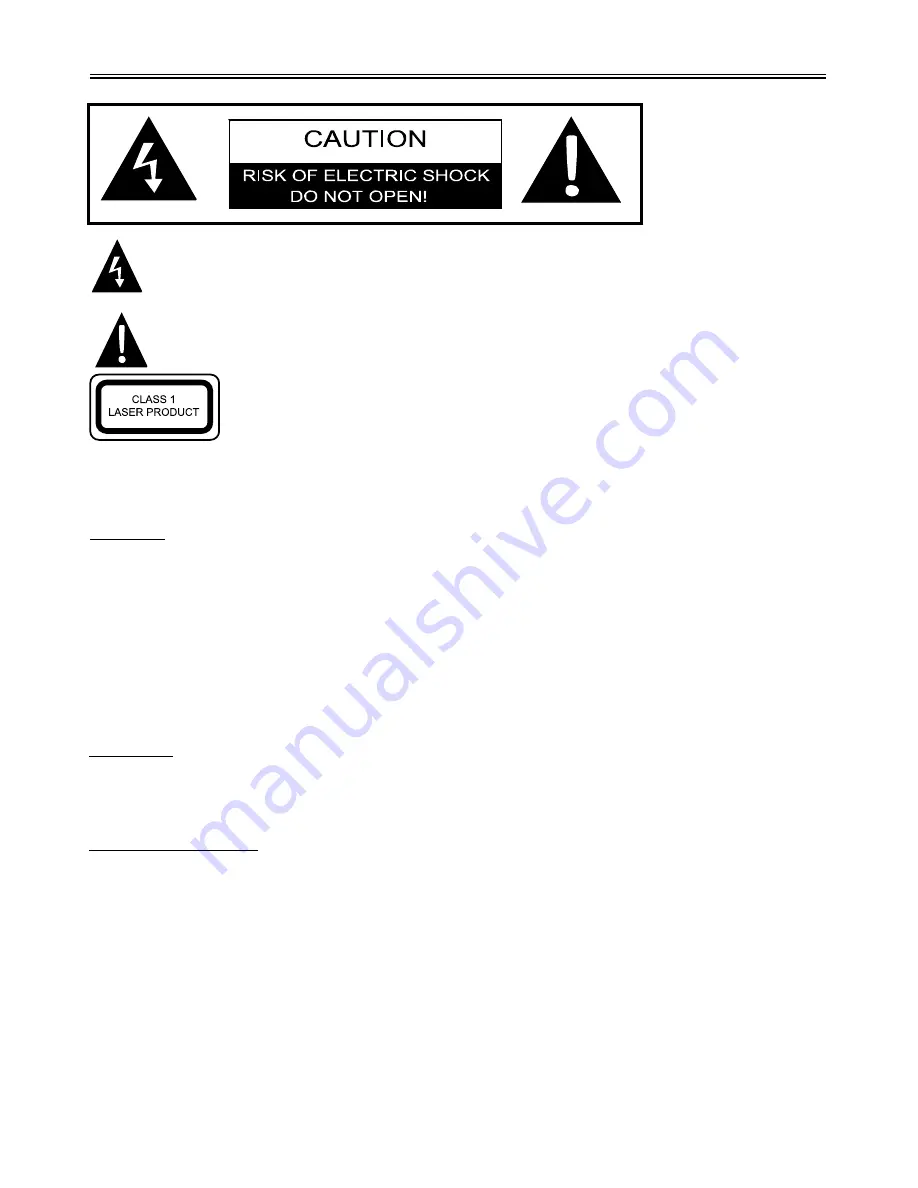
The lightning flash with arrowhead symbol, within an equilateral triangle, is intended
to alert the user to the presence of uninsulated “Dangerous Voltage” within the product’s
enclosure that may be of sufficient magnitude to constitute a risk of electric shock to persons.

The exclamation point within an equilateral triangle is intended to alert the user to
the presence of important operating and maintenance (servicing) instructions in the
literature accompanying the appliance.

CAUTION:

 USE OF ANY CONTROLS, ADJUSTMENTS, OR PROCEDURES OTHER THAN

THOSE SPECIFIED HEREIN MAY RESULT IN HAZARDOUS RADIATION EXPOSURE.

CAUTION

1.

2.

3.

The product contains a low-power laser device. In order to ensure the safety of the laser device,

do not remove any cover and attempt to repair the unit. If any service is needed, please contact

the distributor or its authorised service centre.

To reduce the risk of electric shock, do not remove the cover (or back). No user-serviceable

parts inside. Refer servicing to qualified service personnel. Unplug the product from the wall

outlet before servicing or when it is unused for a long period of time.

The manufacturer should not hold responsibility for the damage caused by any substitutions

and modifications of the product without authorisation from the manufacturer or authorised unit.

WARNING

The apparatus shall not be exposed to dripping or splashing and that no objects filled with liquids,
such as vases, shall be placed on the apparatus.

CAUTION: Laser radiation when open. Do note stare into
beam.

Copyright Protection

The product incorporates copyright protection technology that is protected by U.S. patents and
other intellectual property rights. Use of this copyright protection technology must be authorised
by Macrovision, and is intended for home and other limited viewing uses only unless otherwise
authorised by Macrovision, Reverse engineering or disassembly is prohibited.

Summary of Contents for TFTV1520D

Page 1: ...LCD TV COMBO TFTV1520D USER S MANUAL...

Page 2: ...o Power Supply Connecting to TV Antenna Connecting to External AV Signal Source Connecting to Earphone Connecting to PC TV Function Preparations Image Setting Audio Setting Timer Setting Setup Setting...

Page 3: ...ts authorised service centre To reduce the risk of electric shock do not remove the cover or back No user serviceable parts inside Refer servicing to qualified service personnel Unplug the product fro...

Page 4: ...plugs convenience receptacles and the point where they exit from the apparatus Only use attachments accessories specified by the manufacturer Use only with the cart stand tripod bracket or table speci...

Page 5: ...Support sleep time setting function and favourite channel setting function etc Multi Audio and Multi video modes Support multi audio and multi video modes provides more selecting Auto TV Searching Fun...

Page 6: ...the software maker Please refer to the instruction manual of the disc About Disc Terms Title Generally pictures or music compressed on a DVD are divided into several sections title Chapter The smaller...

Page 7: ...screen clearly shows the data 2 Power Indicator In normal playback status it turns green in standby mode it turns red 3 Remote sensor Remote sensor window for the remote control 4 Speakers Two speake...

Page 8: ...ton While in TV mode press to select channels In setup menu the same function as direction button 4 VOL button In TV mode press to decrease or increase the volume in DVD mode In setup mode the same fu...

Page 9: ...the PC audio output jack 4 S Video Input Jack Connected to the S VIDEO input in S VIDEO 5 L R Audio Input Jacks Connected to L R audio input in both S VIDEO or COMPOSITE mode 6 Video Input Jack Connec...

Page 10: ...e out battery when the remote is not in use for a long time Point the remote control unit from no more than about 7m from the remote control sensor and within about 60 degrees of the front of the unit...

Page 11: ...ess to play a disc when in the DVD mode 11 Stop Press to stop disc playback when in DVD mode 12 Skip Press to skip to the previous chapter track when in DVD mode Under Teletext mode it s the teletext...

Page 12: ...de 28 button Press pause playback or start step frame by frame playback 29 button Press to search forward when in DVD mode 30 button Press to search backward when in DVD mode Under Teletext mode it s...

Page 13: ...appropriate power adapter one end is connected to the DC 12V IN jack on the rear panel of the unit the other end to the wall AC outlet Connecting to TV Antenna This unit can be connected to the TV sig...

Page 14: ...UT button to shift to COMPOSITE or S VIDEO mode Note the L R audio input jack scan be used in the both COMPOSITE and S VIDEO modes This unit can be connected to an earphone for listening music private...

Page 15: ...one end of the VGA cable to the VGA input jack on the rear panel and the other end to the PC Connect one end of the audio cables to the PC audio input jack on the rear panel and the other end to the P...

Page 16: ...on the right In the Image setup menu press the button to select the desired item Press the MENU button to return to the previous menu Scheme Setup Press the button to select Scheme and press the OK bu...

Page 17: ...SC TV signal mode Colour Setup Press the button to select Colour and press the button to adjust the value Press the MENU button to return to the previous menu Sharpness Setup Press the button to selec...

Page 18: ...press the button to move the image Press the MENU button to return to the previous menu Phase Press the button to select Phase Press the button to adjust the value Press the MENU button to return to...

Page 19: ...e button to adjust the level Press the MENU button to return to the previous menu Balance Setup Press the button to select Balance and press the button to adjust the level Press the MENU button to ret...

Page 20: ...the button to select Setup and press the OK button to enter the menu shown on the right In the Setup menu press the button to select the desired item Press the MENU button to return to the previous me...

Page 21: ...and memorise the programs by sequence automatically During tuning press the MENU button to exit the auto scan mode Prog Organizer Press the button to select the Prog Organizer and press the OK button...

Page 22: ...on the right In the Manual Install setup menu press the button to select the desired item Press the MENU button to return to the previous menu Search Press the button to select Search and press the o...

Page 23: ...uage press the OK button to enter the setup press the button to select item Press the MENU button to return to the previous menu Factory Reset Press the button to select the Factory Reset and press th...

Page 24: ...e STEREO AUDIO button on the remote control repeatedly to shift the sound tracks between Nicam Mono and Mono and the screen will appear corresponding display as shown below Under A2 TV broadcast 1 Whe...

Page 25: ...y the player will search a disc and play it automatically in DVD mode Warning Do not play poor quality discs that may damage the player s lens DVD Playback Region Code DVD players and discs are coded...

Page 26: ...the PLAY button to resume normal playback Repeat Use the REPEAT button repeatedly to repeat a chapter title or all Some discs do not support the repeat function Menu Normally there is a selecting menu...

Page 27: ...D sleeve When playing a DVD containing various camera angles the camera symbol appears on the screen Press the ANGLE button repeatedly until the desired perspective is shown The picture will be adjust...

Page 28: ...dreds of pictures can be stored on a disc in this format In order to view JPEG photo albums you can ask your film development company to make a PICTURE CD when they develop your film Normal Playback L...

Page 29: ...picture Menu Press the MENU button once to stop playback and return to the root menu GOTO During playback press the GOTO button on the remote control once use the number buttons to input the file numb...

Page 30: ...menu press the ENTER or direction button to enter Use the direction buttons to select the desired item Press the button to return TV Display 1 2 3 4 Press the direction buttons to select TV Display Pr...

Page 31: ...n or Off Press the OK button again to confirm selection and to return 1 2 3 4 Press the direction buttons to select Last Memory Press the OK button to enter the setup Use the direction buttons to sele...

Page 32: ...he DVD SETUP button to enter the General setup menu then use the direction buttons to select Dolby Digital Setup the screen will display as the below In the menu press the ENTER or direction button to...

Page 33: ...utton again to confirm selection and return Brightness 1 2 3 4 Press the direction buttons to select Brightness Press the OK button to enter the setup the screen will display as left Use the direction...

Page 34: ...io language Press the OK button again to confirm setting and return Subtitle 1 2 3 4 Press the direction buttons to select Subtitle Press the OK button to enter the setup see the left figure Press the...

Page 35: ...in to confirm setting and return 1 2 3 Press the direction buttons to select Default Press the OK button to select Reset Press the OK button all the settings will return to the default status Preferen...

Page 36: ...are correct If it is not access the setup menu and select the correct system Cannot continue to play and play a section repeatedly Make sure it is not in A B repeat status Press A B button to cancel...

Page 37: ...D Weight About 6 5 Kg DESIGN AND SPECIFICATIONS ARE SUBJECT TO CHANGE WITHOUT NOTICE Manufactured under license from Dolby Laboratories Dolby and the double D symbol are trademarks of Dolby Laboratori...

Page 38: ...PALSONIC CORPORATION PTY LTD 1 JOYNTON AVENUE WATERLOO NSW 2017 AUSTRALIA TEL 02 9313 7111 FAX 02 9313 7555 www palsonic com au PALSONIC CUSTOMER SERVICE TELEPHONE AUSTRALIA 1300 657 888...

Reviews: