


36
VM-Series
Deployment
Guide
Secure North-South Traffic with the VM-Series Firewall
Set Up a VM-Series Firewall on the Citrix SDX Server
The following table includes the basic configuration tasks you must perform on the VM-Series firewall. For
firewall configuration instructions refer to the
PAN-OS Getting Started Guide
. The workflow and configuration
on the NetScaler VPX is beyond the scope of this document; for details on configuring the NetScaler VPX,
refer to the Citrix documentation.
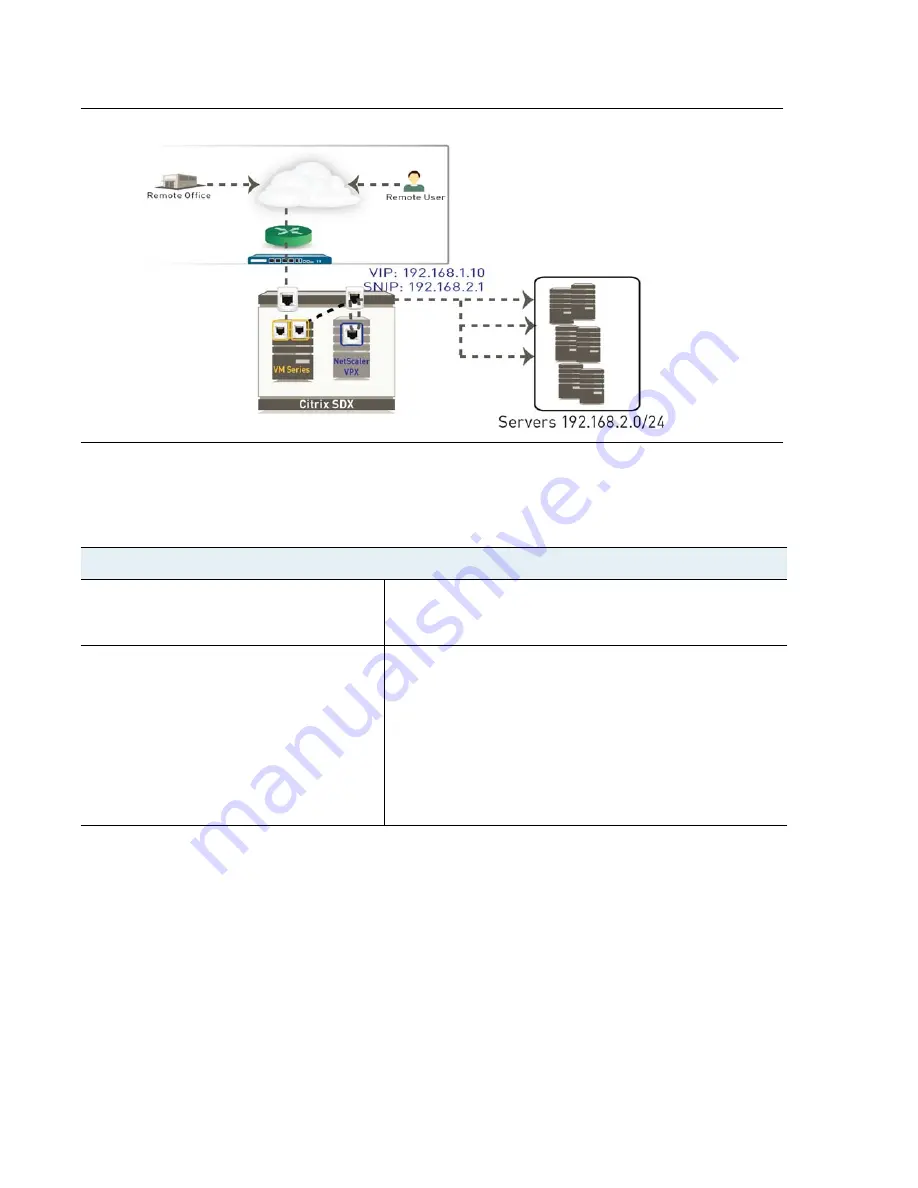
Topology after adding the VM-Series firewall
Set up the VM-Series Firewall Before the NetScaler VPX with Virtual Wire Interfaces
Step 1
Install the VM-Series Firewall
.
On the SDX server, make sure to enable
Allow L2 Mode
on the data
interface. This setting allows the firewall to bridge packets that are
destined for the VIP of the NetScaler VPX.
Step 2
Re-cable the client-side interface assigned
to the NetScaler VPX.
Because the NetScaler VPX will reboot
when recabled, evaluate whether you
would like to perform this task during a
maintenance window.
If you have already deployed a NetScaler VPX and are now adding
the VM-Series firewall on the SDX server, you have two ports
assigned to the VPX. When you deploy the VM-Series firewall, the
NetScaler VPX will now only require one port that connects it to the
server farm.
Therefore, before you configure the data interfaces the VM-Series,
you must remove the cable from the interface that connects the VPX
to the client-side traffic and attach it to the firewall so that all
incoming traffic is processed by the firewall.


