Palm Ultralight Wireless Headset, User Manual
Introducing the Palm Ultralight Wireless Headset - a revolutionary audio accessory that epitomizes comfort and convenience. Immerse yourself in crystal-clear sound while staying hands-free. Enhance your experience by accessing the detailed User Manual, available for free download on our website. Upgrade your audio game now with the Palm Ultralight Wireless Headset.
Share
Download


Reviews:
No comments
Related manuals for Ultralight Wireless Headset
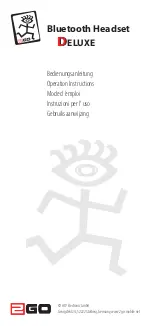
DELUXE
Brand: 2GO Pages: 20
B901
Brand: N-Com Pages: 33
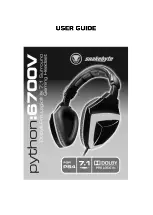
6700V
Brand: Python Pages: 8
BH100
Brand: Xqisit Pages: 16
BT400
Brand: Able Planet Pages: 2
Mini
Brand: 2GO Pages: 12
Touch
Brand: Hama Pages: 27
Ellipse
Brand: Jabra Pages: 12
S805 - -QSG-EMEA
Brand: Motorola Pages: 6
HC100
Brand: Sangoma Pages: 2
ONE
Brand: XBOX Pages: 13

H9
Brand: Ibml Pages: 2
Steel
Brand: Jabra Pages: 20
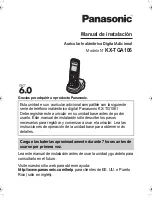
KX-TGA106M - Cordless Extension Handset
Brand: Panasonic Pages: 6
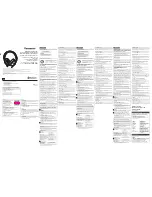
RP-HTX80B
Brand: Panasonic Pages: 2
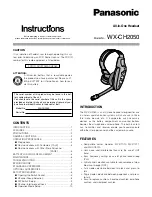
WXCH2050 - WIRELESS ORDER TAKER
Brand: Panasonic Pages: 12

BT160
Brand: Jabra Pages: 2
BT160
Brand: Jabra Pages: 2


