OWC
Rack Pro mini-SAS
Device Setup
4
2.1 Drive Installation
NOTE: If you purchased a Rack Pro pre-configured with drives, they will be coded
using the colors below. Please match the color on each drive to the corresponding
drive bay.
BLUE -
GREEN -
YELLOW - RED -
Drive Installation Steps:
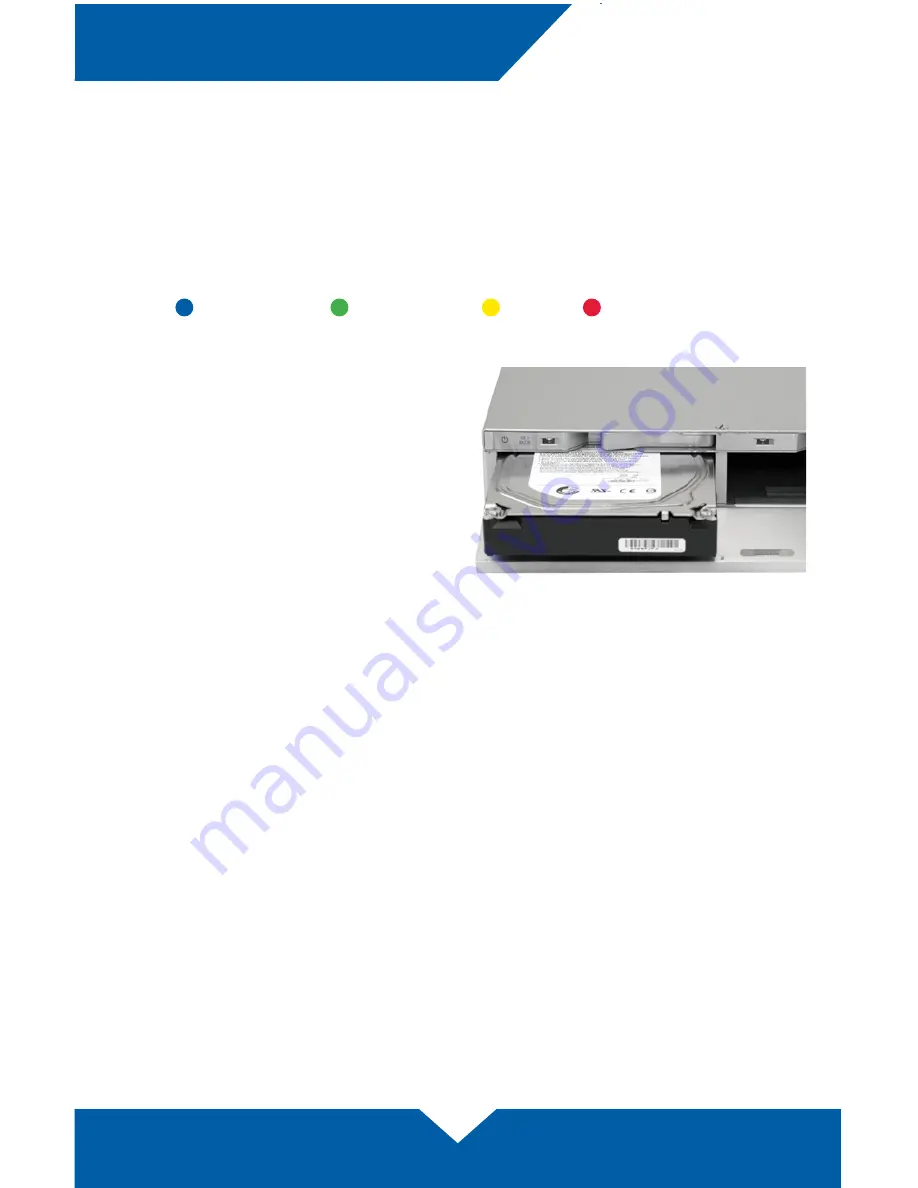
1. Open the front cover.
2. Install the first drive as shown at
right, with the SATA connector
facing away from you.
3. Slide the drive all the way into the
drive bay. When properly seated, it
should sit flush with the aluminum frame.
4. Repeat the previous steps for each drive you are installing.
Important Notes:
• Do not force the drives into place. If they do not slide and seat easily, make sure
there are no obstructions.
• It is not possible to add more drives to an existing RAID array or change the RAID
configuration without reformatting.
• To avoid data corruption it is essential to unmount all drives and power the unit
off before removing or adding a new drive. If you physically eject or remove a
drive from the Rack Pro without powering off the unit first, any mounted disks will
improperly unmount from the computer.
DEVICE SETUP


