Please read this owner’s manual carefully
before operating the unit and keep it for future reference.
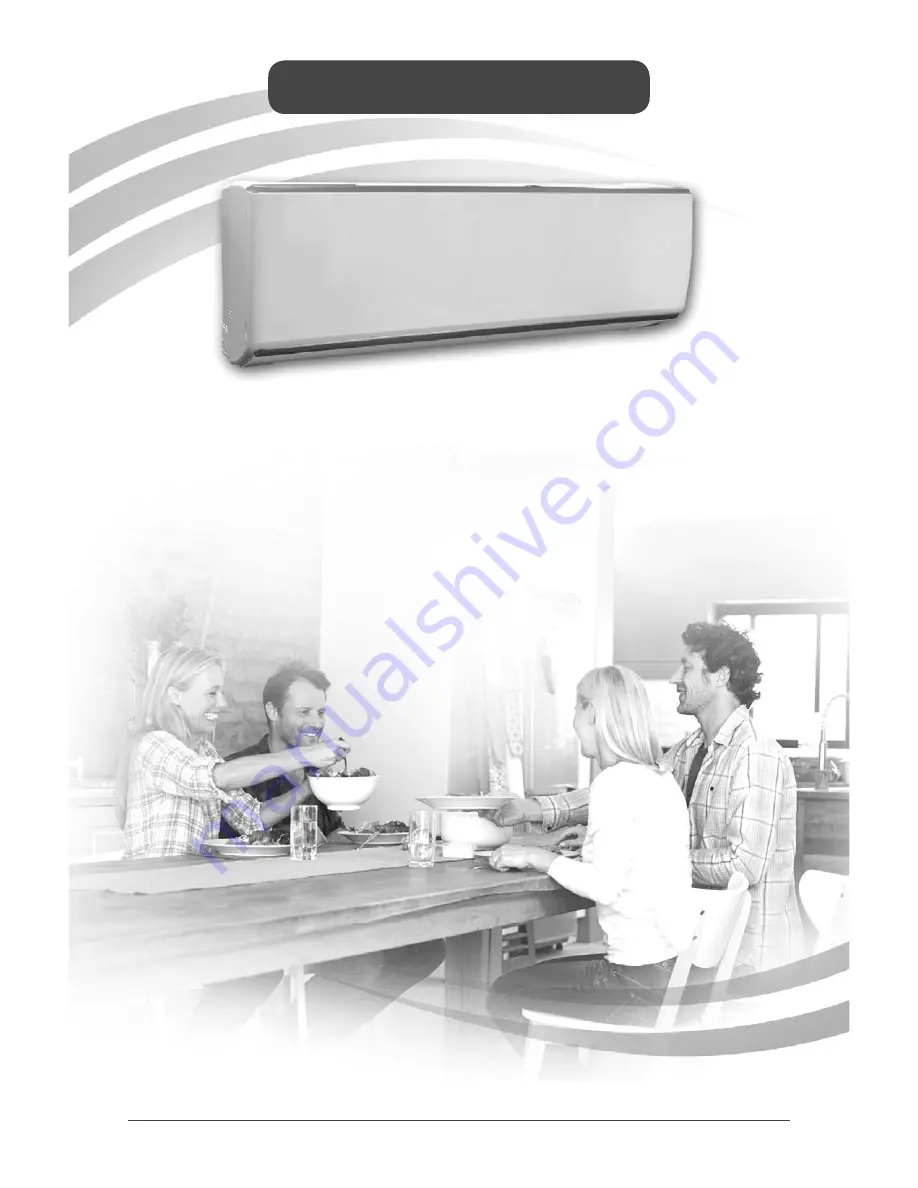
DUCTLESS SINGLE ZONE
HEAT PUMP
INS515-201601-05
Owner’s Manual
23-20 SEER INVERTER
9 000 to 24 000 BTU/hr
Models:
OCD09KCH23S
OCD12KCH22S
OCD18KCH20S
OCD24KCH20S


