


2
1 Introduction
2 Installing the USB interface drivers
How to install the USB interface drivers:
䡵
Log on to the PC with administrator rights.
䡵
Connect the OTT IrDA-Link USB to a USB interface on the
PC
➝
the PC recognizes the new hardware and displays
the message*: "Found new hardware. OTT IrDA-Link
USB"
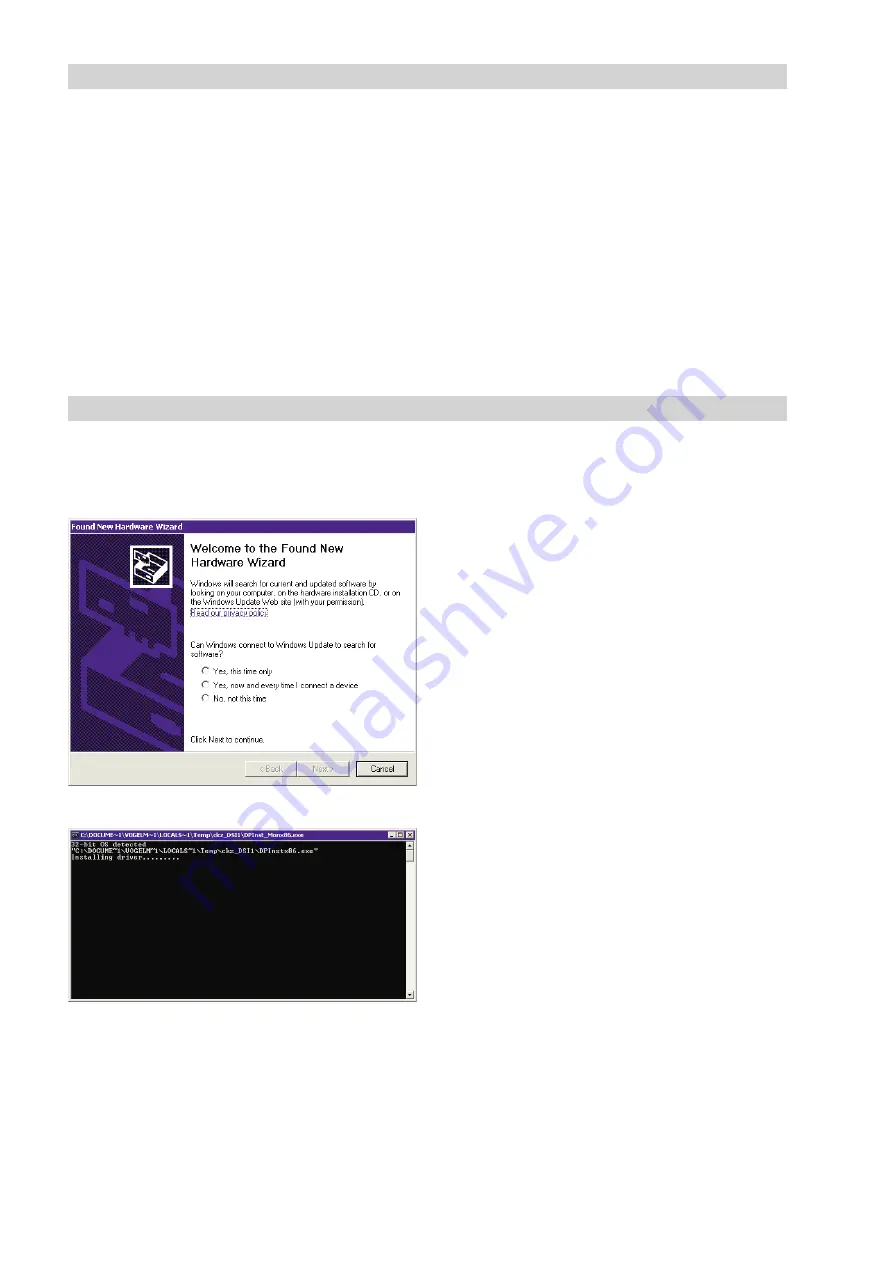
➝
the "Found New Hardware Wizard" opens.
䡵
Click on "Cancel".
䡵
Ignore error message*: "A problem occurred during
hardware installation. Your new hardware might not work
properly".
䡵
Open file "CDM x.xx.xx.exe" (e.g.CDM 2.08.02) on the
"OTT IrDA-Link USB Software" CD-ROM (Directory:
…/Driver/EXE)
➝
a window with an automatic installation
program opens and installs the USB interface driver.
䡵
After completion of the installation process, the message*:
"Your new hardware is installed and ready to use"
appears.
䡵
The OTT IrDA-Link USB can now be used in conjunction
with the OTT operating programs and with the OTT
Hydras 3. See Chapter 6.
* In the notification area of the taskbar
The procedure described here is based on the Microsoft
Windows XP operating system. It applies to the other
Windows operating system versions with minor changes.
To use the OTT IrDA-Link USB optical reading head on a PC,
special USB interface drivers are required. These USB inter-
face drivers must be installed on the first use of the reading
head.
OTT Hydromet uses drivers from "Future Technology Devices
International Limited" (FTDI) for this purpose. The drivers
have two components: "USB Serial Port (COMx)" and "USB
Serial Converter".
You can use the USB interface drivers on any current stan-
dard PC with a USB interface and an operating system from
Microsoft Windows 2000.