


4
Depending on the DVD, the start-up sequence will vary. Some DVDs indicate a
menu screen. Press
/
or
/
to select the menu. Then press
ENTER
to confirm the selection.
Setting Setup language for DVD
J5N70307A
K
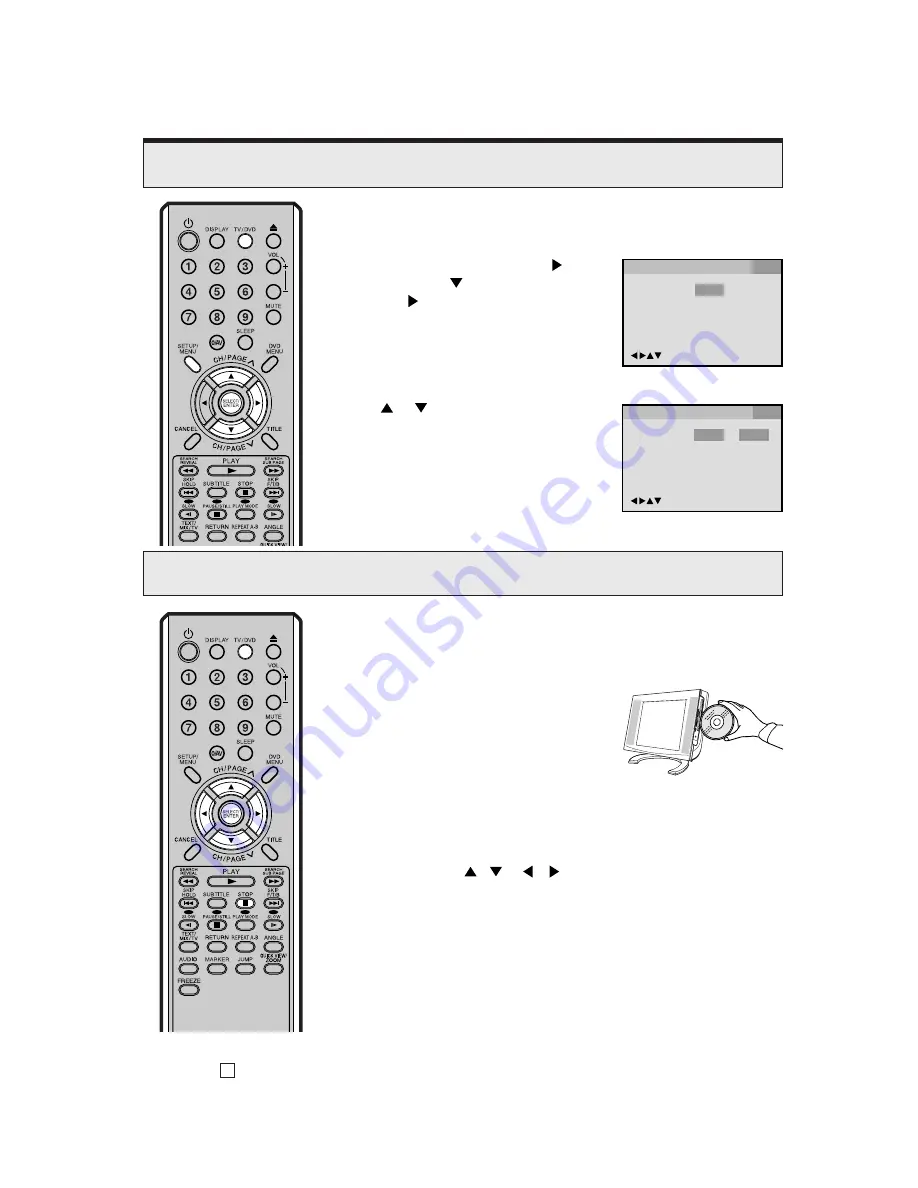
Press
SETUP
until normal
TV screen appears.
4
Playback
1
2
3
4
Press
TV/DVD
to select DVD mode.
Place the disc in the disc slot with the label
side facing forward. (If the disc has a label.)
Hold the disc without touching either of its
surfaces, align it with the guides, and place it
in position.
The menu of DVD will be read automatically. It takes a few seconds.
Press
SETUP
in the stop mode. Press
to select
“Other”, then press
to select “OSD Language”,
then press
or
ENTER
.
Press
TV/DVD
to select DVD mode.
1
2
Press
or
to select desired language,
then press
ENTER
.
3
Press
STOP
to end playback - the unit will remember this point on the disc if
you resume playback. However if you press stop again, the unit will clear the
stopped point.
5
OSD Language English
English
Francais
Espanol
Deutsch
Italiano
/Enter/Setup/Return
Language Picture
Parental Other
Sound
OSD Language English
/Enter/Setup/Return
Language Picture
Parental Other
Sound
Summary of Contents for TELETEXT 14LD
Page 51: ...49...


