18
Using the User Defined Database
The GoTo system allows you to save up to 25 objects in the
User Defined Database. You can save currently unknown
objects, unidentifiable objects, current comet and/or aster-
oid positions, or you can make a custom list of your favorite
objects to view for quick access.
Saving an object to the database
1. Press the
USER button (number 9) on the hand control-
ler, or select “User Objects” under the Object Catalog
menu. Press ENTER.
2. The first available selection in the User Objects is Recall
Object. This is where you select previously saved objects
to view. Use the scroll buttons to call up “Edit Object” and
press ENTER.
3. User-defined objects are stored in two formats: RA-Dec
and AzAlt. Press 1 for the RA-Dec format or 2 for AzAlt.
The LCD will display the coordinates at which the tele-
scope is currently pointed. In the case of the RA-Dec
format, the coordinate readout will be similar to this:
“22h46.1m + 90°00’ " , which means 22 hours and 46.1
minutes in R.A. (right ascension) and “+90°00'” in Dec
(declination). Change the coordinates using the numeric
keypad and scroll keys. Use the RIGHT or LEFT direc-
tional keys to move the cursor to the next or previous
digit. Press ENTER to save.
4. Warning: If the RA-Dec coordinates entered do not exist,
the hand controller will not respond when the ENTER key
is pressed. Check the entry for a mistake and re-enter the
correct coordinates.
5. To store an object/location in Altazimuth (AzAlt) format,
first point the telescope to the desired location to obtain
the Altazimuth value, and then press ENTER to save.
6. After the coordinates have been saved, the LCD will dis-
play a User Object number, such as # 03. Use the scroll
keys to change to the number you wish to represent the
coordinates and press ENTER.
7. The prompt “View Object?” and the User Object number
you just entered will be displayed. Press ENTER to go
to the object or ESC to return to the Edit Coordinates
menu.
Warning: The User Object number displayed may not be
an unassigned one. If you are unsure which numbers
have already been assigned, it is recommended that you
first check for the available numbers by recalling the
saved user-defined objects.
Recalling a user-defined object
1. See Step 1-2 of “Saving an object to the database” for
details on how to access to the User Objects menu.
Select Recall Object and press ENTER.
2. Use the scroll buttons to browse through the User Object
numbers until the number representing the object you
wish to view is displayed. Press ENTER to show its
coordinates. Press ENTER again and you’ll see “View
object?” Press ENTER to slew the telescope to the
object. The hand control will not respond if an unassigned
User Object number is selected. Use the scroll buttons to
choose another number and try again.
Hint: If the recalled object is below the horizon, the hand con-
troller will display “Below Horizon! Try another obj.” and auto-
matically return to the Recall Object menu.
Identifying an “Unknown” Object
The GoTo system has the ability to identify an unknown (to
you) celestial object that the telescope it pointing at. Here’s
how:
1. Press the
ID button or scroll to IDENTIFY in the main
menu and press ENTER
to identify the object.
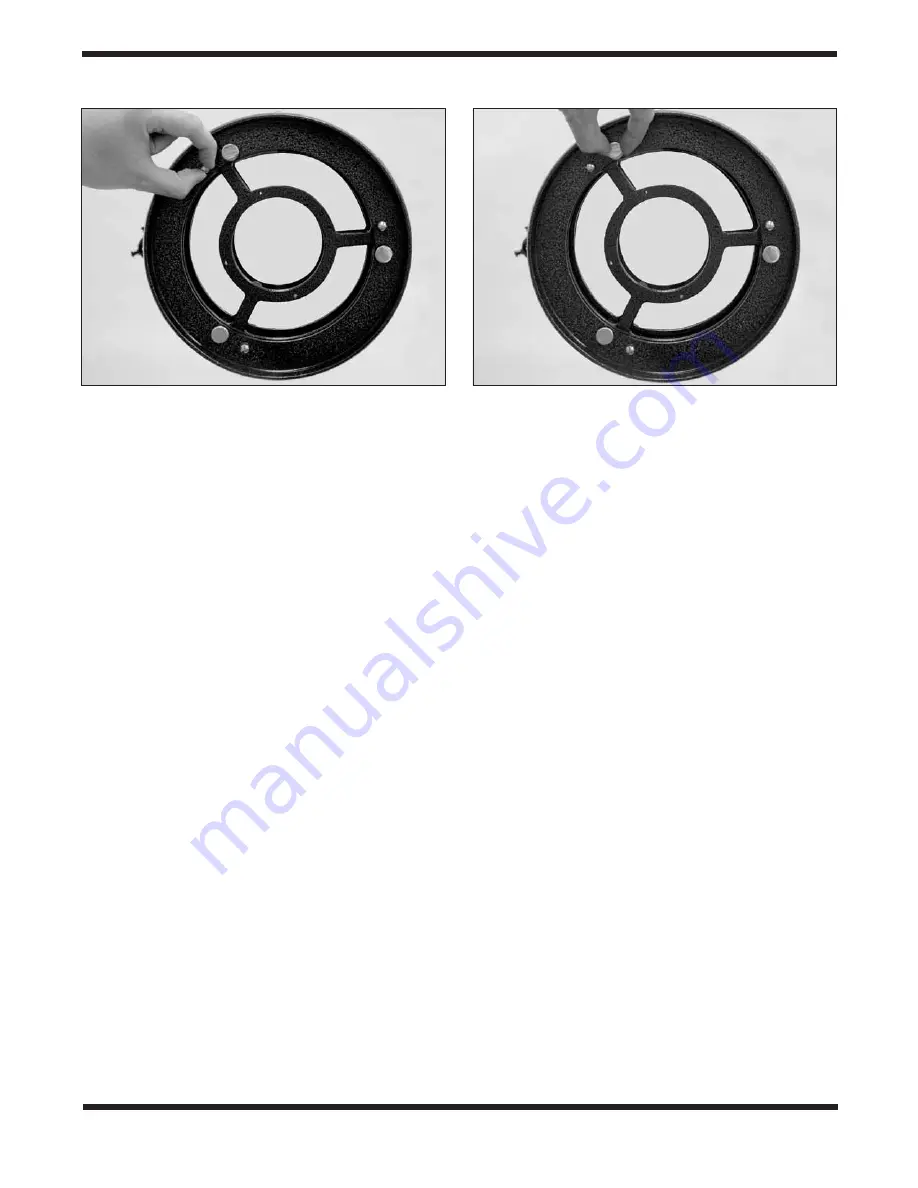
Figure 29.
The three small thumbscrews that lock the primary
mirror in place must first be loosened before any adjustments can
be made.
Figure 30.
The tilt of the primary mirror is adjusted by turning
one or more of the three larger thumbscrews.
Summary of Contents for 10134
Page 28: ...28 Menu Tree ...
Page 29: ...29 Appendix A Time Zones of the World ...
Page 31: ...31 Star Charts ...
Page 32: ...32 ...
Page 33: ...33 ...
Page 34: ...34 ...
Page 35: ...35 ...
Page 36: ...36 ...
Page 37: ...37 ...
Page 38: ...38 ...
Page 39: ...39 ...


