


23
Installation and User's Guide
This function of each menu is listed page 16
Please refer to page 16 for SETUP menu
PIP
SCREEN
SCAN MODE
PIP
PIP INPUT
PIP SWAP
PIP SIZE
PIP R/T
PICTURE
SCREEN
SETUP
RGB
SETUP
SETUP
CYCLE
TRIGGER
◀ R/B
▶
◀ SMALL
▶
▶
◀ VIDEO2
▶
◀ OFF
▶
◀ FULL
▶
▼/▲ : MOVE ◀/▶ : ADJUST ▶ : ENTER MENU : EXIT VER : *.*
Default setting is OFF and switch to ON, DW1 and DW2
PIP/PBP mode options
ON - PIP INPUT : Select an input source for PIP mode
(VIDEO1, VIDEO2, S-VIDEO)
PIP SWAP : Swap between main and PIP input
PIP SIZE : Select a size for PIP mode
(SMALL, NORMAL, LARGE)
PIP R/T : Select a location for PIP mode
(R/B, L/B)
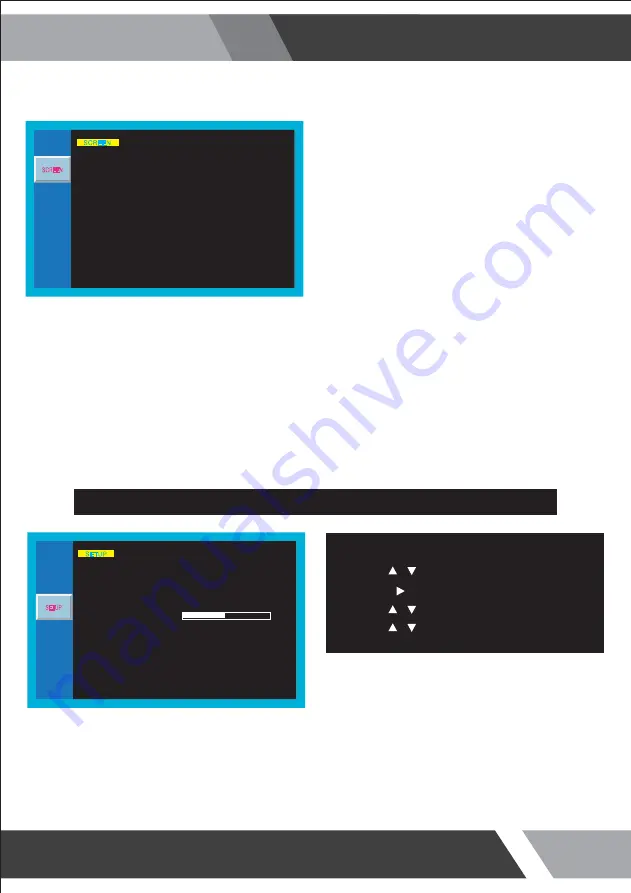
SETUP
Press the MENU/EXIT key to access menu.
1.
Use the & arrow to highlight a selection.
2.
Press the /SELECT to choose an item.
3.
4. Use the & arrow to highlight a selection.
5. Use the & arrow to adjust the setting on a
selected item.
SETUP
INPUT
LANGUAGE
SOUND MUTE
BUTTON LOCK
NOISE REDUCTION
OSD TIME
PICTURE
SCREEN
SETUP
RGB
SETUP
SETUP
CYCLE
TRIGGER
DEFAULT
▶
LINE SHIFT
◀ OFF
▶
◀ ON
▶
◀ OFF
▶
◀ OFF
▶
◀ ENGLISH
▶
◀ VIDEO1
▶
▼/▲ : MOVE ◀/▶ : ADJUST ▶ : ENTER MENU : EXIT VER : *.*
15s
Summary of Contents for 27REDP
Page 35: ...35 Installation and User s Guide MEMO...
Page 36: ......


