


QW
L
L
C
C
D
D
M
M
O
O
N
N
I
I
T
T
O
O
R
R
User’s Guide Book
QV
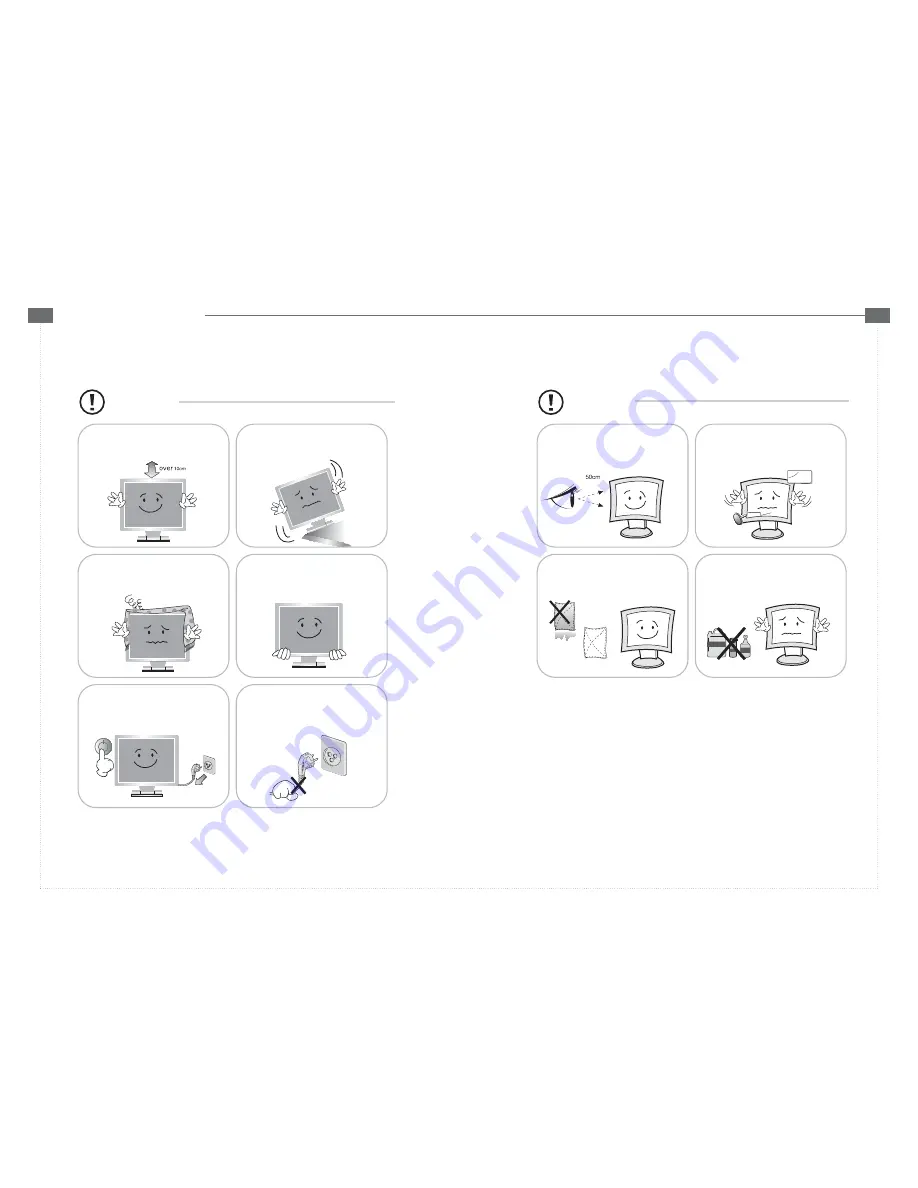
c
Install this monitor some distance
from the wall and do not install unless
Proper ventilation is provided.
Place this product on a stable place.
If not, it may fall, causing serious
damages to the monitor and people.
The openings must not be blocked by
curtain, rug or other similar surface.
Before carrying the monitor, tum it off and
unplug the signal cables and the power code
From the wall outlet.
When carrying this monitor, be careful
not to damage the panel and drop it
It may cause some trouble.
Take the power plug out from the wall
outlet.
Do not pull the cable. It may snap the inner-
wires and cause overheating and fire.
c
Install this monitor about 50cm far from
the eyes and an angle of 0~15 degrees
below eyes. Too close installation may
cause having weak sight
Do not press the LCD panel with hands or
the sharpened material hardly.
Do not use the chemical liquid for cleaning.
It may cause fading and breakage.
For cleaning, unplug the monitor from the
wall outlet. Do net use the liquid cloth.
Use the soft cloth.


