background image


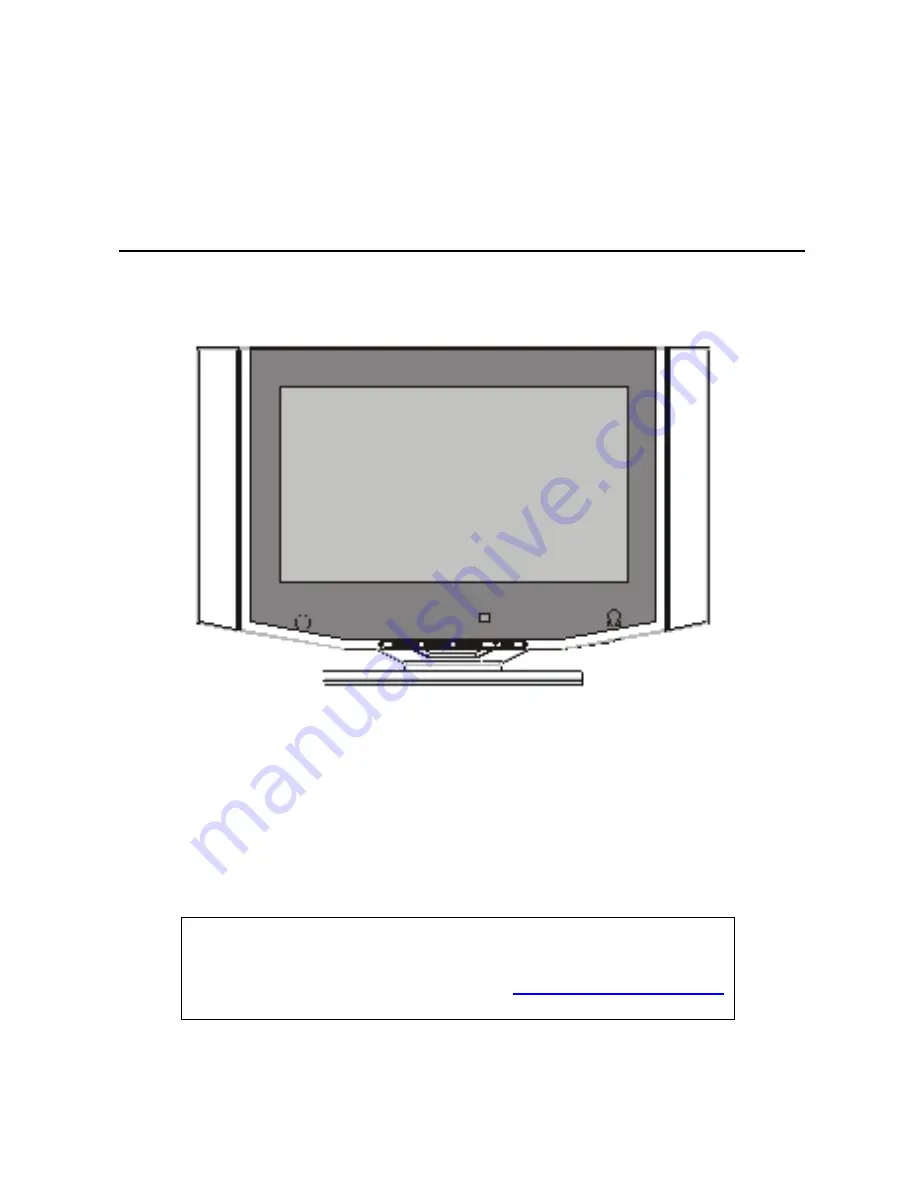
26 inch  

Wide Screen LCD Television


Operating Instructions 


Model: TC1572LCD 


Please read these instructions carefully and retain for future reference. 

For assistance during normal working hours (8:30am - 5pm, Mon - Fri) please 
contact Oriental Pacific International Ltd. 

 
New Zealand call: 0800 89 85 80 


Email: 

[email protected]


Summary of Contents for TC1572LCD

Page 1: ...l TC1572LCD Please read these instructions carefully and retain for future reference For assistance during normal working hours 8 30am 5pm Mon Fri please contact Oriental Pacific International Ltd New...

Page 2: ...ource such as lighted candles on any electrical apparatus WARNING Connect to a suitable 230 240V 50 Hz power supply only WARNING Keep out of reach of young children This apparatus is not suitable for...

Page 3: ...mally or has been dropped WARNING For household use only this apparatus is not intended for commercial use WARNING If this apparatus is to be used by a third party please supply these instructions wit...

Page 4: ...djustment 16 10 4 Recall 16 10 5 Display channel number 16 10 6 Picture modes 16 10 7 Sound modes 16 10 8 Still mode 17 10 9 Zoom function 17 10 10 Mute 17 11 0 Using the Channel Menu 18 19 11 1 Skip...

Page 5: ...ded that you keep the main packaging in case of future transporting requirements Ensure that you have all the accessories You should have NOTE FOR WALL INSTALLATION an independent professional install...

Page 6: ...Bracket Assembly Carton And the accessories 1 x Instruction manual 1 x Remote control 1 x Power cord 2 x SCART to RCA adaptor 2 Carefully open the LCD Display carton and lift the LCD TV out and place...

Page 7: ...not cover 4 2 COMPONENTS FRONT This set is equipped with all input and output terminals required for connection on the rear The set may be operated by remote control or by direct use of the front pane...

Page 8: ...on the back of the set are the following controls 10 S Video Input 11 SCART 2 Input AV2 12 SCART 1 Input AV1 14 RS232C Input factory use only 15 DVI Input 16 PC VGA Input 17 Antenna Input 18 Y Pb Pr...

Page 9: ...rected Ensure correct polarity or the remote will not function 5 2 REMOTE OPERATING RANGE 5 0 REMOTE CONTROL BATTERY CARE NOTE Do not mix battery types Always use batteries of the same type and brand...

Page 10: ...eletext mode Mute Mute sound Menu Call up Hide main menu CH Channel up Cursor up CH Channel down Cursor down VOL Volume up Cursor right VOL Volume down Cursor left Zoom Adjust zoom ratio Still Freeze...

Page 11: ...y to the antenna input socket 17 NOTE The quality of the picture will depend directly on the quality of the signal received and antenna installation It is recommended that you seek professional advice...

Page 12: ...select COLOUR SYSTEM Press VOL or VOL button to select PAL colour mode Press the Menu button once to return to the main menu again to exit the main menu IMPORTANT NOTE You must first configure the Co...

Page 13: ...EARCH TUNING Use this to automatically tune in and store all the available channels in your area Press the Menu button to enter the main menu Press the VOL or VOL button to navigate across the menu ba...

Page 14: ...e the Audio RCA input L R 19 on the rear and side of LCD display to connect the DVD player Audio output RCA plugs L white R red Video Input Use the SCART to RCA adaptor connect to SCART1 or SCART2 soc...

Page 15: ...of AV mode This will give you better viewing quality than AV mode 9 2 SCART CONNECTION Ideal for quick connection of TV DVD Video other equipment SCART 1 AV1 option with composite video input output s...

Page 16: ...nnel by using the identical buttons located on the bottom of the front panel To go directly to a specific channel you can enter the number using the numerical pad on the remote For example to select c...

Page 17: ...Display button on the remote control This will disappear after a few seconds 10 6 PICTURE MODES There are four options for picture mode settings 3 pre set options and one user defined option To select...

Page 18: ...3 normal television viewing When you select the 4 3 mode there will be black bars on all sides of the screen or two black bars on both left and right sides of the screen 10 10 MUTE To mute all sound p...

Page 19: ...ss the VOL or VOL button to navigate across the menu bar until you get to CHANNEL Press CH or CH to scroll up or down the drop down menu to select CHANNEL NUM Press VOL or VOL to select the present ch...

Page 20: ...menu bar until you get to CHANNEL Press CH or CH to scroll up or down the drop down menu to select FINE TUNE Press VOL or VOL to start fine tuning Once completed press the Menu button to return to the...

Page 21: ...ain menu These settings will be automatically stored in the USER picture mode 13 1 ADJUSTING AUDIO SETTINGS Press the Menu button to enter the main menu Press the VOL or VOL button to navigate across...

Page 22: ...Picture by Picture setting Press VOL to confirm setting Press the Menu button to return to the previous menu once again to exit the main menu 14 0 USING THE PICTURE IN PICTURE MENU NOTE When the main...

Page 23: ...ENERAL SETTINGS Press the Menu button to enter the main menu Press the VOL or VOL button to navigate across the menu bar until you get to GENERAL SETTINGS Press CH or CH to select desired menu functio...

Page 24: ...CH button HOLD Some Teletext information is contained in more that one page and the pages will automatically change after a short time To hold the current page simply press the HOLD button To cancel t...

Page 25: ...reading you can also show only the top or bottom of the Teletext page The sections will appear in larger text Press the SIZE button once to display the top section of Teletext and once more to view th...

Page 26: ...B or YPbPr YCbCr REMOTE CONTROLLER DOES NOT FUNCTION Check that the batteries are not dead Ensure the batteries are installed correctly Ensure you are pointing the remote at the set adequately Check y...

Page 27: ...z Power Consumption 145W Audio Output 6W 6W Connection Interface RF Input Cable Antenna RF x 1 Video Input S Video x 1 YpbPr YcbCr x 1 Graphic Input Analog RGB 15pin x 1 Digital RGB DVI D x 1 SCART In...

Page 28: ...mproper use or has been purchased second hand Warning Refer specific instructions All production orders have quality inspections In the unlikely event of a deficiency please contact the retailer from...

Reviews: