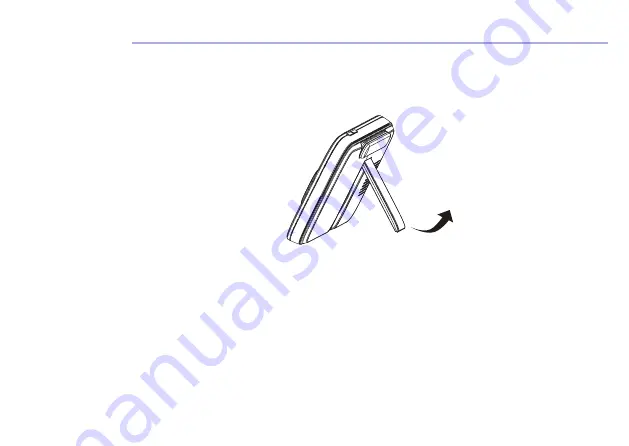
D. Desktop Stand of the Parent Unit
• The parent unit comes with a desktop stand attached to the back.• To place the parent unit on a desk, simply pull out the stand, as shown.
NOTE
Place the parent unit on a flat, even surface.
Page 1: ...s Inside Box x 2 Baby Unit Camera Magnetic Mount Parent Unit Power Adaptors Quick Start Guide Top Clamp Bottom Clamp Gooseneck 4 Poles with stand base WARNING Strangulation hazard Children have STRANG...
Page 2: ...turn on and the power indicator lights in green colour Note Only use the supplied power adaptor DC5V 1000mA B Optional Fixing magnetic mount on the wall Mark the position of the screw holes on the wa...
Page 3: ...eable battery allows the parent unit to be used when not plugged into mains power The battery provides up to 8 hours operation of the Parent Unit with the screen turned off We recommend charging for a...
Page 4: ...Stand of the Parent Unit The parent unit comes with a desktop stand attached to the back To place the parent unit on a desk simply pull out the stand as shown NOTE Place the parent unit on a flat eve...
Page 5: ...options when menu is active MENU button Press to open menu options or exit the menu OK button Press to confirm a selection VIDEO button Press to turn the LCD screen ON OFF Audio will remain active wh...
Page 6: ...w on Compatible Smartphones and Tablets Camera Unit Connect to Internet via Wi Fi Compatible Viewing Devices 1 Open the HubbleClub for Partners on your compatible smartphone or tablet 2 Follow the in...
Page 7: ...isit oricom com au Join the 4 poles and the support base together as shown in Fig 1a and 1b Fig 1a Fig 1b IMPORTANT Each pole is connected with power cord inside Take care not to damage the power cord...
Page 8: ...n the lower rail Fig 3b Fig 3a Fig 3b Position the top clamp to either the top rail or slats Close and secure the top clamp with the knob Fig 4a Ensure the pole stands straight is securely mounted and...
Page 9: ...amera is magnetically secured in the gooseneck Connect the power adaptor plug to the camera unit power socket Fig 5b 5c Fig 5b Fig 5c Insert the DC plug into the power socket at the bottom of the Cot...
Page 10: ...ables are kept out of reach of your baby and other young children at all times as far away from the baby as practical Never place the baby unit or parent unit inside your baby s cot bed or playpen Nev...
Page 11: ...f acceptable quality and the failure does not amount to a major failure In the event of a minor failure Oricom reserves the right to choose to repair or replace the product The Express Warranty Period...
Page 12: ...e or injury arising out of or in connection with a 1 Failure by you to adhere to the warnings and follow the instructions set out in this user guide for the proper installation and use of the product...
Page 13: ...d Bag 658 South Windsor NSW 2756 Australia Please note that this Express Warranty excludes expenses incurred by you in returning any faulty product to us You must arrange and pay any expenses incurred...
Page 14: ...tives each with the knowledge and resources to assist in answering your questions quickly and efficiently Oricom Support Australia For all product enquiries troubleshooting or to discuss the range of...