EN
12
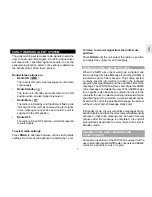
HOW TO SET THE TIME AND DATE
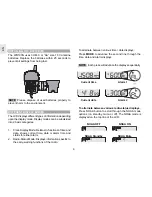
You can choose between 12 / 24-hour clock or month /
day, day / month display format.
At any stage of the setting sequence, if no entry
is made after 9 seconds, the unit will automatically exit the
Clock-Setting mode and return to the Clock-Display mode.
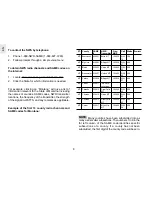
To set the time:
1.
In Clock-Display mode, press and hold
MODE
for
2 seconds.
2.
Select either the 12 / 24-hour format. Press or
to switch between the 2 formats.
3.
Make selection then press
MODE
to save and
advance to the next step.
4.
To enter the hour digits, press or until the hour
digits have been selected.
Pressing and holding or will advance digits
in rapid sequence.
5.
When the hour has been selected, press
MODE
to
save and to advance to the minute setting mode.
Press or to make the minutes selection.
NOTE
NOTE
6.
When finished, press
COUNTY
to advance to the
next county-code field, or wait 9 seconds to
automatically return to clock-display mode.
RADIO VOLUME
Before you can set the volume, the radio needs to be in
NOAA on mode.
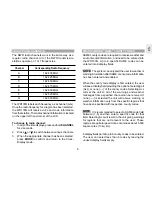
To set the radio volume:
1.
In Clock-Display Mode, with the radio set to NOAA
on, press or to adjust the volume.
2.
With the volume setting displayed, press or to
change the volume, maximum volume is 7, no
sound is 1.
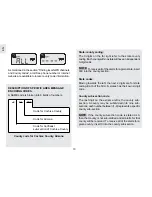
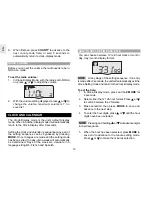
CLOCK AND CALENDAR
The Clock-Display mode is the unit’s default display
mode. When in another display mode it will automatically
return to the Clock-Display after 9 seconds.
Setting the clock and calendar is sequential. Any part of
the setting sequence can be bypassed by pressing
MODE
. Once changes are made and the setting mode
has been exited, the day-of-the-week will automatically
be determined. Days of the week are viewable in 3
languages: English, French and Spanish.


