Oregon Scientific RAR213HG User Manual Download Page 6

6

EN

CLoCK
MANUALLY SET CLoCK

1.  Press and hold 

MoDE

 for  seconds to enter the 

setting mode.

.  The settings order is: 1/4 hour format, hour, 

minute, year, calendar format (day-month / 

month-day), month, day and language.

3.  Press   or   to change the settings.
4.  Press 

MoDE

 to confirm.

The language options are English (

E

), German (

D

), 

French (

F

), Italian (

I

), and Spanish (

S

).

To select display mode:

Toggle 

MoDE

 to choose among clock with seconds 

/ clock with weekday / calendar.

TEMPERATURE AND HUMIDITY

To select temperature unit:

1.  Open the battery compartment. 
.  Select 

°C

 or 

°F

 for temperature readings by a pin 

or the top of a pen. 

3.  Close the battery door.

To select an outdoor sensor’s reading:

•  Toggle   or   to select your desired sensor channel.

To auto-scan among sensors:

1.  Press and hold   and 

MEM

 at a time for  

seconds to enable auto-scan function for all  5 

channels. The temperature will be displayed 

automatically in sequential order for 3 seconds 

each.

.  To end, press   or   .

To display current, minimum and maximum 

records of the day from a selected sensor:

•  Toggle 

MEM

.

To clear the records:

•  Press and hold 

MEM

 for  seconds.

NOTE

 The record will also be cleared once the 

batteries are removed from the main unit.
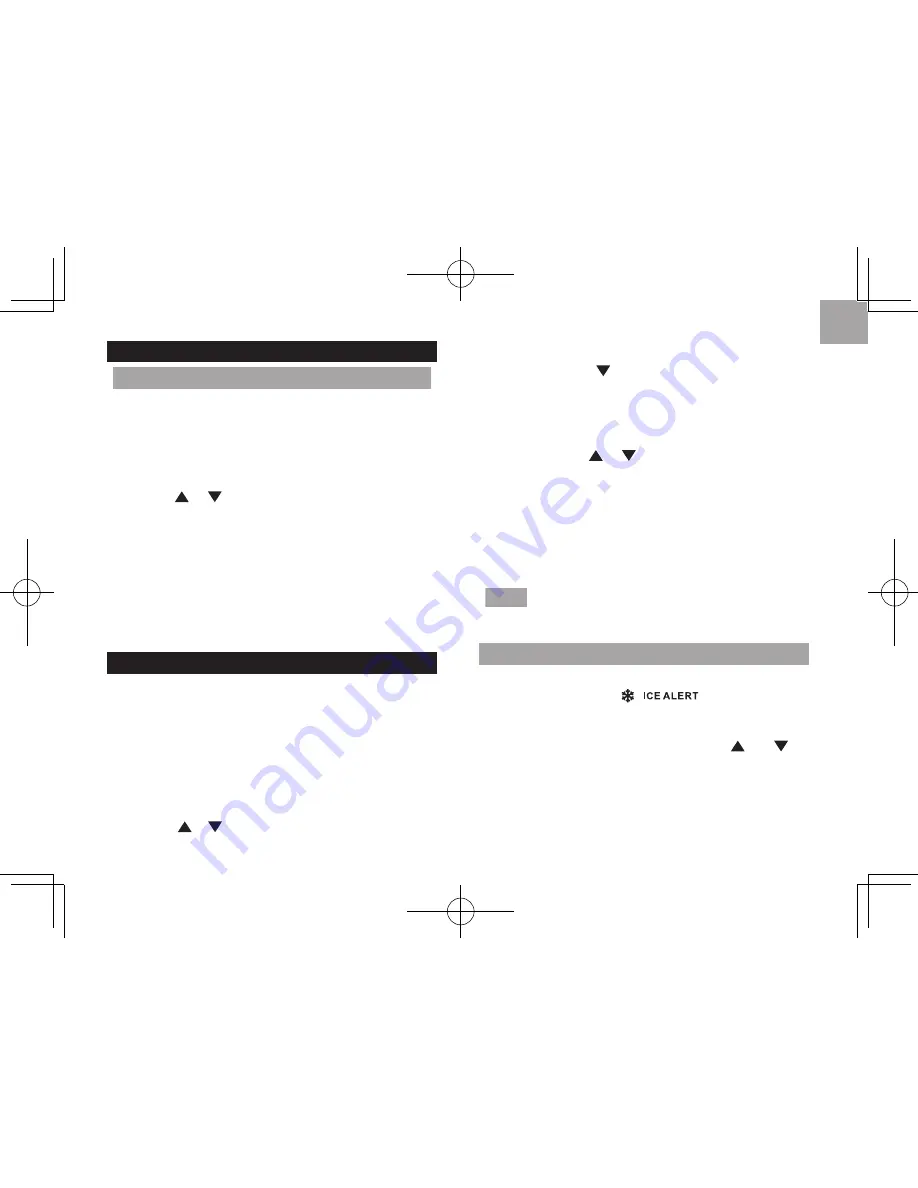
ICE WARNING

If the channel 1 sensor falls from 37°F to 8°F (3°C 

to -°C), LED indicator 

 will flash, and 

will stop flashing once the temperature is out of this 

range.

•  To disable the ice alert warning, press   and   at 

the same time. 

•  The ice warning detection will restart once the 

temperature falls out of 37°F to 8°F (3°C to -°C), 

and will then trigger the flash again when the 

temperature falls into this range.

Summary of Contents for RAR213HG

Page 1: ...Weather Home Thermo Plus Bluetooth enabled Thermo Hygro Monitor Model RAR213HG USER MANUAL ...

Page 2: ...r 5 Sensor Data Transmission 5 Clock 6 Manually Set Clock 6 Temperature And Humidity 6 Ice Warning 6 Backlight 7 Reset 7 Connect With Your Mobile Device 7 Pairing Your Weather Station 7 Settings 8 View Current Readings 9 View History Readings 9 Optional Sensor For Additional Information 10 Precautions 10 Specifications 11 About Oregon Scientific 11 EU Declaration Of Conformity 11 FCC Ic Statement ...

Page 3: ...e sensor reception indicator 3 outdoor remote sensor battery low 4 Outdoor humidity reading current MAX MIN 5 Indoor temperature reading current MAX MIN 6 BLE connection indicator 7 main unit battery low 8 Ice alert LED indicator 9 MODE change settings display search remote sensor 10 MEM view current maximum and minimum temperature humidity 11 LIGHT activate backlight for 5 seconds 12 decrease val...

Page 4: ...ery compartment REMOTE SENSOR THGN132N 1 2 3 4 5 1 LED status indicator 2 Wall mount hole 3 Battery compartment 4 RESET hole 5 CHANNEL switch USEFUL REFERENCE Visit our website www oregonscientific com to learn more about the compatible sensors GETTING STARTED INSERT BATTERIES 1 Remove the battery compartment 2 Insert the batteries matching the polarities 3 Press RESET after each battery change ...

Page 5: ...ht or wet conditions for an accurate reading 1 5 m 5 ft NOTE Use alkaline batteries for longer usage and consumer grade lithium batteries in temperatures below freezing SENSOR DATA TRANSMISSION To search for a sensor Press and hold and MODE at the same time for 2 seconds To auto scan among sensors The main unit can search for the sensor s automatically The temperatures will be displayed automatica...

Page 6: ... desired sensor channel To auto scan among sensors 1 Press and hold and MEM at a time for 2 seconds to enable auto scan function for all 5 channels The temperature will be displayed automatically in sequential order for 3 seconds each 2 To end press or To display current minimum and maximum records of the day from a selected sensor Toggle MEM To clear the records Press and hold MEM for 2 seconds N...

Page 7: ...le Store To quickly find the application type Weather Home as keyword in the search engine Ensure your mobile device is compatible with iOS 5 or Android 4 3 with Bluetooth v4 0 PAIRING YOUR WEATHER STATION First of all you need to pair your weather station with your mobile device will flash on the screen of the weather station while pairing and be on after successful pairing Press and hold for 2 s...

Page 8: ...nsor Drag it to your desired position 3 Tap to confirm SETTINGS You can set your weather station through the application such as measurement units The settings are as follows Temperature Barometric with optional BTH sensor Rainfall not available in RAR213HG Wind speed not available in RAR213HG Altitude not available in RAR213HG Show unavailable sensor Automatically sync time Show sea level pressur...

Page 9: ...nsor On SETTINGS screen touch and slide the button to right to turn on the function or sliding to left to turn it off To automatically synchronize time Time and date on your weather station could be automatically synchronized by your mobile device On SETTINGS screen touch and slide the button to right to turn on the function or sliding to left to turn it off VIEW HISTORY READINGS You can view hist...

Page 10: ...es shown in this manual may differ from the actual display When disposing of this product ensure it is collected separately for special treatment and not as household waste Placement of this product on certain types of wood may result in damage to its finish for which Oregon Scientific will not be responsible Consult the furniture manufacturer s care instructions for information The contents of th...

Page 11: ...quiry please contact our Customer Services at info oregonscientific com Oregon Scientific Global Distribution Limited reserves the right to interpret and construe any contents terms and provisions in this user manual and to amend it at its sole discretion at any time without prior notice To the extent that there is any inconsistency between the English version and any other language versions the E...

Page 12: ... particular installation If this equipment does cause harmful interference to radio or television reception which can be determined by turning the equipment off and on the user is encouraged to try to correct the interference by one or more of the following measures Reorient or relocate the receiving antenna Increase the separation between the equipment and receiver Connect the equipment into an o...

Page 13: ......

Reviews: