


EN
12
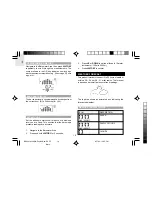
SENSOR SEARCH
To search for a Thermo / Hygro sensor, press
SELECT
to navigate to the Temperature/ Humidity / Comfort Zone
Area. will show next to the Area. Then, simultaneously
press and hold
MEMORY
and
CHANNEL
for 2 seconds.
To search for the UV sensor, press
SELECT
to navigate
to the UVI / Barometer Area. will show next to the Area.
Then, press and hold
MEMORY
and
CHANNEL
for
2 seconds.
If the sensor is still not found, check the
batteries.
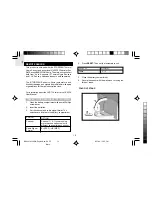
CLOCK AND CALENDAR
This product tracks the time and date based on radio-
controlled signals from the RTGR328N remote sensor,
or manual settings that you enter.
NOTE
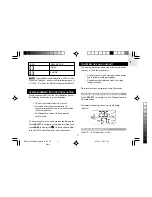
RADIO-CONTROLLED CLOCK
The time and date are automatically updated by radio-
controlled clock signals from official time-keeping
organizations in Frankfurt (Germany) and Rugby
(England) unless you disable this feature. The signals
are collected by the remote sensor (RTGR328N)
whenever it is within 1500 km (932 miles) of a signal.
Initial reception takes 2 – 10 minutes, and is initiated
when you first setup the unit, and whenever you press
RESET
. Once complete, the reception icon will stop
blinking.
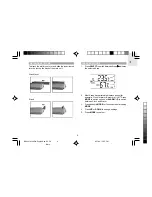
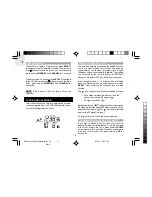
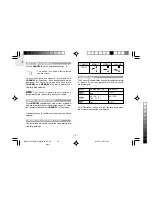
The
icon shown in the Clock Area indicates 2 factors:
• Connection between the main unit and the
sensor that collects RF signals (
)
• RF signal reception (
)
Both parts will show (
) when the sensor that receives
RF signals is selected and the RF signal is strong. (If you
select another sensor,
or
will show to indicate
whether the RF signal is strong.)
If no signal is found, check the sensor batteries.
TURN RADIO-CONTROLLED CLOCK ON/OFF
If you wish to manually set the clock, you must first
disable the radio-controlled feature. To do this, navigate
to the Clock / Alarm Area. Then, press and hold
DOWN
on the main unit for 2 seconds. To enable it, navigate to
the Clock / Alarm Area, then press and hold
UP
for
2 seconds.
BAR321/323HGN English New R2 OP
8/17/04, 12:55 PM
12
Black