23
24
IX) Connecting to a computer
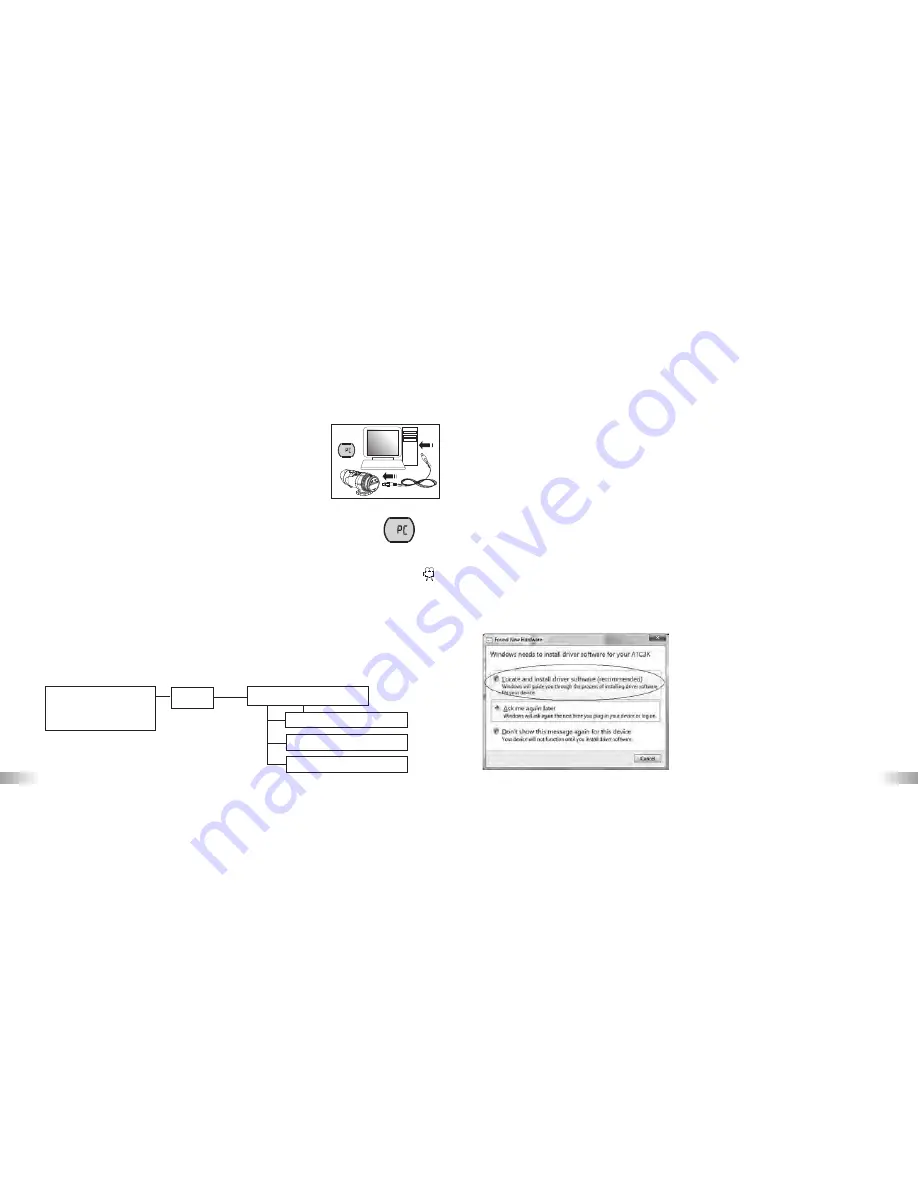
You can upload your recorded video footage to a PC by
connecting the ATC3K to your PC using the USB cable.
1. Turn the ATC3K on.
2. Connect the ATC3K to a PC via the USB cable.
3. There are 2 modes available, File (F) and Cam (C). File
allows you to check the files in the camera or SD card. Cam is
the webcam function.
4. “F” appears on the ATC3K LCD screen, which means ATC3K is
connected to your PC and files are available for review.
5. To choose to review Files in the Camera/SD card the user should press 'Confirm'
.
Once selected the ATC3K drive appears in the [My Computer] folder.
*If you are connecting the camera to a PC for the first time, the required driver is
installed automatically so that the camera can be recognized by Windows Plug and
Play. The 100ATC3K drive then appears on the [My Computer] folder.
6. Open the '100ATC3K' folder in the [DCIM] folder to start selecting your
desired video files. Copy the desired video to your PC.
• Folder Composition:
Removable disk
• Internal Memory
• SD Memory Card
DCIM
100ATC3K
AVI_0001
AVI_0002
AVI_0003
X) Webcam installation
Warning:
This hardware has not passed Windows Logo testing. Users may install the webcam
feature but do so at their own risk. By installing the webcam feature users indemnify
Oregon Scientific from any software, hardware or virus problems caused as a result of
installation.
Attention:
*Webcam Installation does not work with Vista 64 bit versions.
* With use on Windows 2000 users must install Netmeeting in order to use the
webcam feature.
*With use on Windows XP users must install the AMC tool.
Webcam Installation on Windows Vista
Note: Before installing the software please ensure the CD is in the CD drive.
1. With the USB cable inserted and camera on, select C on the LCD screen. A pop-up
window will appear. Select “Locate and install driver software (recommended)”.
Summary of Contents for ATC3K
Page 1: ......


