background image

S I M P L Y     A M A Z I N G

®

U

SER

S

G

UIDE

•IMPORTANT•

SAVE THIS BOOKLET!

Includes:
• Safety Warnings
• Warranty
• Operating Instructions
• Trouble Diagnosis
• Accessories

COMMERCIAL

XL20R7RH

HIGH SPEED UPRIGHT VACUUM

CLEANER WITH

®

CLEANING SYSTEM

75662-01 REV A

Summary of Contents for XL20R7RH

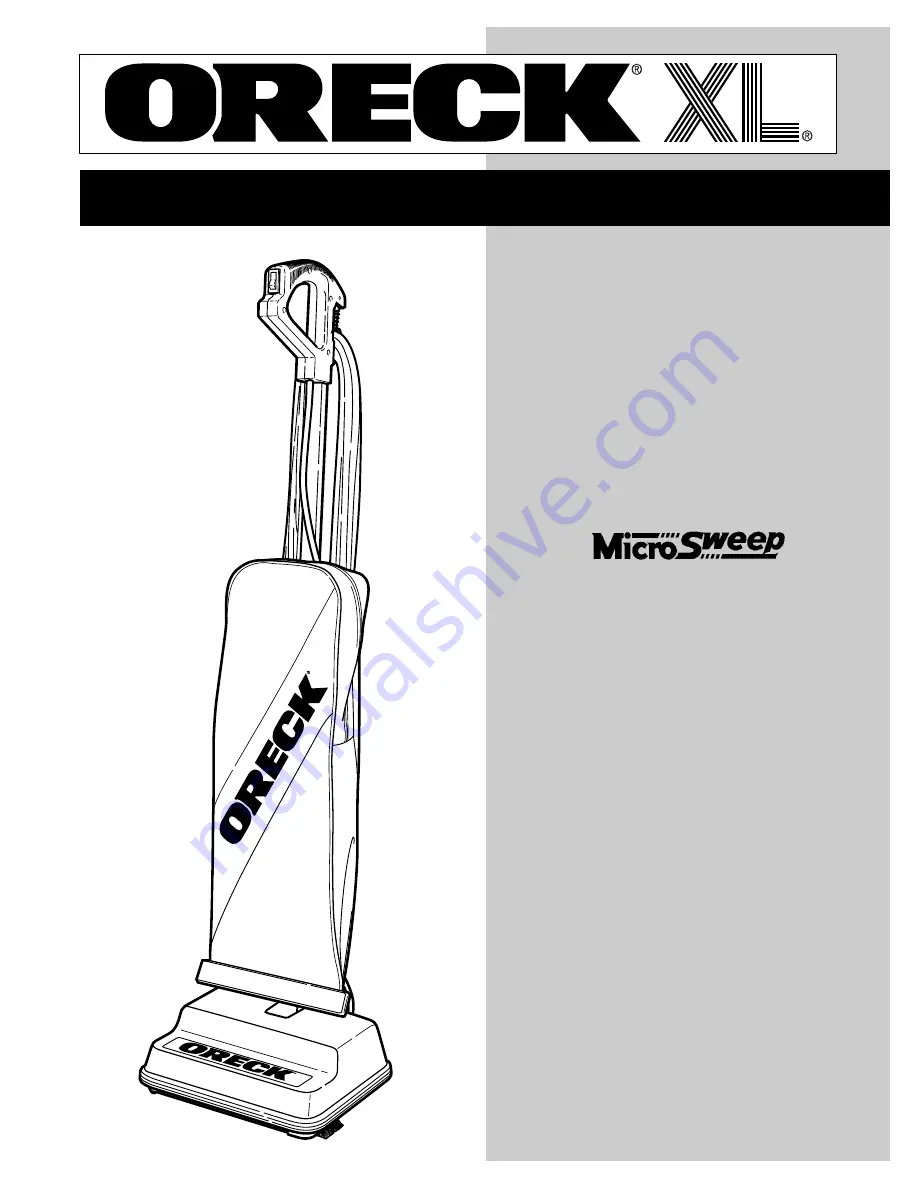
Page 1: ... N G USER S GUIDE IMPORTANT SAVE THIS BOOKLET Includes Safety Warnings Warranty Operating Instructions Trouble Diagnosis Accessories COMMERCIAL XL20R7RH HIGH SPEED UPRIGHT VACUUM CLEANER WITH CLEANING SYSTEM 75662 01 REV A ...

Page 2: ... 14 15 20 17 18 21 22 23 24 25 27 28 29 Connector Deflector Opening Intake Opening Retainer Spring Fan Housing O ring Intake Opening 19 Fan Housing Cord dump 8 9 10 11 ENFONCEZ JUSQU À ENTENDRE UN BRUIT PRESIONE HASTA ESCUCHAR UN CHASQUIDO DE SUJECIÓN 16 26 Tube ...

Page 3: ...ry when used by or near children Use only as described in this manual Use only manufacturer s recommended attachments Do not use with damaged cord or plug If appliance is not working as it should has been dropped damaged left outdoors or dropped into water Do not pull or carry by cord use cord as a handle close door on cord or pull cord around sharp edges or corners Keep cord away from heated surf...

Page 4: ...his product from any other source Alexander Nevsky Enterprises Inc grants you no warranty and you not Alexander Nevsky Enterprises Inc or its authorized dealer assume the entire responsibility for the quality of this product including the entire cost of any necessary servicing or repairs of any defects The warranty period is one 1 year The duration of your warranty period begins with the day of yo...

Page 5: ...dor attract moisture and can affect the efficiency of the cleaner 8 DO NOT run the vacuum cleaner over the cord The revolving brush could damage the cord 9 Use caution when vacuuming over area rug edges and fringe General Information The performance of your new cleaner greatly depends upon care and maintenance The instructions in this manual will guide you in performing basic care and maintenance ...

Page 6: ...e bag from connector Bag dock door will hinge downward fig 9 Gently pull bag cardboard collar upward out of the bag dock The dust seal will close automatically BAG INSTALLATION fig 10 Slide the cardboard collar completely onto bag dock door fig 11 Firmly push bag dock door with both thumbs on indication point until it snaps How to Replace a Worn Belt WARNING Unplug cord from electrical outlet befo...

Page 7: ...7 ...

Page 8: ...5662 01 REV A 2003 Oreck Holdings LLC All rights reserved All word marks logos product configurations and registered trademarks are owned and used 10 03 ECN R 7283 under the authority of Oreck Holdings LLC ...

Reviews: