


Verify Drive Functionality
3.
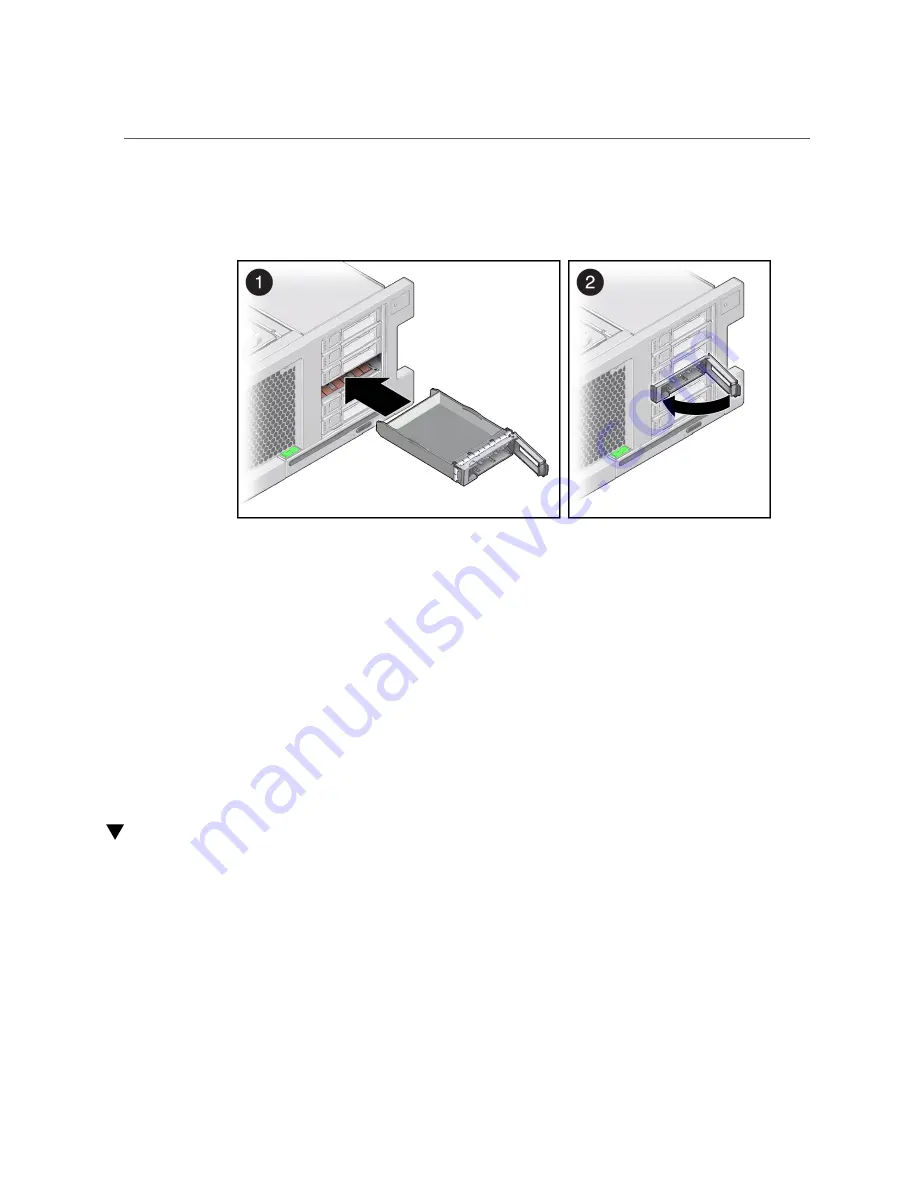
Install the drive by completing the following tasks.
a.
Slide the drive filler panel into the drive slot until it is fully seated.
b.
Close the latch to lock the filler panel in place.
Related Information
■
“Locate a Faulty Drive” on page 71
■
■
■
“Remove a Drive Filler Panel” on page 74
■
“Verify Drive Functionality” on page 78
Verify Drive Functionality
1.
If the OS is shut down, and the drive you replaced was not the boot device, boot
the OS.
Depending on the nature of the replaced drive, you might need to perform administrative tasks
to reinstall software before the server can boot. Refer to the Oracle Solaris OS administration
documentation for more information.
78
SPARC T5-2 Server Service Manual • February 2017
Summary of Contents for SPARC T5-2
Page 1: ...SPARC T5 2 Server Service Manual Part No E28856 13 February 2017 ...
Page 2: ......
Page 10: ...10 SPARC T5 2 Server Service Manual February 2017 ...
Page 12: ...12 SPARC T5 2 Server Service Manual February 2017 ...
Page 52: ...52 SPARC T5 2 Server Service Manual February 2017 ...
Page 96: ...96 SPARC T5 2 Server Service Manual February 2017 ...
Page 112: ...112 SPARC T5 2 Server Service Manual February 2017 ...
Page 120: ...120 SPARC T5 2 Server Service Manual February 2017 ...
Page 140: ...140 SPARC T5 2 Server Service Manual February 2017 ...
Page 156: ...156 SPARC T5 2 Server Service Manual February 2017 ...
Page 162: ...162 SPARC T5 2 Server Service Manual February 2017 ...
Page 174: ...174 SPARC T5 2 Server Service Manual February 2017 ...
Page 180: ...180 SPARC T5 2 Server Service Manual February 2017 ...
Page 185: ...Index SP 133 video connector location of 13 viewing message log files 50 185 ...
Page 186: ...186 SPARC T5 2 Server Service Manual February 2017 ...