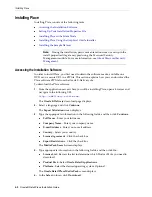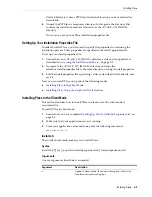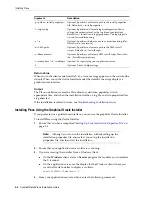
Installing Place
Installing Place
5-9
■
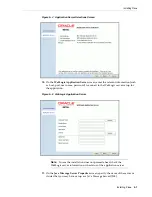
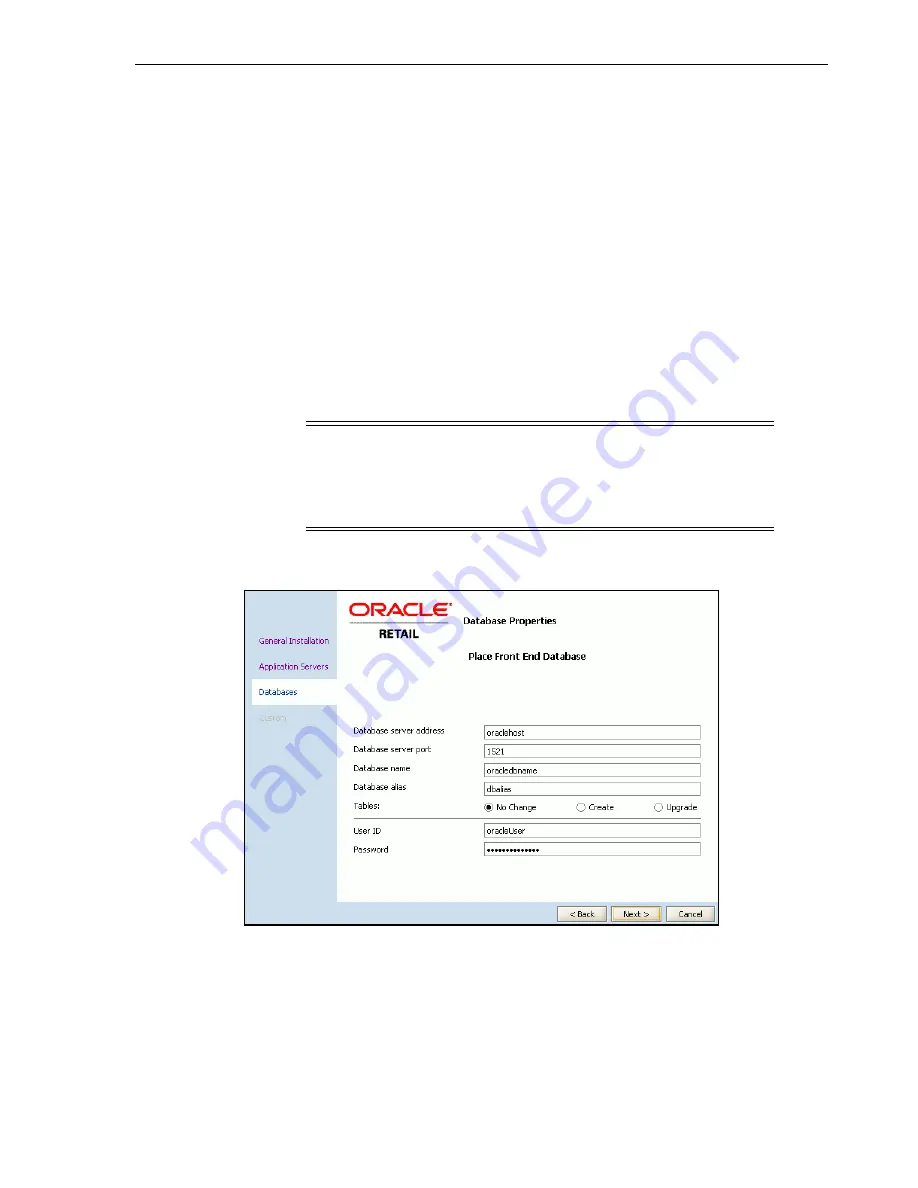
Database alias
– Enter the database alias, which is typically the same name as
the database.
■
Tables
– Select one of the following options:
–
No Change
– Select this option if you have an existing database schema
that you do not want to modify. This enables you to configure data
sources, EAR files, and so forth, without affecting the database.
–
Create
– Select this option if you are installing a new database schema for
Place. The Oracle Installer drops all the schemas and creates new ones.
–
Upgrade
– Select this option if you have an existing database schema that
you want to update. Any existing data remains intact and modified on a
row-by-row, column-by-column basis, depending on the actions specified
in the database patches.
■
User ID
– Enter the user name associated with the database.
■
Password
– Enter the password associated with the database.
Figure 5–8
Database Properties Screen
15.
On the
Audit FE Schema Link Properties
screen, specify the user name and the
database link associated with the application schema, and then click
Next
.
Note:
During the installation, passwords set up in the
install.properties file or on the Database Properties screens get
encrypted using the Password Security Management module. For
more information, refer to the
Metalink Note 737759.1: Oracle Retail
Password Security Management Guide
.
Summary of Contents for Retail Place 12.2
Page 1: ...Oracle Retail Place Installation Guide Release 12 2 November 2008 ...
Page 4: ......
Page 8: ...viii ...
Page 22: ...Creating the Database Links 3 4 Oracle Retail Place Installation Guide ...
Page 28: ...Setting Up the Maximum Message Size 4 6 Oracle Retail Place Installation Guide ...
Page 54: ...Troubleshooting Installation Issues 5 26 Oracle Retail Place Installation Guide ...
Page 62: ...Setting Up a Foreign JMS Server on WebLogic Server 6 8 Oracle Retail Place Installation Guide ...


