10
9
11
Configure Appliance
Configure System Parameters
A
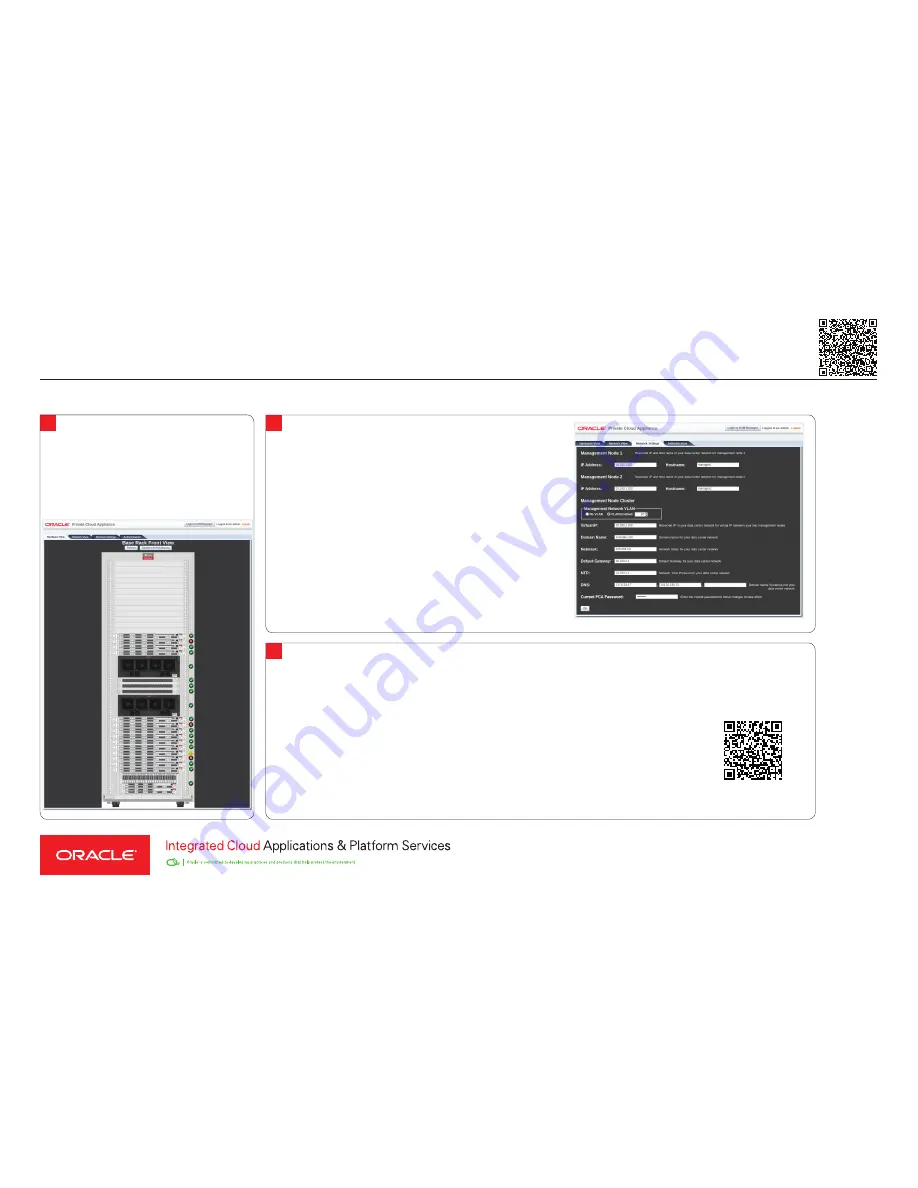
Using the Dashboard, configure the system environment parameters, including: domain name,
netmask, default gateway, NTP and DNS servers in your data center.
B
Go to the Network Settings tab and replace the default configuration with the required
settings for your data center. You collected this information in the
Network Requirements
section near the beginning of this
Quick Start Guide
.
•
Enter the reserved IP address and a host name for each management node
•
Enter the VLAN ID of your management network, or select "No VLAN"
•
Enter the reserved virtual IP address for the management node cluster. It
ensures that you always connect to the management node with the master role.
•
Enter the data center parameters in the remaining fields
D
Enter the current appliance password and click OK. During network
reconfiguration, connectivity is lost temporarily.
E
Reconnect to the Private Cloud Appliance Dashboard at the new
virtual
IP address of the management node cluster:
https://<virtual_ip>:7002/dashboard.
F
If an update is available for the factory-installed appliance software, you may
download the package from My Oracle Support (https://support.oracle.com).
Refer to the section "Update" in the
Oracle Private Cloud Appliance
Administrator's Guide
.
G
Complete the configuration process. For security reasons, always replace
default passwords. For detailed instructions, refer to the
Oracle Private Cloud
Appliance Administrator's Guide
.
A
Using the browser on the workstation, connect to the Oracle
Private Cloud Appliance Dashboard at
http://192.168.4.216.
B
Log in to the Dashboard. The default user name is
admin
;
the password is
Welcome1
.
C
Wait for the Hardware View tab to indicate that all components
are up and running and all compute nodes have completed
the provisioning process.
Log into the Dashboard
What's Next?
A
Additional Resources
. For more detailed instructions and information about using, maintaining and expanding the system,
refer to these additional resources:
•
Oracle Private Cloud Appliance Installation Guide
•
Oracle Private Cloud Appliance Safety and Compliance Guide
•
Oracle Private Cloud Appliance Administrator's Guide
•
Oracle Private Cloud Appliance Expansion Node Setup Poster
•
Oracle Private Cloud Appliance Release Notes
B
Oracle Technology Network.
For up-to-date product information, downloads and documentation, visit the Private Cloud Appliance product pages.
Enter this URL: https://www.oracle.com/servers/private-cloud-appliance/, or scan the QR code.
C
Access to Oracle Support.
Oracle customers have access to electronic support through My Oracle Support.
For information, visit: http://www.oracle.com/pls/topic/lookup?ctx=acc&id=info
or visit: http://www.oracle.com/pls/topic/lookup?ctx=acc&id=trs if you are hearing impaired.
Note:
You cannot obtain software or support from Oracle without registered hardware and software SIs.
Quick Response Code
Oracle Private Cloud Appliance Quick Start Guide
(part 2)
You can also scan the Quick Response Code
with your mobile device to read the documentation.
4
Copyright © 2013-2016, Oracle and/or its affiliates. All rights reserved. Oracle and Java are registered trademarks of Oracle and/or its affiliates. Other names may be trademarks of their respective owners. Document part no.: E71888-01. Mfg. no.: 7329826.


