46 English
USING THE PROJECTOR
Note:
1. Please set the “Logo” item to “User” in projector setup menu.
2. Perform following steps to enter download mode.
A: Press the
“Enter”
and
“Power”
buttons on the control panel and hold them down.
B: Plug-in the power cord to the projector.
C: Release both
“Enter”
and
“Power”
buttons after all LEDs are both lighted up.
3. Connect the
USB (Type A to B) cable
form projector (Type B port) to the computer (Type A port).
4. Double-click the
Splash Downloader.exe
(only support Window OS).
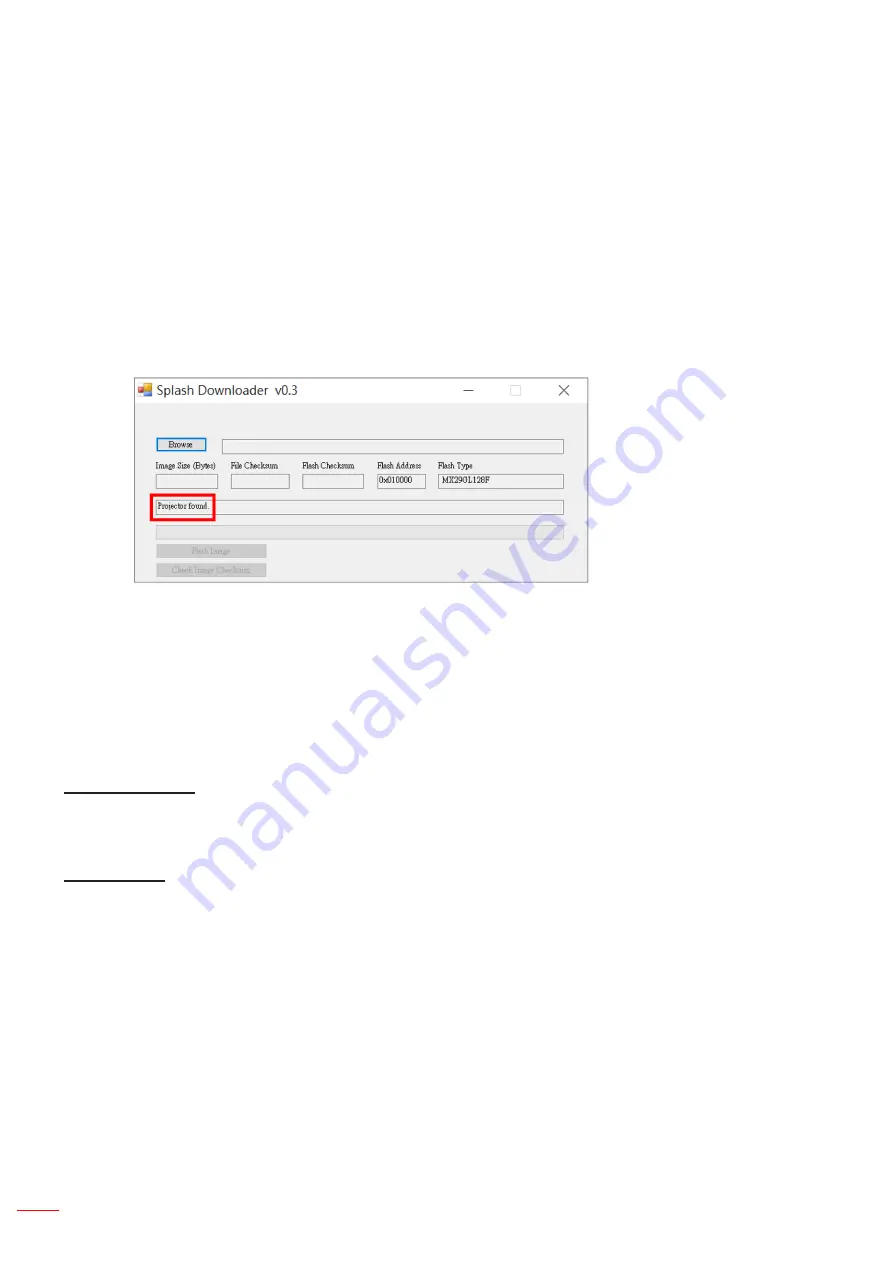
5. While the Splash Downloader is executing please check USB status before upgrade firmware. It should
show (Projector found).
6. Click the
“Browse”
button and select logo file (
only support “PNG” file format
). The recommended
resolution of logo should not exceed the default logo resolution (For example ZU500USTe, maximum
resolution is 1920x1200). The purpose is that keeping the quality of the image. If not, the logo may be
blurred.
7. Click the
“Flash Image”
button. If the file was written to projector successfully, the message
“Download
Complete”
will be displayed on the screen.
8. Plug-out the power core of projector and plug-in it. Please ensure that the logo has been upgraded cor
-
rectly.
Background Color
Use this function to display a blue, red, green, gray color, none, or logo screen when no signal is available.
Note:
If the background color is set to “None”, then the background color is black.
HDMI Settings
Configure the HDMI settings.
•
EDID Reminder
: Enable to display a reminder message when the input source is changed to the HDMI
source.
•
HDMI 1 EDID (default is EDID 1.4)
: Select this option when using 1080p sources (Xbox 360, Cable Box,
Satellite Box, etc.).
•
HDMI 2 EDID (default is EDID 2.0)
: Select this option when using 1080p HDR sources (such as Xbox One
S or PS4) and 4K HDR sources (4K HDR Blu-ray Player, Roku Ultra 4K, SHIELD TV, Xbox One X and PS4
Pro, etc.).
Note:
When the HDMI 2 source is abnormal in color and or color banding, change the EDID to 1.4.


