11
INDICATOR PARAMETER SETTINGS
The parameter settings menu has a calibration section (C01 to C06 explained above) and a
parameter settings section (C07 and up).
To access the calibration section the seal switch (located at one corner of the PCB) must be
OFF. This will allow access to all C01 and up settings. If the seal switch is ON, then only C08 and up
can be accessed by the user. If you break the official seal by opening the back of the indicator to
access the seal switch, you may need to have the indicator recertified. Be sure to adjust the seal
switch back to the original setting after calibration/configuration has been performed.
To enter calibration/parameter settings, follow the procedure below:
1. Press and hold the ON/OFF and SET key at the same time for 2 seconds
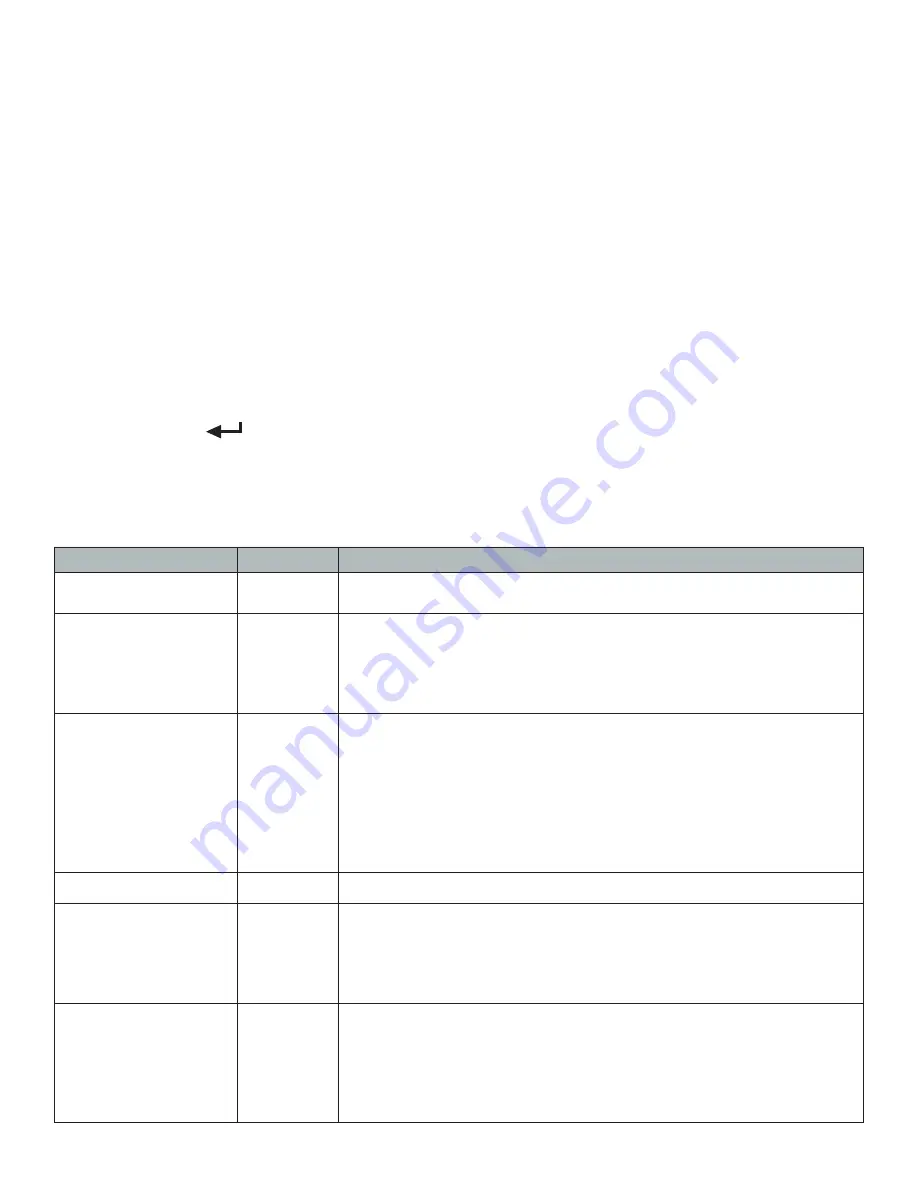
2. Navigate through the settings (C01 to C45) as shown in the table 4 below by using the arrow
keys and enter key as labeled under each indicator button
3. Press the SET
key to enter/edit the parameter setting
4. Press the ON/OFF key to save and exit settings at any time
Table 1. Calibration Parameter Settings
Function
Parameter Settings/Options
Weighing Unit
C01
1 = kg
2 = lb
Decimal Setting
C02
0 = no decimal
1 = #.#
2 = #.##
3 = #.###
4 = #.####
Division/
Graduation Setting
(readability of the least
significant digit)
C03
options: 1/2/4/10/20/50
Example with no decimal places (ie C02=0)
1 = 1 lb
2 = 2 lb
5 = 5 lb
10 = 10 lb
20 = 20 lb
50 = 50 lb
Maximum Capacity
C04
set max capacity ex. 100kg = [0100.00]
Zero Calibration
C05
0 = zero calibration
1 = set the zero calibration
Note: Before calibrating please ensure scale is empty and the stable
light is on.
When calibrating the Indicator will count down from 10 to 0
Calibration
C06
0 = calibration not needed
1 = ready to calibrate with calibration weight
Note: When calibrating the display will flash SPAn, telling you to
input the value of the calibration weight you will be using.
Once set the scale will count down from 10 to 0 and display Cal-
End, and the calibration will be complete.


