


- 7 -
(S)
: Move Down
Note:
(S)
means press shortly and release the button,
(L)
means press the button and hold for
2~3sec and release the button.
Note:
Basically, GUI is operated on the receiver side and it shall be operated in cases as below;
(1) When you connect the transmitter and receiver for the first time
(2) To change another transmitter to be connected
(3) To change general setting or check system information
In case of (1) or (2), the receiver can be connected to the transmitter using PBC button. If
“Status LED”
is blinking during connection between transmitter and receiver, press PBC button in transmitter and
[
▼] button in receiver within 60sec.
2) Access to GUI MENU
Press and hold the
[M] button
for 2~3sec to enter GUI menu.
Press and hold the
[M] button
for 2~3sec again to exit from GUI menu.
It will take a few seconds to change the menu when the wireless HDMI connection has been
made.
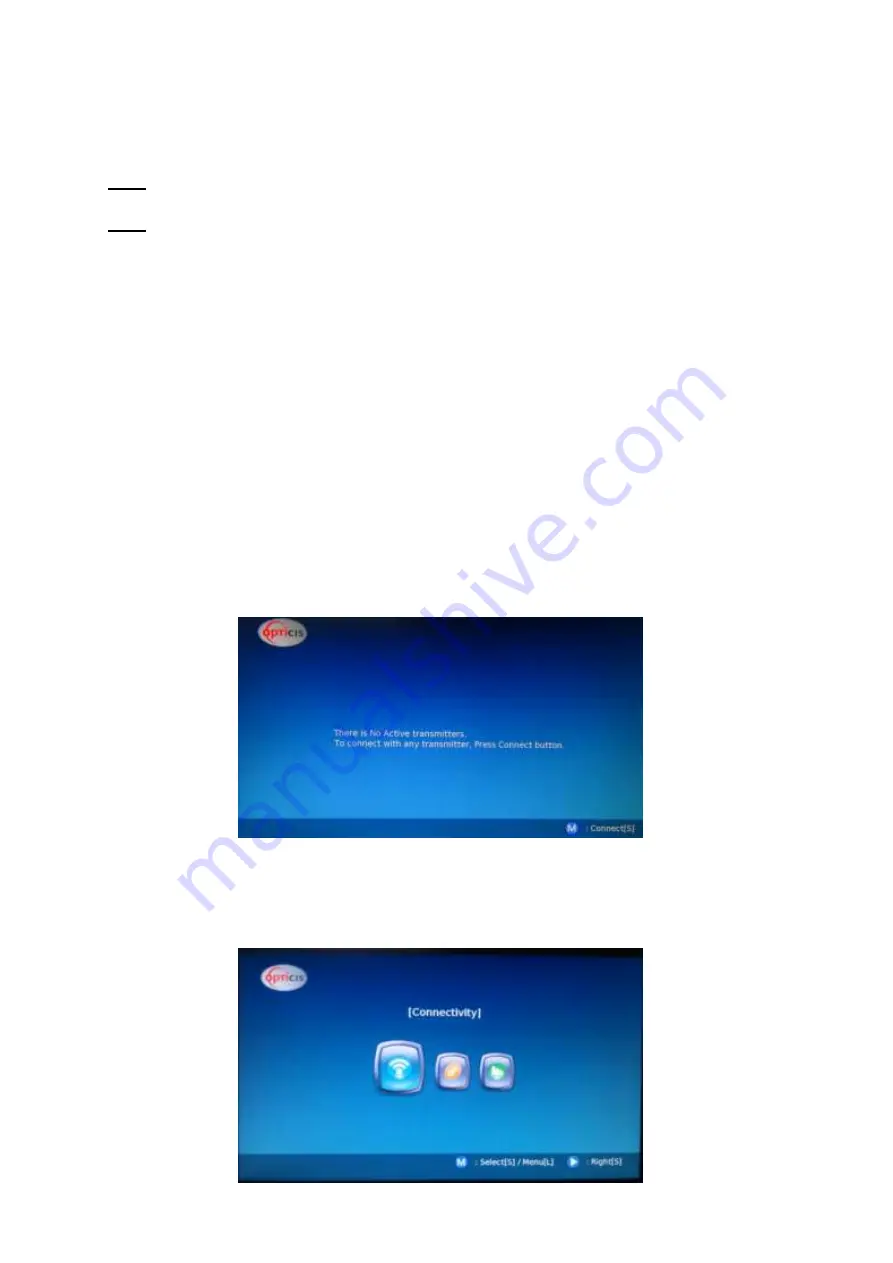
Step 1
When you connect HDWX-100-TR for the first time, the screen will be shown as below. Press
[M]
button
to connect into the transmitter.
Step 2 Main Menu
During the wireless HDMI connection, by press and hold
[M] button
for 2~3sec, user can enter GUI
menu as below. There are 3 sub menus, Connectivity, General Settings and System Info.


