- 1 -
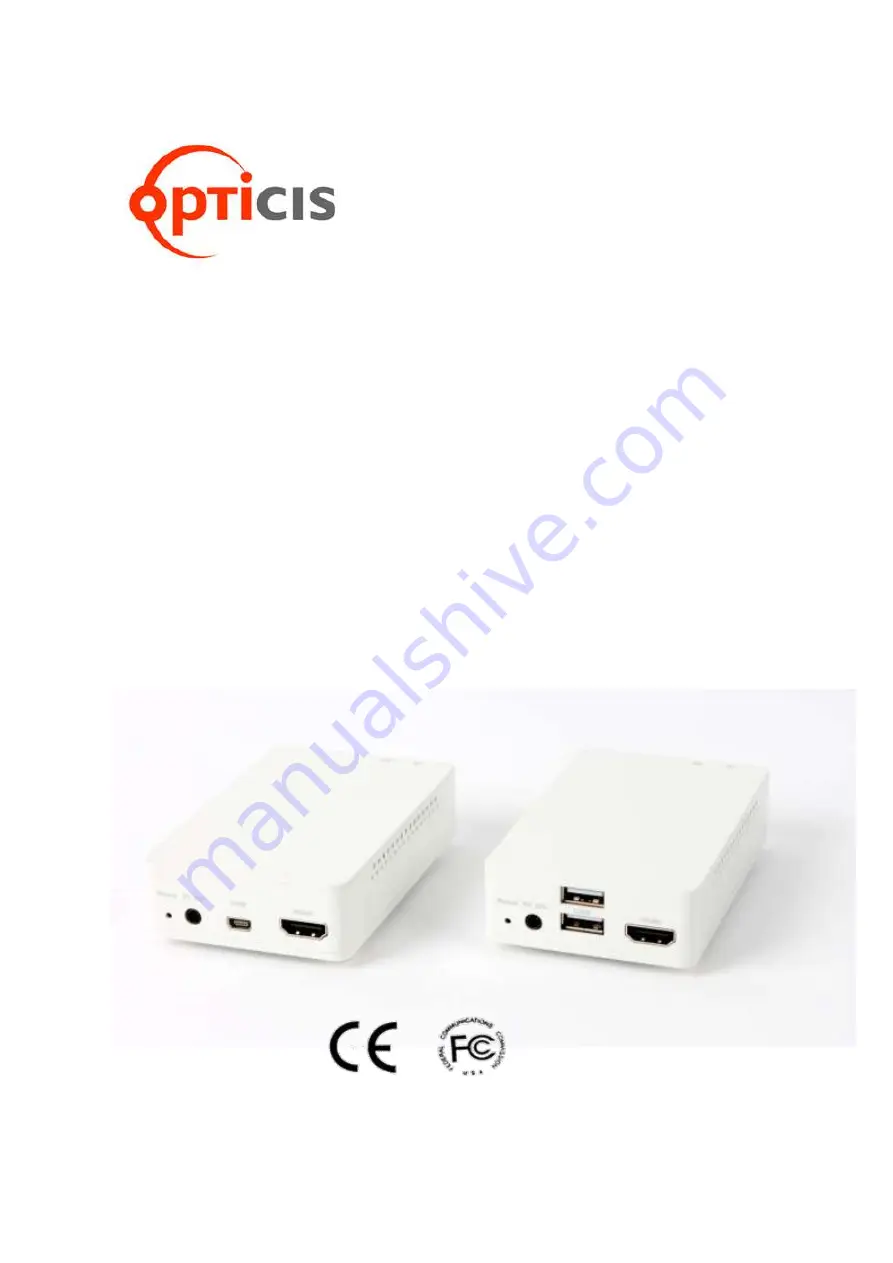
Wireless HDMI Extender, HDWX-100-TR
User’s Manual
Doc No. : OE-HW150102 / Rev2.0
WWW.OPTICIS.COM
Ver. 2.0
Page 1: ...1 Wireless HDMI Extender HDWX 100 TR User s Manual Doc No OE HW150102 Rev2 0 WWW OPTICIS COM Ver 2 0...
Page 2: ...ons 3 Applications 4 Systems Requirements for Setup 4 Installation 5 LED Indication 6 SW Factory Reset 6 GUI Setting 6 Product Specifications 14 Mechnical Drawing 14 Bracket Installation 14 5GHz Wi Fi...
Page 3: ...ssed to the source via transmitter module HDWX 100 T if it is connected to the source by USB interface The HDWX 100 TR supports the digital video data of full HD up to 1920x1080p at 60Hz and 7 1ch sur...
Page 4: ...eature of displays to be connected No special requirements for memory size CPU speed and chipsets if you ve already properly installed your HDMI graphic controllers or cards Software requirements No s...
Page 5: ...onnect HDWX 100 T to the HDMI source by supplied HDMI cable Step 3 Turn on the HDMI source and display Step 4 Option for remote keyboard and mouse control Connect mini USB port in HDWX 100 T to USB po...
Page 6: ...cover the Factory setting press and hold the Reset switch on the front side until the LED is turned off after blinking approx 10sec Note If the number of Txs information is more than 10 please delete...
Page 7: ...is blinking during connection between transmitter and receiver press PBC button in transmitter and button in receiver within 60sec 2 Access to GUI MENU Press and hold the M button for 2 3sec to enter...
Page 8: ...pleted Note When the connection is completed it exits from GUI menu automatically Step 3 1 2 PBC method for connectivity If user want to use PBC method for connectivity user can setup in General setti...
Page 9: ...sec If user press M button all the transmitter information will be deleted In order to connect new transmitter execute the Step 3 1 1 or 3 1 2 again To exit from GUI menu press and hold M button for 2...
Page 10: ...o select it Then press Complete to save the name To exit from GUI menu press and hold M button for 2 3sec To return to the previous page press and hold button for 2 3sec Step 4 General Setting menu Pr...
Page 11: ...r Game mode Game mode has lower latency than Theater mode To exit from GUI menu press and hold M button for 2 3sec To return to the previous page press and hold button for 2 3sec Step 4 2 Select Wi Fi...
Page 12: ...To exit from GUI menu press and hold M button for 2 3sec To return to the previous page press and hold button for 2 3sec Step 4 4 Black Screen Mode User can select Black Screen mode or last image mode...
Page 13: ...enter GUI menu After selecting System Info press M button To exit from GUI menu press M button for 2 3sec There are 2 sub menus in System Info Signal Strength and System Information as below Step 5 1...
Page 14: ...P2 0 DVI 1 0 backward compatibility Coverage distance 1 1 based depends on specific environment LOS Line of Sight up to 80meters NLOS up to 30meters typically 20meters Indoor Multi cast up to 1 4 Vide...
Page 15: ...rawing 66x105x25mm HDWX 100T Transmitter and HDWX 100R Receiver Bracket Installation Installation of a Bracket to the device Tx or Rx After install a bracket to the HDWX 100T R fix the bracket to unde...
Page 16: ...nce between Rx and Tx and avoid a metalic obstacle Change the position of antennas Change wireless channel Follow instructions in this user manual Step 4 2 Network connectivity issues Wireless channel...
Page 17: ...n Opticis shall have no further obligation under the foregoing limited warranty if the product has been damaged due to abuse misuse neglect accident unusual physical or electrical stress unauthorized...
Page 18: ...s Tower Jeongja 331 8 Sungnam daero Bundang gu Sungnam si Gyunggi do 463 782 South Korea Te l 82 31 719 8033 Fax 82 31 719 8032 www opticis com tosales opticis com For order support please contact you...