background image

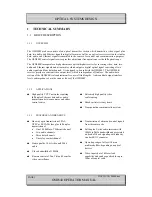
OPTICAL SYSTEMS DESIGN

DOC ID: 10104804.doc

OSD840 OPERATOR MANUAL

PAGE 14

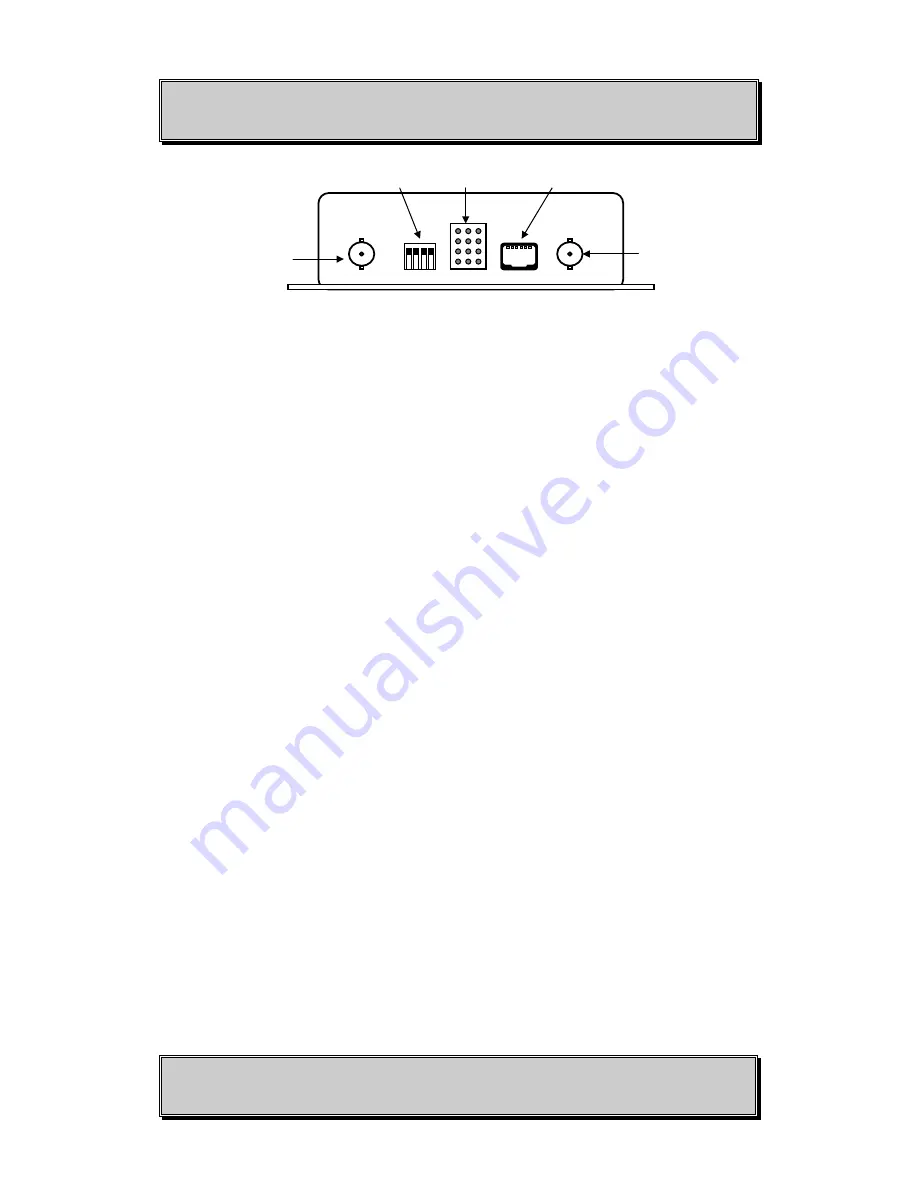
FIGURE 5: OSD840TC AND OSD840RC SIDE VIEW

2.3.2


OSD840R OPERATION

When using an OSD840R for the first time check that the unit is in good condition with no
visible damage.

If a card version (OSD840R) is used, insert it in an appropriate slot on the OSD chassis and check that
the indicators illuminate accordingly. If a module version (OSD840RC) is used, connect the unit to an
appropriate power source and check that the indicators illuminate accordingly.

The “Laser OK” indicator LED should be green in both Card and Case Versions, if the LED is red
there may be a problem with the laser. Disconnect power and have the Laser checked as soon as
possible.

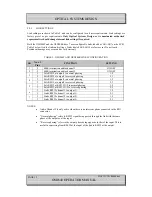
If RS485 data is required set the RS422/485 Mode switch to the “On” position, i.e. down (which is the
1st switch of the 4way DIP switch. It is located on the Front Panel of Card Version and on the front of
the box in the Case Version). Then toggle switches 2, 3 and 4 to set the RS485 Turnaround Delay to the
value appropriate to your system. If you are not sure of the correct value, leave all Turnaround Delay
switches “Off”, i.e. up. Refer to Table 6 for delay selection. As described in Table 3, RS485 is
available on Pins 2 (RS485+) and 11 (RS485-). If RS485 is not required, keep all four switches in the
“Off” position, i.e. up.

All ‘two wire’ RS485 devices are by default in receive mode, and only change to transmit mode for
data transmission. All RS485 protocols use a transmit delay to ensure successful transmissions to the
ends of the network. The delay is data rate and protocol dependent.

Connect a BNC terminated coaxial cable between the BNC socket on the rear of the module and the
video monitor or switcher.

Connect the optical cable: if adequate optical power is received and signal is locked the “Data Link"
indicator will change from ‘red’ to ‘green’. If a video signal is being received the “Video Present”
indicator should be ‘green’; if no video signal is being received this indicator will be ‘red’.

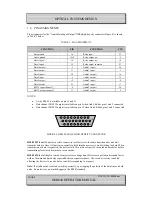
Plug the digital signal source and/or audio signal into the 26-pin D connector (DB26) on the rear of the
module. Ensure that the correct signals are connected to the correct pins of Audio/Data Input/Output
connector as specified in Table 3.

4-Dip

Switch

Optical

Connector

LED

Indicators

Intercom

(RJ11)

Optical

Connector

Summary of Contents for OSD840 SERIES

Page 1: ...OPERATOR MANUAL OSD840 SERIES DIGITAL VIDEO ETHERNET DATA AND AUDIO FIBER OPTIC TRANSMISSION SYSTEM...

Page 2: ......

Page 3: ...2 INSTALLATION 9 2 2 1 WARNING AND PRECAUTIONS 9 2 2 2 PACKAGING 10 2 2 3 POWER SUPPLY CONNECTIONS 11 2 2 4 OTHER CONNECTIONS 11 2 2 5 LINK SETTINGS 12 2 3 OPERATION 13 2 3 1 OSD840T OPERATION 13 2 3...

Page 4: ...ATION 12 TABLE 6 OSD840T R RS 485 TIMING DELAYS 13 TABLE 7 OSD840T AND OSD840R INDICATOR FUNCTION 17 FIGURE 1 TYPICAL CONFIGURATION 4 FIGURE 2 DB26 FEMALE HIGH DENSITY CONNECTOR 8 FIGURE 3 OSD840 CASE...

Page 5: ...also adjustment free over all link lengths Audio and data signal interface levels and impedance s are the same as those of the OSD840T 1 1 2 APPLICATIONS V High quality CCTV networks requiring full d...

Page 6: ...1 below indicates a typical set up for an OSD840T and OSD840R FIGURE 1 TYPICAL CONFIGURATION POWER SUPPY POWER SUPPLY OSD840T OSD840R DATA CH1 CH3 RELAY CH VIDEO INPUT Optical Fiber Link DATA CH1 CH3...

Page 7: ...VIDEO TRANSMITTER WITH 1 ETHERNET 2 DUPLEX AUDIO AND 4 1 DUPLEX DATA CHANNELS OSD840AR VIDEO RECEIVER WITH 1 ETHERNET 2 DUPLEX AUDIO AND 4 1 DUPLEX DATA CHANNELS ITEM DESCRIPTION OPTION C MODULE VERS...

Page 8: ...0bps on relay channel Ethernet IEEE Ethernet standards at 10 100Mbps Ethernet Connector RJ45 Audio and Data Connectors 26 Pin female high density D connector RJ11 for 2 wire intercom Transmitter Wavel...

Page 9: ...r commissioning and servicing or for permanent use The data channels can be RS232 TTL RS422 or RS485 on one channel and RS232 on the other channel and may operate from DC to 400kbps User adjustable tu...

Page 10: ...link LK6 has pins 1 and 2 connected Data channel 2 RS232 output is available on pin 12 when link LK4 has pins 1 and 2 connected FIGURE 2 DB26 FEMALE HIGH DENSITY CONNECTOR RS485 2 Wire half duplex is...

Page 11: ...adequate measures OPTICAL OUTPUT OPERATION Class 1 Class 3A The multimode version of the OSD840 is a Class 1 LED product Wavelength of 850nm and 8dBm power output The singlemode and WDM versions of t...

Page 12: ...crews The OSD840T and OSD840R card versions are designed to be inserted into a chassis and secured by means of captivated screws FIGURE 3 a provides an outer case drawing and mounting dimensions of th...

Page 13: ...ECTIONS 2 2 4 OTHER CONNECTIONS The video input signal e g from camera is connected to the video input BNC connector on the OSD840T The video output signal e g to monitor is connected from the video o...

Page 14: ...el 1 ON OFF 2 2 600R termination audio channel 2 ON OFF 3 Sets RS232 at output1 to normal phasing 1 2 3 3 Sets RS232 at output1 to reversed phasing 2 3 3 Sets RS232 at output2 to normal phasing 1 2 4...

Page 15: ...escribed in Table 3 RS485 is available on Pins 2 RS485 and 11 RS485 If RS485 is not required keep all four switches in the Off position i e up All two wire RS485 devices are by default in receive mode...

Page 16: ...you are not sure of the correct value leave all Turnaround Delay switches Off i e up Refer to Table 6 for delay selection As described in Table 3 RS485 is available on Pins 2 RS485 and 11 RS485 If RS4...

Page 17: ...ovided they were both ON HOOK to start with When both handsets are OFF HOOK the phone link may be used When one phone handset is returned to the ON HOOK state it does not cause a tone at the opposite...

Page 18: ...ink speed If the LED is not illuminated the link speed is 10Mbps If the amber LED is illuminated the link speed is 100Mbps FIGURE 7 10 100 BASE T ETHERNET RJ45 CONNECTION 2 3 6 OSD840T AND OSD840R IND...

Page 19: ...t Present Green Present DO1 Data Output Ch1 Red Not Present Green OK LASER Optical Output Red Fail Green Present AO2 Audio Output Ch 2 Red Not Present Green Present AI2 Audio Input Ch 2 Red Not Presen...

Page 20: ...ortion of their support circuitry V Some components within the unit are ES sensitive and ESD precautions should be taken when performing maintenance upon the unit 3 2 EXTERNAL INSPECTION Visually chec...

Page 21: ...ive for all repairs 4 2 1 WARRANTY REPAIRS Return shipments to OSD shall be at customer s expense and freight back to the customer will be at OSD expense 4 2 2 OUT OF WARRANTY REPAIRS OSD reserves the...

Page 22: ......

Page 23: ......

Page 24: ...ko Pl Warriewood 2102 P O Box 891 Mona Vale N S W Australia 2103 Telephone 61 2 9913 8540 Facsimile 61 2 9913 8735 Email osdsales osd com au Web Site www osd com au OPTIC L SYSTEMS DESIGN PTY LTD A B...

Reviews: