

CONTENTS
ETHERNET CABLE
CONNECTIONS
Connect a network cable to the camera
using the RJ45 input and connect the
other end of the cable to your network
switch or recorder.
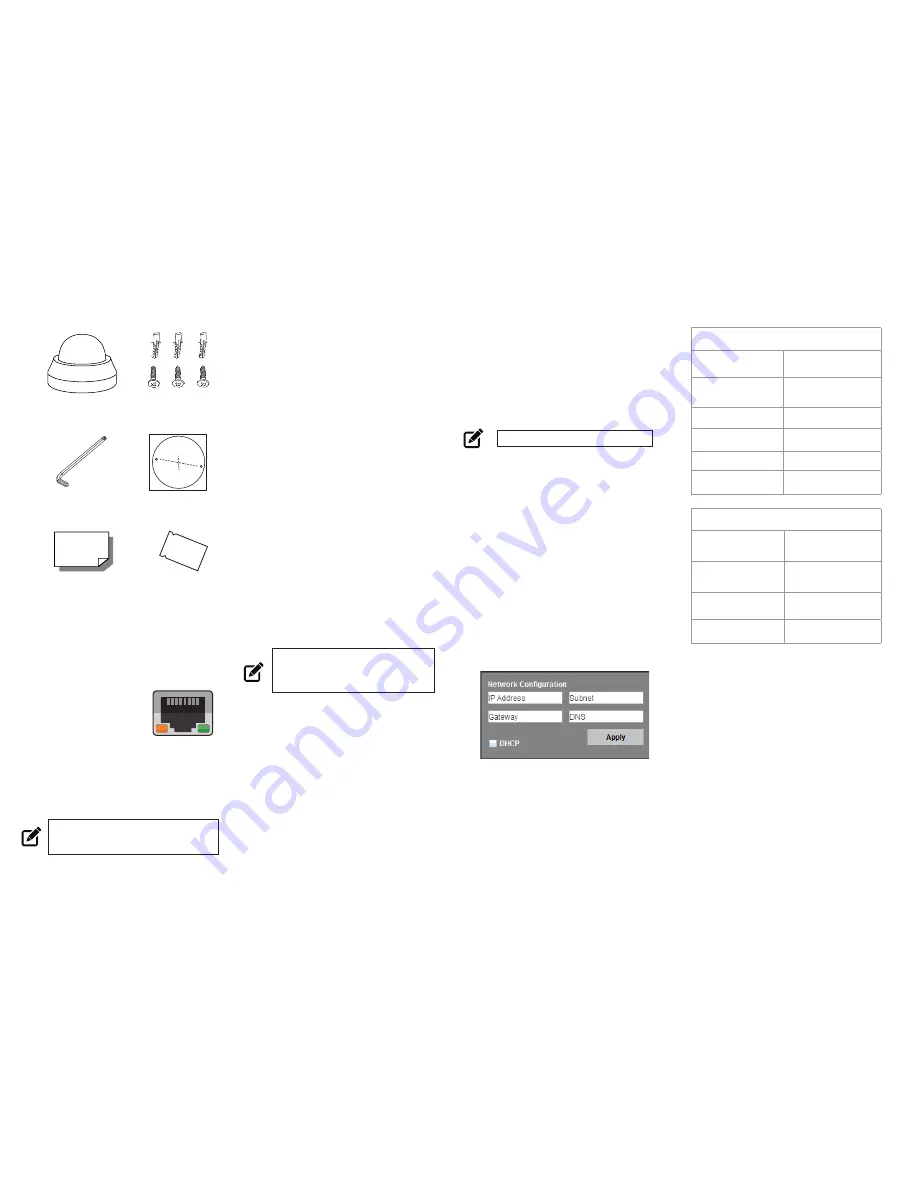
Check the status
of the network
connection by looking
at the link indicator
and activity indicator
LEDs. If the LEDs are not lit check your
network connection. The green link LED
indicates a network connection and the
orange activity LED flashes to indicate
network activity.
NOTE:
If you are connecting the camera directly
to a recorder, a crossover cable is
necessary for most configurations.
OE-C6413 / 7413-AWR
IP Dome Camera
Self-Tapping
Screws (x3) &
Plastic Anchors (x3)
Security Torx
Tool
Quick Start
Guide
PRODUCT FEATURES
Camera
Maximum Resolution
3MP
Frame Rate at
Maximum Resolution
30IPS @ 3MP H.264
Total Streams
Quad Streaming
ONVIF
ONVIF Profile S
Compliant
Day/Night
True Day / Night
Wide Dynamic Range
Shutter WDR on / off
Environmental and Power
IP Rating
IP66 (OE-C7413-AWR
only)
Power
Consumption
2.6W
(microSD card + 0.6W)
Input Voltage
PoE
Operating
Temperature
14 ~ 122 °F (-20 ~ 50 °C)
CONNECTING TO THE
IP CAMERA
To access the camera setup menu, you
need to install the OpenEye Network
Camera Manager on a PC on the same
network. To install the OpenEye Network
Camera Manager application on your PC,
download the program from Openeye.net,
and follow the prompts.
1.
Open
Network Camera Manager,
and click
Find Devices.
2.
Locate your camera on the
Network
Camera Manager
list.
3.
To open the viewer software in
your web browser, double-click the
camera, and then click
Browse.
The first time you connect to the camera
you will be automatically prompted to
install a plugin to view live video.
Default Username and Password
The username and password are case
sensitive. It is strongly recommended
that the password be changed after
the initial setup to prevent unauthorized
access. Any password change will need
to be applied to your recorder also.
Username:
admin
Password:
1234
POWER
This camera is compatible Power over
Ethernet (PoE). When using PoE, make
sure the Power Sourcing Equipment (PSE)
is in use in the network.
ASSIGNING AN
IP ADDRESS
OpenEye IP cameras default to DHCP.
This automatically assigns an IP address
to the camera. If no DHCP is available,
the camera will default to a static IP of
192.168.0.250 after four minutes. To
modify the IP address, use the OpenEye
Network Camera Manager.
1.
Open the Network Camera
Manager application.
2.
Click
Refresh
to find devices, and
then check the checkboxes next to
the desired cameras.
3.
Click
Network Setup.
4.
Select
Static IP
and type the new
IP address and other network
information in the appropriate
boxes.
- or -
Select
DHCP.
5.
Click
Apply.
6.
Click
OK
to acknowledge the
change.
NOTE
ActiveX controller is for use with
Internet Explorer only. Use the
QuickTime plugin with other web
browsers.
TIP
Static IP
is the recommended default.
Mounting
Template
Desiccant Packet
*OE-C7413-AWR only
ENVIRONMENTAL
FACTORS
Environmental factors can cause
condensation on the camera dome,
obscuring the view. For the OE-C7413-
AWR, it is recommended that you put
the desiccant packet inside the dome to
prevent condensation.


