InTemp CX405 RTD Dry Ice Logger Manual
1-508-759-9500 (U.S. and International) 3
www.onsetcomp.com
1-800-LOGGERS (U.S. only)
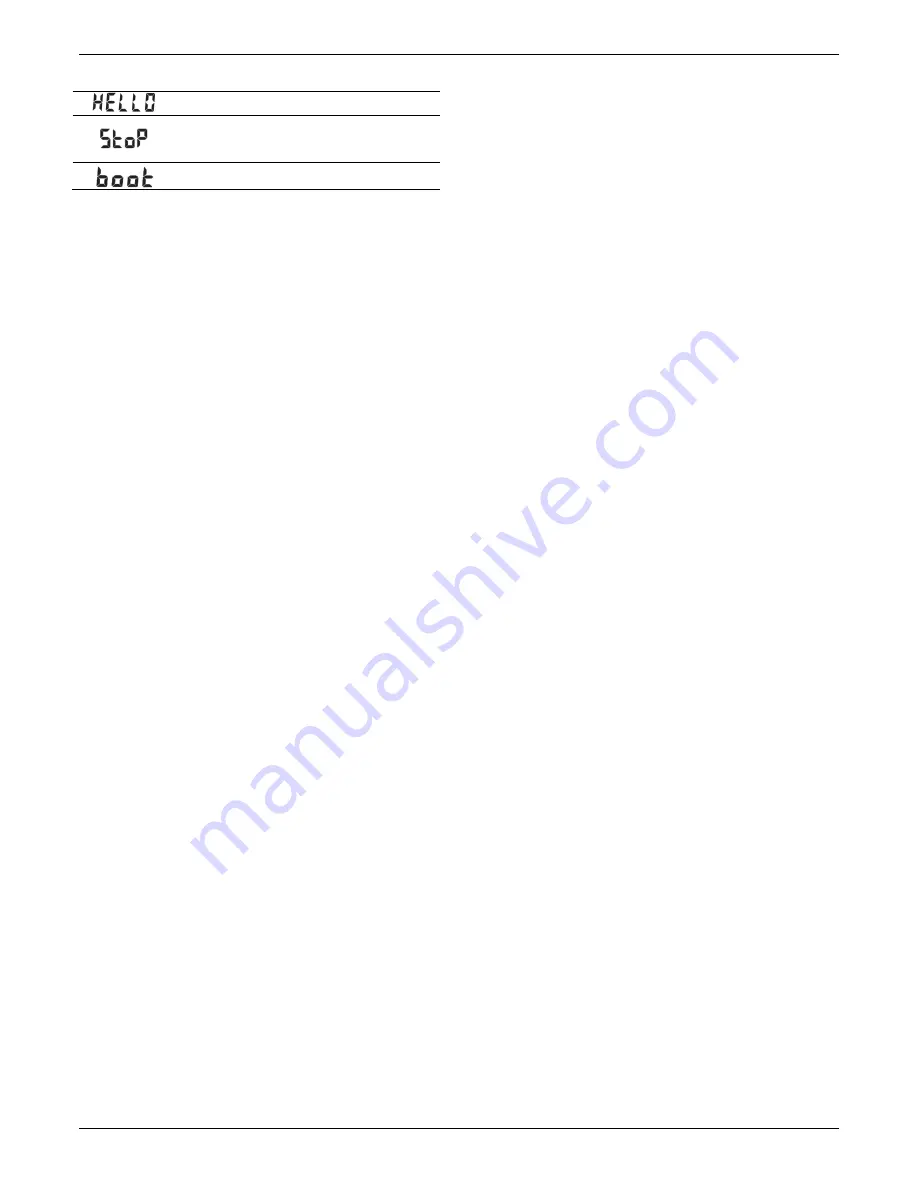
LCD Symbol
Description
The logger was paged from the InTemp app.
The logger has been downloaded and stopped
with the InTemp app or because the memory is
full.
The logger is being updated with new firmware.
Note:
If the logger has stopped logging because the memory is
full, the LCD screen will remain on with “STOP” displayed until
the logger is downloaded to your mobile device. Once the
logger has been downloaded, the LCD will turn off
automatically after 2 hours. The LCD will turn back on the next
time the logger connects with your device.
Getting Started
InTempConnect is web-based software where you can monitor
logger configurations and view downloaded data online. Using
the InTemp app, you can configure the logger with your phone
or tablet and then download reports, which are saved in the
app and automatically uploaded to InTempConnect. The
CX5000 Gateway is also available to automatically configure
and download loggers and upload data to InTempConnect. Or,
anyone can download a logger using the InTempVerify app if
the loggers are enabled to be used with InTempVerify. See
www.intempconnect.com/help for details on both the gateway
and InTempVerify. If you do not need to access logged data via
the cloud-based InTempConnect software, then you also have
the option to use the logger with the InTemp app only.
Follow these steps to begin using the loggers with
InTempConnect and the InTemp app.
1.
Administrators:
Set up an InTempConnect account
. Follow
all steps if you are a new administrator. If you already have
an account and roles assigned, follow steps c and d.
If you are using the logger with the InTemp app only, skip
to step 2.
a.
Go to www.intempconnect.com and follow the prompts
to set up an administrator account. You’ll receive an
email to activate the account.
b.
Log into www.intempconnect.com and add roles for the
users you will be adding to the account. Click Settings and
then Roles. Click Add Role, enter a description, select the
privileges for the role and click Save.
c.
Click Settings and then Users to add users to your
account. Click Add User and enter the email address and
first and last name of the user. Select the roles for the
user and click Save.
d.
New users will receive an email to activate their user
accounts.
2.
Set up the logger.
Insert two AAA batteries in the logger,
observing polarity. Insert the battery door in the back of the
logger making sure it is flush with the rest of the logger
case. Use the included screw and a Phillips-head
screwdriver to screw the battery door into place.
3.
Download the InTemp app and log in.
a.
Download InTemp to a phone or tablet from the App
Store® or Google Play™.
b.
Open the app and enable Bluetooth in the device settings
if prompted.
c.
InTempConnect users:
Log in with your InTempConnect
user credentials. (Your device must be able to connect to
the internet.) Make sure to check the box that says “I am
an InTempConnect user” when signing in.
InTemp app only users:
If you will not be using
InTempConnect, create a user account and log in when
prompted. DO NOT check the box that says “I am an
InTempConnect user” when signing in.
4.
Configure the logger
.
InTempConnect users:
Configuring the logger requires
privileges. The logger includes preset profiles.
Administrators or those with the required privileges can
also set up custom profiles (including setting up daily logger
checks) and trip information fields. This should be done
before configuring the logger. If you plan to use the logger
with the InTempVerify app, then you must create a logger
profile with InTempVerify enabled. See
www.intempconnect.com/help for details.
InTemp app only users:
The logger includes preset profiles.
To set up a custom profile, tap the Settings icon and tap
CX400 Logger. Also, if you need to perform daily logger
checks, tap Record CX400 Logger Checks under Settings and
select Once Daily or Twice Daily. This should be done before
configuring the logger.
See www.intempconnect.com/help for details on setting up
custom profiles in both the app and InTempConnect and on
setting up trip information.
a.
Tap the Devices icon in the app. Find the logger in the list
and tap it to connect to it.
If you are having trouble connecting:
•
Make sure the logger is within range of your mobile
device. The range for successful wireless
communication is approximately 30.5 m (100 ft) with
full line-of-sight.
•
If your device can connect to the logger intermittently
or loses its connection, move closer to the logger,
within sight if possible.
•
Change the orientation of your phone or tablet to
ensure the antenna in your device is pointed toward
the logger. Obstacles between the antenna in the
device and the logger may result in intermittent
connections.
•
If the logger appears in the list, but you cannot connect
to it, close the app, power down the mobile device,
and then turn it back on. This forces the previous
Bluetooth connection to close.
b.
Once connected, tap Configure. Swipe left and right to
select a logger profile. Type a name or label for the
logger. Tap Start to load the selected profile to the
logger.
InTempConnect users:
If trip information fields
were set up, you will be prompted to enter additional
information. Tap Start in the upper right corner when
done.
5.
Deploy and start the logger
. Deploy the logger to the
location where you will be monitoring the temperature.
Logging will begin based on the settings in the profile
selected. If the logger was configured to perform daily


